
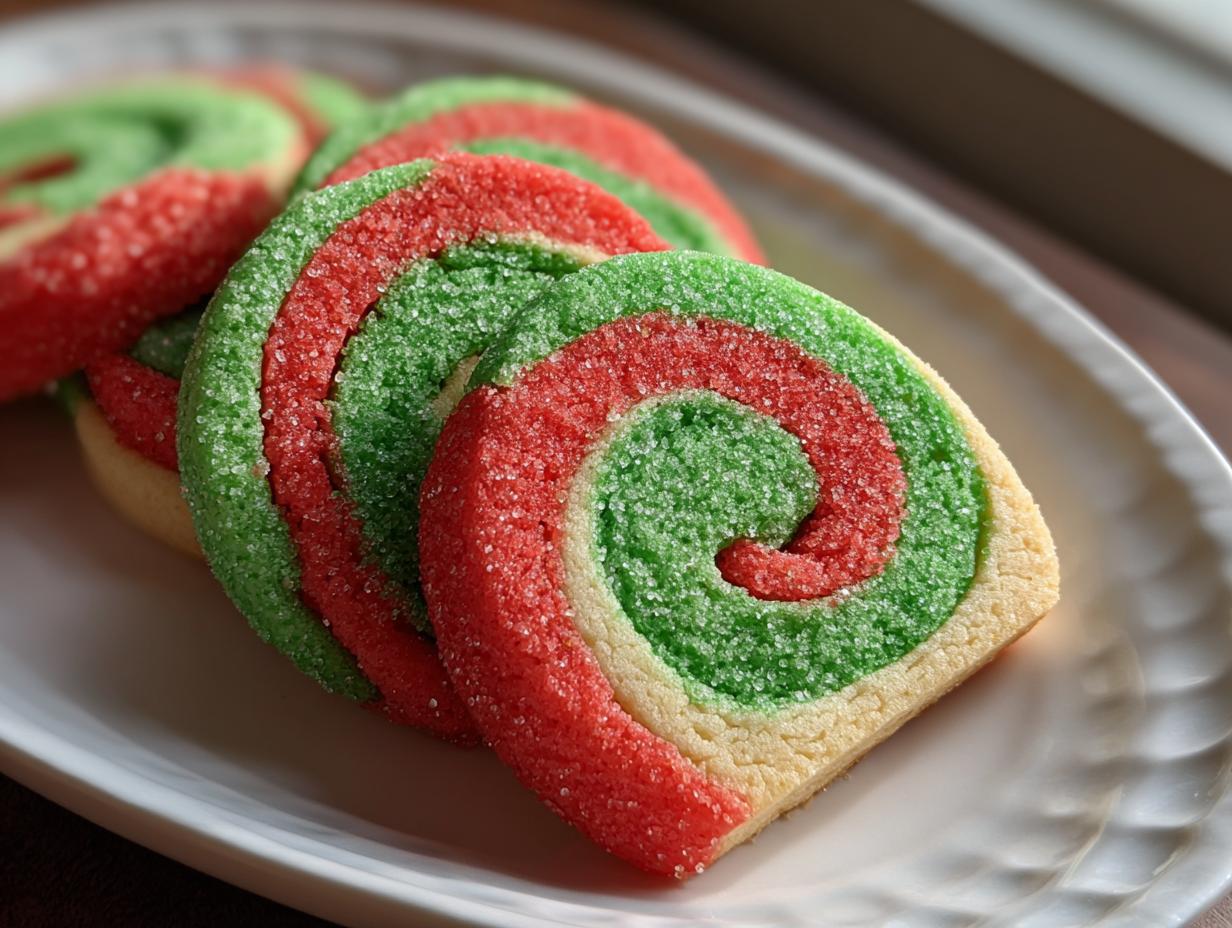
The air gets a little crisper, the lights start twinkling on every street corner, and suddenly, I find myself right back in my grandmother’s Midwest kitchen. Holiday baking traditions are everything to me—they are how we say “I love you” when words just won’t do. And if there’s one tradition that always involves me dusting off my favorite cookie cutters, it’s making beautiful, festive pinwheel cookies. Forget complicated rolling or fussy shapes; these are the ultimate slice and bake cookies because they look absolutely stunning but require very little fuss. Trust me, these swirls are what holiday cookie plates are made for!
- Why These Are the Best Pinwheel Cookies for Holiday Baking (E-E-A-T Focused)
- Ingredients for Classic Christmas Pinwheel Cookies
- How to Prepare Your Slice and Bake Pinwheel Cookies
- Making Pinwheel Cookies Kid Friendly Baking Activities
- Make Ahead Cookies: Freezing and Storing Your Pinwheel Cookies
- Serving Suggestions for Your Holiday Pinwheel Cookies Recipe
- Frequently Asked Questions About Pinwheel Cookies
- Estimated Nutritional Data for Classic Pinwheel Cookies
- Share Your Colorful Cookie Designs
Why These Are the Best Pinwheel Cookies for Holiday Baking (E-E-A-T Focused)
When I talk about building trust in the kitchen, I mean making sure your recipe actually works, especially when people are counting on you for a big event—like Christmas morning! My philosophy here at Misty Plate is that good food should be accessible, not intimidating. That’s why this pinwheel cookie recipe is my absolute go-to for the holidays.
The magic lies in that slice and bake method. You mix the dough once, chill it, and then you have ready-to-bake cookies whenever you need them. This cuts down on mid-December stress significantly. You get these incredibly detailed, classic red and green swirls without having to roll out and cut every single cookie individually.
The texture is fantastic too; they bake up into these wonderfully soft, buttery swirl cookies that everyone loves. I’ve tested this dough formula countless times—it’s designed to hold those sharp lines perfectly after baking. If you’re looking for reliability and festive beauty, you can absolutely trust this method we’ve refined here. You can learn more about how we develop our reliable recipes over on our About Page.
Ingredients for Classic Christmas Pinwheel Cookies
Okay, let’s talk about what you need to make these show-stopping Christmas cookies recipe classics. The dough itself is pretty straightforward—it’s mostly pantry staples that make these amazing buttery swirl cookies come together. You want everything measured precisely since these are slice and bake cookies, and precision matters when you’re dealing with dough ratios.
Here’s the rundown for the cookie base:
- 2 1/4 cups all-purpose flour
- 1 teaspoon baking soda
- 1/2 teaspoon salt
- 1 cup unsalted butter, softened (this needs to be truly softened, not melty!)
- 1 1/2 cups granulated sugar
- 1 large egg
- 1 teaspoon vanilla extract
- 1/2 teaspoon almond extract
- Red food coloring
- Green food coloring
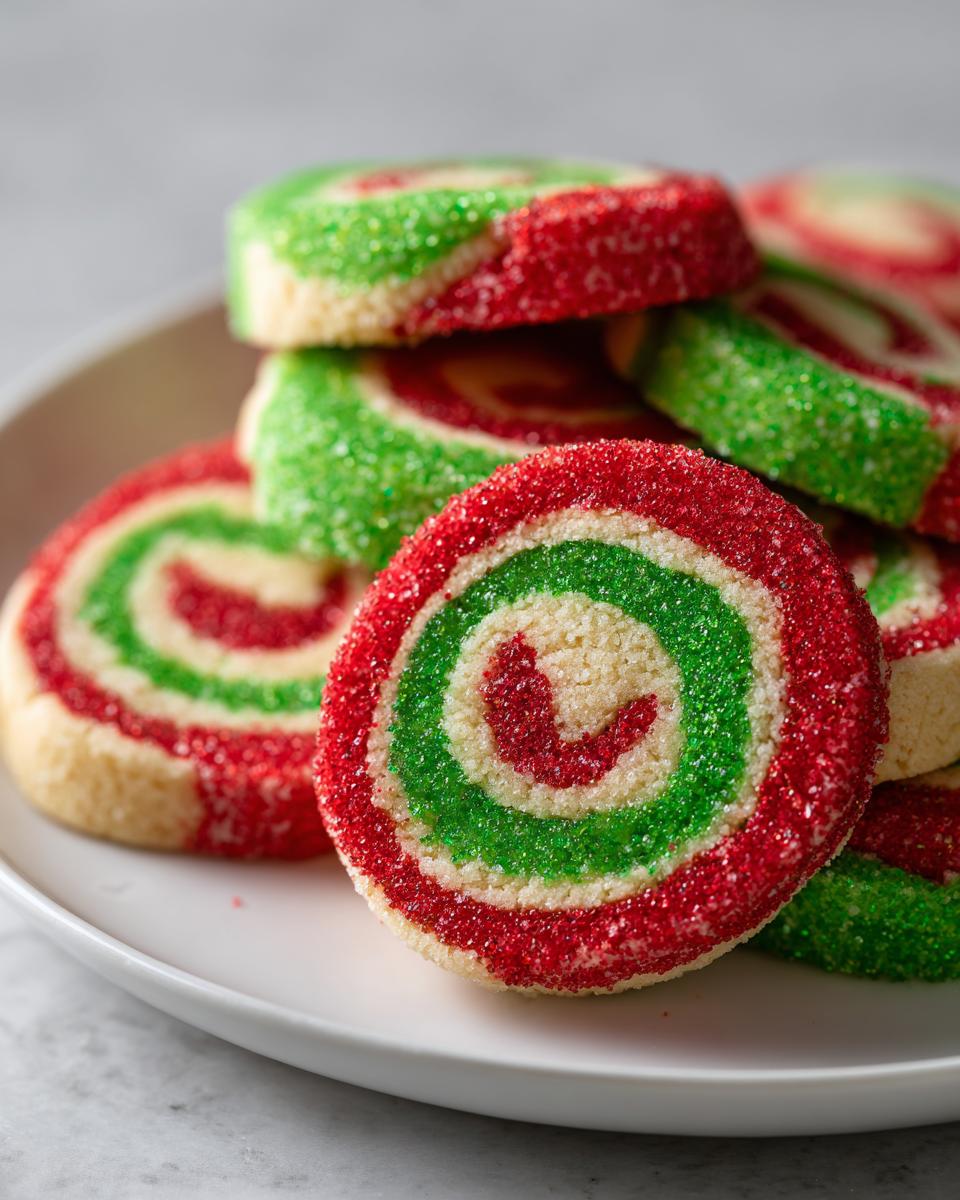
- Nonpareil sprinkles (optional, but highly recommended for that holiday sparkle)
For our classic Christmas look, we’re mixing in the red and green food coloring. It’s what makes them pop on the platter!
Ingredient Notes and Substitution Tips
A couple of quick pointers here to make sure you get that perfect flavor profile. That almond extract addition? It keeps the dough tasting bright and classic, so don’t skip it for the vanilla! If you’re planning ahead for other holidays, remember you can easily pivot these into valentine day pinwheel cookies by swapping the green dye for pink, or even use a small amount of cocoa powder in one section to make chocolate vanilla pinwheel cookies instead of using coloring at all. And yes, roll the chilled log generously in those nonpareil sprinkles before slicing; that coating is what really makes them festive!
How to Prepare Your Slice and Bake Pinwheel Cookies
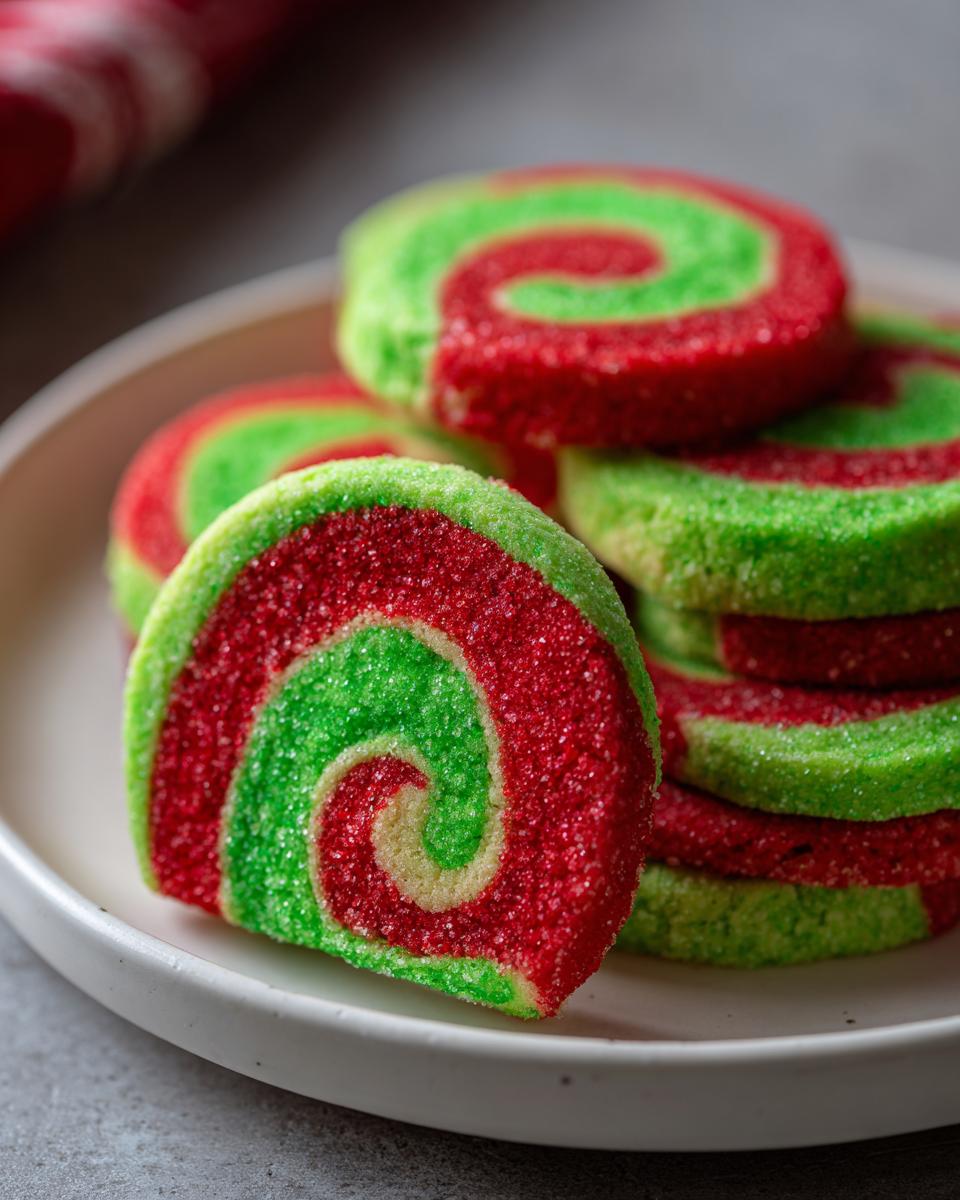
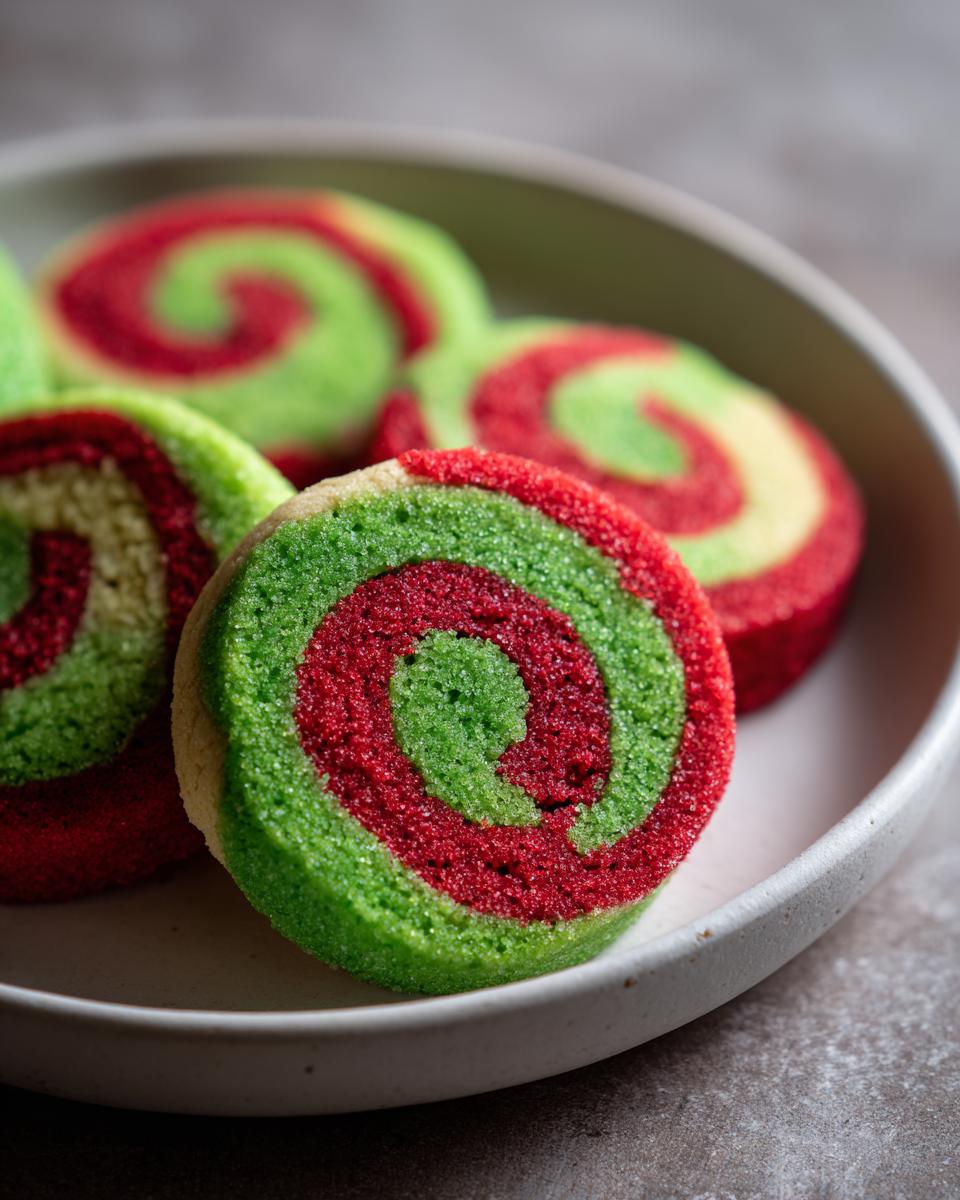
Alright, this is where the fun, colorful magic happens! Once your dough is mixed up—that vanilla base is ready—we need to divide and conquer. Take that big ball of dough and separate it into three equal piles. One pile stays white, the second gets your red coloring stirred in until it’s uniform, and the third gets the green. Don’t be shy with the dye, but make sure the color is fully incorporated before moving on.
Now on a flat surface covered with plastic wrap, we’re building our layers. Roll each color out carefully into a flat rectangle, about 6 inches by 8 inches. Lay the white layer down first. Then, gently place the red layer right on top, pressing lightly so they stick! Add the green layer last, pressing it down too. This layering is the secret to your perfect spiral cookie recipe look later on! If you check out the visuals on helpful holiday baking sites, you’ll see this is a popular technique for festive cookies like those shared by Making Festive Pinwheel Cookies For A Joyful Treat.
That long edge? Start rolling it up tightly, like you’re wrapping a precious gift. You need a really compact log so you don’t get air pockets! Wrap it up super tight in the plastic wrap and straight into the fridge it goes. You absolutely have to chill it for at least two hours. If you get impatient, your cookies will spread into sad, flat discs instead of beautiful swirls. I know, waiting is the hardest part, but trust me on this chill time!
Tips for Achieving Perfect Pinwheel Cookie Swirls
The key to a beautiful swirl isn’t just coloring; it’s the rolling and the chilling. When you roll that dough log, squeeeeze it tight! You want maximum surface contact between those color layers. If it feels loose, you’re going to end up with swirls that look more like stripes after baking, and that’s not the look we want for our festive slice and bake recipe tutorial!
Once it’s firm from chilling, you can slice it neatly into those perfect quarter-inch rounds. If the dough crumbles at all when you slice, it needs another 15 minutes in the cold. Clean slices mean clean, crisp swirls!
Baking Instructions for Buttery Swirl Cookies
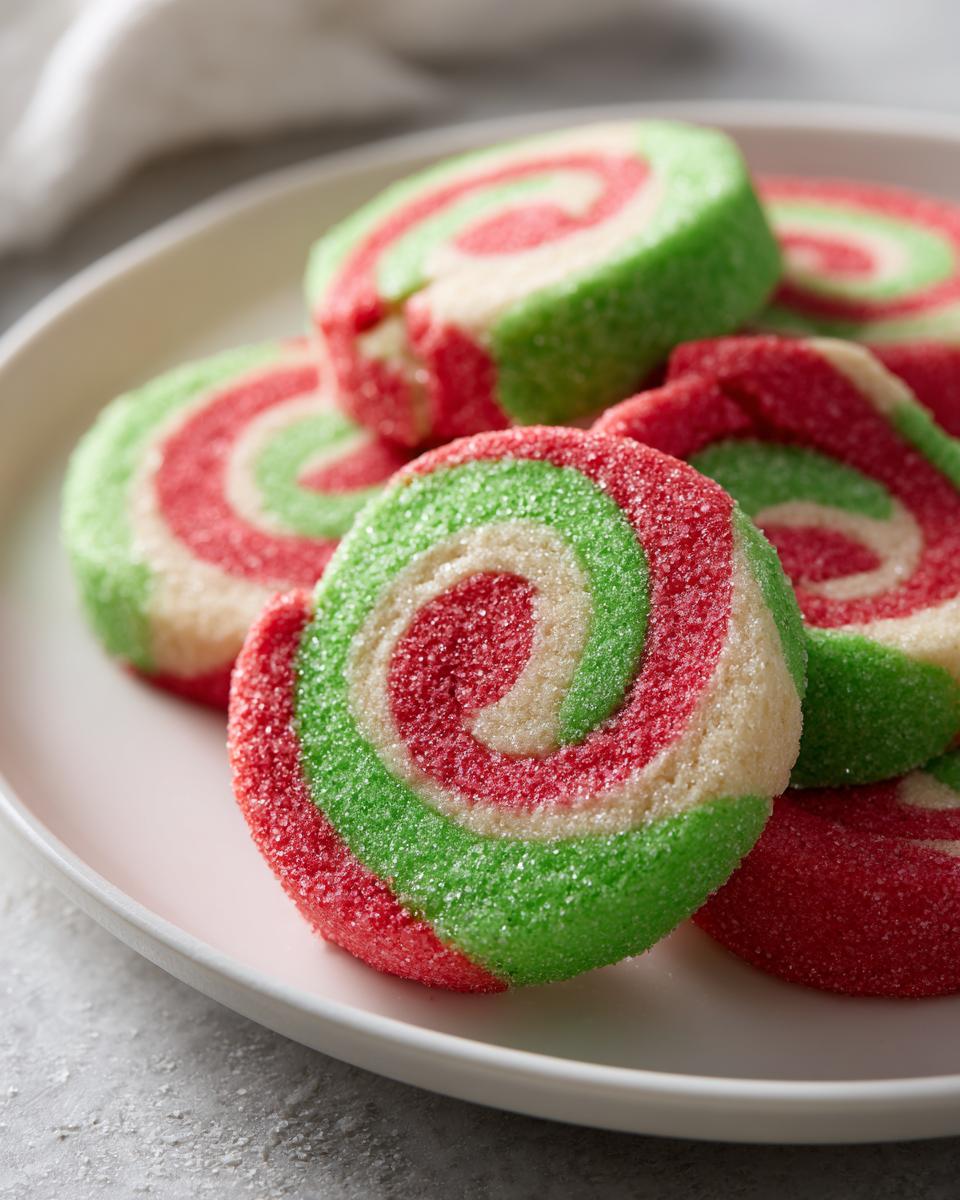
Get your oven warm—375 degrees F is the spot. Line those baking sheets with parchment paper; this is my modern hack so nothing sticks! Pop the sliced rounds onto the sheets, leaving about 2 inches between them because these buttery swirl cookies do spread just a tiny bit while baking.
You’re looking for 8 to 10 minutes. You want the edges just barely kissing that light golden brown, but the center should still look soft. If you bake them until they are dark gold, they turn hard fast. Pull them out and let them sit on the hot pan for five minutes before moving them to a rack to cool completely. They firm up beautifully as they rest!
Making Pinwheel Cookies Kid Friendly Baking Activities
Honestly, these pinwheel cookies were practically invented for kid friendly baking afternoons! The best part for my little helpers is definitely the coloring stage. Handing them the gloves and letting them mix that electric red or vivid green into their dough portion? Pure magic. They love watching the white dough transform!
Once the dough is chilled and firm, slicing can be tricky for tiny hands, but older kids can certainly help press the sprinkles onto the outside of the log before you slice them up. I remember one year around Christmas, my nephew insisted on naming the colors—the green became ‘Grinch Goo’ and the red was ‘Santa’s Sleigh Blood’—it was chaos, but total joy.
These kinds of activities are exactly what Misty Plate is about—creating those simple, tangible memories. The fun colors and the stunning swirl make them feel like they’ve made something professional, even though it’s just a simple sugar cookie dough base!
Make Ahead Cookies: Freezing and Storing Your Pinwheel Cookies
This is precisely why I adore these pinwheel cookie recipe logs—they are the ultimate holiday savior! When you are baking for Christmas cookie exchanges, you simply cannot make everything the day before, right? That’s why these are perfect make ahead cookies.
Once you’ve tightly wrapped that colorful dough log, don’t put it straight into the baking rotation; stick it in the freezer instead! The recipe notes say they last up to three months frozen, which is incredible. Just make sure you wrap that plastic tight, or you might get freezer burn.
For baking from frozen, you can slice them right off the log, though you might need to add a minute or two to the bake time. If you bake them fresh but want to save them for later, store the cooled swirl sugar cookies in an airtight container. They stay soft and buttery for about a week that way. You can even check out how other bakers handle making doughs that taste amazing fresh or later, like the techniques mentioned in this article about Old-Fashioned Date Pinwheel Cookies!
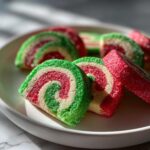
Serving Suggestions for Your Holiday Pinwheel Cookies Recipe
Once these gorgeous pinwheel cookies are cooled, the real fun begins: planning the presentation! Since these are such a classic, they fit right onto any platter. If you’re preparing for a Christmas cookie exchange ideas swap meet, make sure you wrap a few individually in clear cellophane bags tied with a nice ribbon. They look so festive all on their own!
For serving at home, I always pair them with something warm. They are divine dipped slightly into a mug of rich hot chocolate. If you’re having coffee with friends in the morning, the buttery, slightly sweet dough is the perfect companion for a hot cup of joe. They’re just so pretty, you barely need any other accompaniment!
Frequently Asked Questions About Pinwheel Cookies
When you’re dealing with a fun, colorful recipe like this one, questions always pop up! I’ve collected a few popular ones to make sure your batch of pinwheel cookies turns out exactly how you imagine. If you try them and have other questions, please feel free to reach out via our contact page!
Can I use only two colors for my pinwheel cookie recipe?
Oh, absolutely, you can! If you want a slightly simpler visual, going with just two colors—like the classic red and white, or even just pink and white for those valentine day pinwheel cookies—is perfectly fine. You’ll just be working with two rectangles of dough instead of three. You still stack them, press them together, and roll that log up nice and tight. It just cuts down on maybe one minute of coloring time, which isn’t bad at all!
What is the best way to store these swirl sugar cookies to keep them soft?
For the best texture, these swirl sugar cookies should be stored in a truly airtight container right on your counter at room temperature. They hold their moisture really well if baked correctly! Now, here’s a little tip related to that chilling we talked about: if you chill the dough *too* long—like letting it sit in the fridge for an extra day after the minimum time—they can sometimes bake up a tiny bit harder. That’s why it’s important to get that dough into the oven shortly after it’s firm enough to slice!
Can I make chocolate vanilla pinwheel cookies using this base recipe?
Yes, this base recipe is wonderful for making those rich chocolate vanilla pinwheel cookies! Here’s how you adapt it: when you’re ready to color your dough portions, leave one portion white for the vanilla. For the second portion, skip the food coloring entirely and mix in about two to three tablespoons of unsweetened cocoa powder until that half of the dough is a rich brown. You just skip coloring the third portion, and then you layer white, brown, white, brown—whatever swirl pattern you like—and roll it up! Easy swap!
Estimated Nutritional Data for Classic Pinwheel Cookies
I always feel a little funny putting exact numbers on home baking because we all use slightly different butter brands or sugar scoops, right? But for thoroughness, here is the estimated nutritional breakdown for one of these beautiful pinwheel cookies based on the proportions in this recipe:
- Serving Size: 1 cookie
- Calories: 145
- Fat: 7g
- Carbohydrates: 20g
- Protein: 2g
Please remember these are just guideposts for your planning! They are estimates, and the actual totals can shift depending on the specifics of your ingredients. You can review our full data policies on our Privacy Policy page if you need more detail!
Share Your Colorful Cookie Designs
Now that you’ve seen how straightforward it is to create these stunning colorful cookie designs, I genuinely want to see what you come up with! This recipe is all about putting a piece of your own joy into the tin.
Did you stick to the classic red and green, or did you try pink and purple for a birthday party instead? I’d love to hear what flavor extracts you tried, or if you found a new sprinkle trick! Please leave a rating for the recipe right below—it really helps other home cooks know this is a trustworthy source for their classic holiday baking.
Snap a photo of those beautiful swirls before they disappear! Tag us on social media so I can see your beautiful work. We love sharing reader creations and hearing about your experience making these slice and bake cookies. If you want to see how others managed their swirls, you can check out some great examples over at Christmas Pinwheel Cookies – House of Nash Eats.
We put so much care into making sure this recipe is straightforward and reliable for you. If you have any feedback, positive or critical, please let us know on our Terms of Use page, or just drop a comment below. Happy baking, friends!
PrintClassic Christmas Pinwheel Cookies: Easy Slice and Bake Recipe
Make these classic red and green pinwheel cookies for your holiday baking. This slice and bake sugar cookie recipe creates beautiful, buttery swirl cookies perfect for cookie exchanges.
- Prep Time: 30 min
- Cook Time: 10 min
- Total Time: 160 min
- Yield: About 3 dozen cookies 1x
- Category: Dessert
- Method: Baking
- Cuisine: American
- Diet: Vegetarian
Ingredients
- 2 1/4 cups all-purpose flour
- 1 teaspoon baking soda
- 1/2 teaspoon salt
- 1 cup unsalted butter, softened
- 1 1/2 cups granulated sugar
- 1 large egg
- 1 teaspoon vanilla extract
- 1/2 teaspoon almond extract
- Red food coloring
- Green food coloring
- Nonpareil sprinkles (optional)
Instructions
- Whisk together the flour, baking soda, and salt in a medium bowl. Set aside.
- In a large bowl, beat the softened butter and sugar with an electric mixer until light and fluffy. Beat in the egg, vanilla extract, and almond extract until combined.
- Gradually add the dry ingredients to the wet ingredients, mixing on low speed until just combined. Do not overmix.
- Divide the dough evenly into three separate bowls. Leave one bowl plain (this will be white). Add red food coloring to the second bowl and green food coloring to the third bowl. Mix each until the color is uniform.
- On a piece of plastic wrap, roll each color of dough into a rectangle approximately 6 inches by 8 inches.
- Place the white dough rectangle down first. Place the red dough rectangle directly on top of the white dough, pressing gently to adhere. Place the green dough rectangle on top of the red dough.
- Starting with one of the long edges, tightly roll the layered dough into a log. Wrap the log tightly in plastic wrap.
- Chill the dough log in the refrigerator for at least 2 hours, or until firm enough to slice easily.
- Preheat your oven to 375 degrees Fahrenheit. Line baking sheets with parchment paper.
- If using sprinkles, unwrap the chilled log and roll it gently in a shallow dish of nonpareils to coat the outside.
- Slice the log into 1/4-inch thick rounds. Place the slices onto the prepared baking sheets, leaving about 2 inches between cookies.
- Bake for 8 to 10 minutes, or until the edges are lightly golden. The centers should remain soft.
- Let the cookies cool on the baking sheet for 5 minutes before transferring them to a wire rack to cool completely.
Notes
- You can substitute the green and red coloring with pink and red for Valentine’s Day pinwheel cookies.
- For best results, chill the dough until it is very firm before slicing.
- This slice and bake recipe dough freezes well for up to three months. Wrap the logs tightly before freezing.
Nutrition
- Serving Size: 1 cookie
- Calories: 145
- Sugar: 13g
- Sodium: 85mg
- Fat: 7g
- Saturated Fat: 4g
- Unsaturated Fat: 3g
- Trans Fat: 0g
- Carbohydrates: 20g
- Fiber: 0g
- Protein: 2g
- Cholesterol: 25mg