
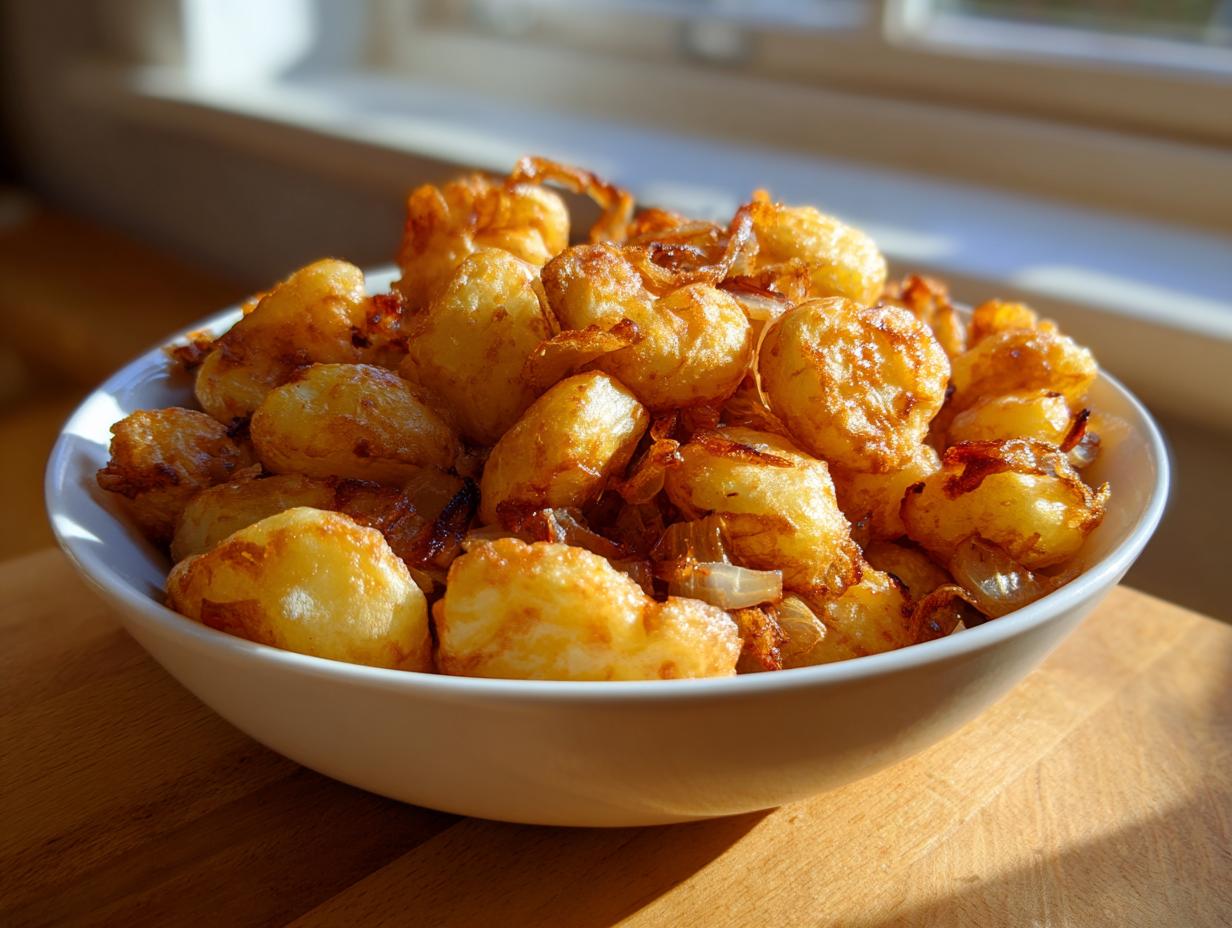
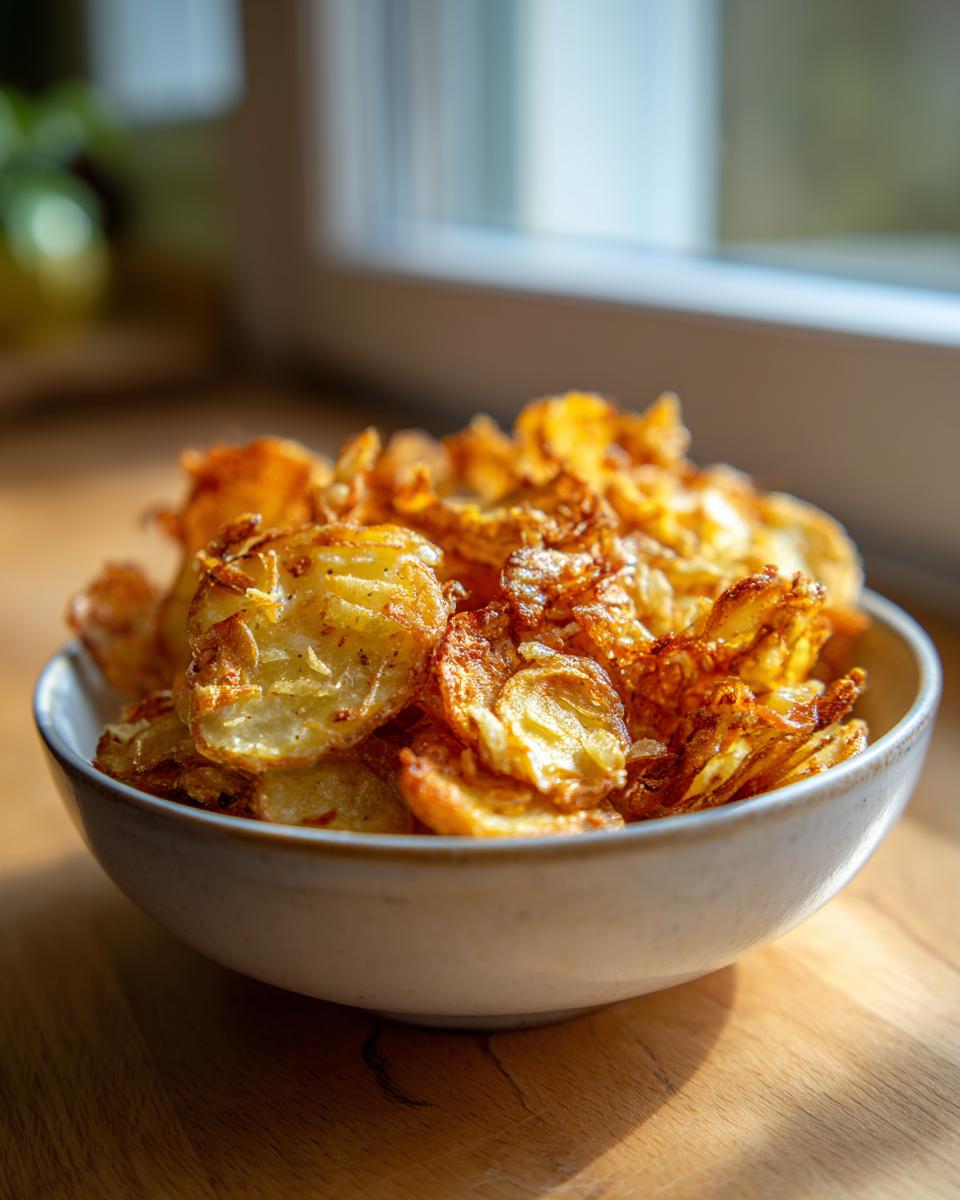
Oh, there is just something about that first bite of perfectly cooked home fries, isn’t there? That audible crunch giving way to that soft, fluffy center? It pulls you right back to my Midwestern roots instantly. When I was running hard in the city, I really missed food that felt grounding, and that’s what brought me back to simple, incredible fried potatoes. Forget the fancy stuff; these are the ultimate comfort side dish. I spent ages getting this technique just right so you can nail that coveted ‘tender inside, crispy outside’ texture every single time you drop potatoes in the skillet. Trust me, we aren’t messing around—this is your definitive guide to the best fried potatoes you’ll ever make at home.
- Why You Will Make These Crispy Southern Fried Potatoes Again and Again
- The Essential Ingredients for Perfect Fried Potatoes
- The Foolproof Technique for Tender Inside Crispy Outside Fried Potatoes
- Adding Aromatics: Perfecting Your Potatoes and Onions Side Dish
- Tips for Success When Making Old Fashioned Fried Potatoes
- Serving Suggestions for Your Skillet Potatoes Recipe
- Storage and Reheating Instructions for Leftover Fried Potatoes
- Frequently Asked Questions About Making Fried Potatoes
- Nourishing Your Day with Simple Comfort Food Potato Recipes
Why You Will Make These Crispy Southern Fried Potatoes Again and Again
I know you’ve tried other recipes for potatoes before, but this one hits differently. It’s fast enough for a frantic Tuesday morning but tastes like a weekend feast. Once you nail the method, you’ll see why this became one of my go-to comfort food potato recipes!
- The Texture You Dream About: We are talking about genuinely Tender Inside Crispy Outside Potatoes. It’s that shatteringly crisp edge you usually only find at the best diners—but you get it right here on your stovetop.
- Dinner or Breakfast Ready: These become the perfect Breakfast Potatoes Recipe when served alongside eggs, or they turn into the ultimate Easy Potato Side Dish when accompanying roast chicken or steak.
- Speedy Satisfaction: Don’t let the crispiness fool you; this is a fast **Side Dish**. With prep and cook time under 40 minutes total, you get maximum flavor for minimal hanging around the stove.
- Old-School Flavor Boost: Using the traditional fat—bacon grease, if you have it—gives these Old Fashioned Fried Potatoes a depth of flavor that butter alone just can’t match. It reminds me of the comfort food my grandmother used to make!
The Essential Ingredients for Perfect Fried Potatoes
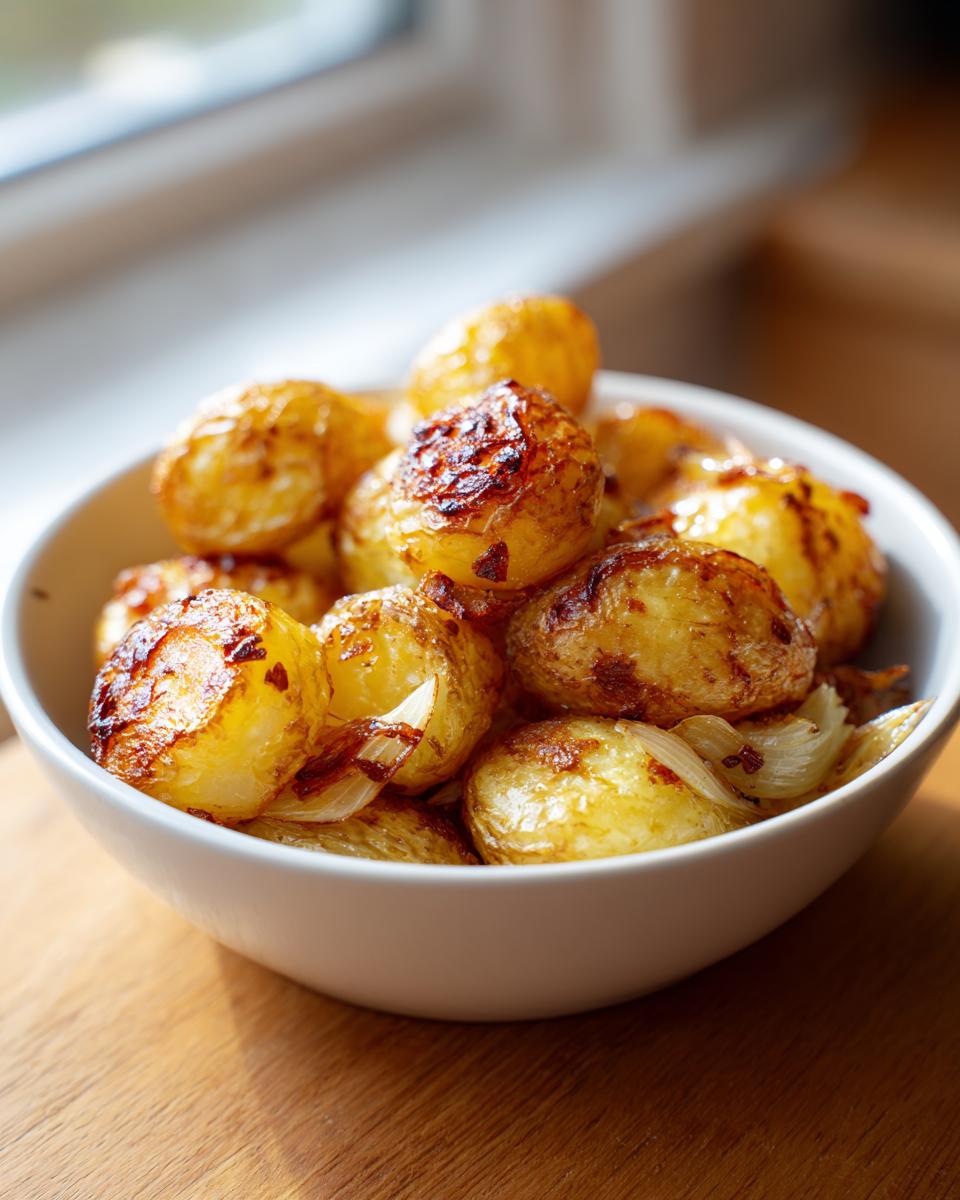
Okay, guys, the beauty of this recipe is that it relies on seriously simple ingredients. We aren’t talking about some exotic pantry haul. We are talking about making humble things taste utterly fantastic. Getting these core components right is half the battle when you want truly Golden Brown Potatoes.
- 2 pounds Russet potatoes, peeled and diced small. I mean small, like half-inch cubes—we want quick cooking!
- 1 small sweet onion, diced small. Don’t cube these huge; we want them to melt right into the potatoes later on.
- 1/2 cup bacon grease (or substitute with butter). This is the flavor bomb, seriously!
- 1/2 teaspoon kosher salt.
- 1/2 teaspoon black pepper.
- 1/2 teaspoon Creole seasoning (optional, but highly recommended for that Southern kick!).
Ingredient Notes and Substitutions for Your Fried Potatoes
We need the right spuds! I rely completely on Russets because they have that high starch content necessary to get fluffy on the inside while crisping up beautifully on the outside. If you are counting calories or just don’t keep bacon grease around (I keep a jar handy, naturally!), substitute it with an equal amount of unsalted butter, or even a 50/50 blend of butter and a neutral oil like canola. Don’t panic if you run out of bacon grease; butter still gives us great results for these Pan Fried Potatoes!
The Foolproof Technique for Tender Inside Crispy Outside Fried Potatoes
Look, anyone can throw potatoes in a pan. But if you want those diner-style results, you have to respect the method. The secret to fantastic fried potatoes isn’t just the fat—it’s the preparation and the patient cooking process we use right here in the skillet. If you follow these steps, you are guaranteed to get **Perfectly Cooked Fried Potatoes** that are soft inside and ridiculously crispy outside. This is the technique I learned that finally made me put down the takeout menus and embrace my own kitchen again. Head over to my story page if you want to read more about that journey!
Preparation: How to Make Crispy Potatoes by Controlling Moisture
This first step is non-negotiable if you want real crunch! You absolutely must rinse your little diced spuds under cold water until the water runs totally clear. That releases that excess starch that just turns into gummy glue when you fry them. Then, you have to beat them dry—I mean bone dry—with paper towels. Water is the enemy of crispiness for any Crispy Fried Potatoes Recipe!
The Skillet Method: Mastering the Pan Fried Potatoes Tutorial
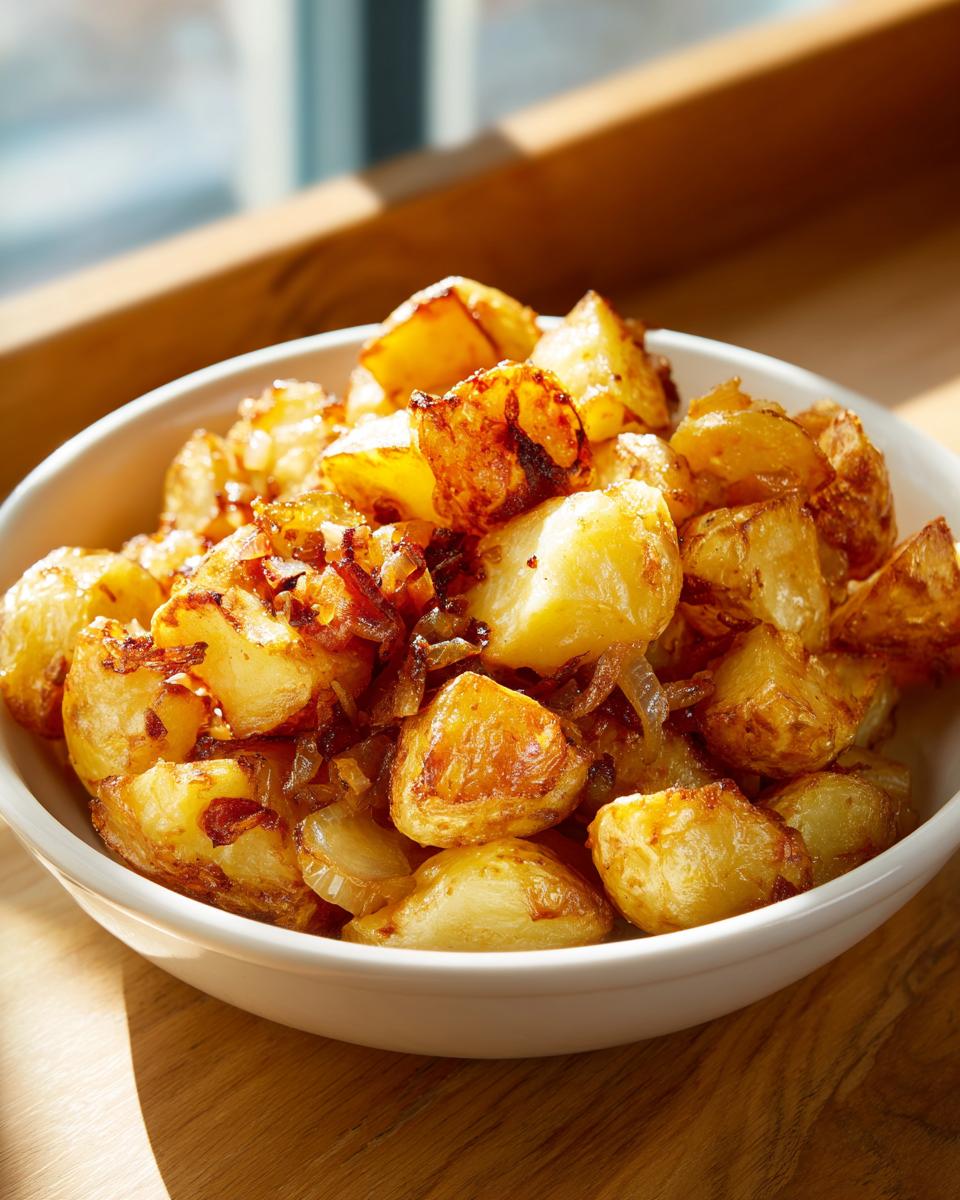
Heat your fat over medium heat; I mean it, medium! High heat burns the outside before the inside even thinks about softening up, and that’s how you end up with chewy, sad potatoes. Once that grease is shimmering, layer those dry potatoes in a single layer—don’t pile them up! Now, step away. Let them sit undisturbed for eight minutes. This builds the crust! After that initial setting time, you can start stirring frequently—this is where you transform them into beautiful Home Fried Potatoes Technique masterpieces—until they are deeply golden and tender all the way through.
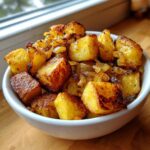
Adding Aromatics: Perfecting Your Potatoes and Onions Side Dish
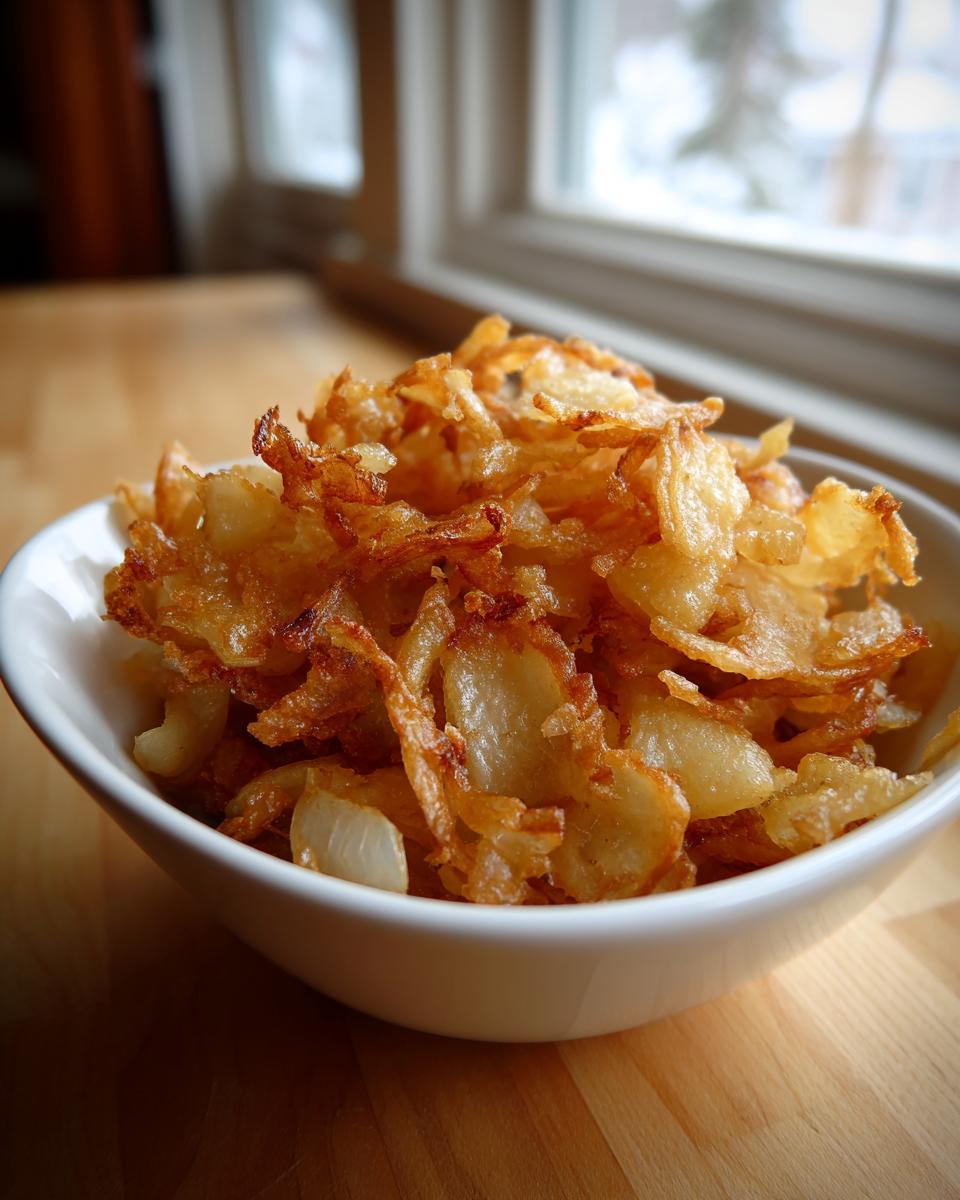
Now that you’ve built that gorgeous golden crust on your potatoes, it’s time to bring in the flavor stars: the onions! If you toss those onions in too early with the potatoes, you’ll end up with onions that are burnt shriveled crisps by the time the potatoes are even tender. We want them soft, sweet, and slightly caramelized!
This is why timing is everything for a great Potatoes and Onions Side Dish. You want to wait until the potatoes themselves are looking pretty good—maybe about 5 minutes left of total cooking time. That’s when you toss in your diced sweet onion. Give everything a gentle stir to combine the potatoes and the fat base.
Watch them soften up! The onions will soak up all that incredible flavor from the bacon grease or butter we used for frying. This low and slow finish lets them turn that beautiful translucent dark color without turning bitter. I actually love peeking at the pan during this stage over at this Southern recipe for inspiration on just how dark they should get.
Once the potatoes are fork-tender and the onions are exactly how you like them—I prefer mine soft and sweet—that is your queue to hit them with the salt, pepper, and any optional seasonings you’re loving. Give it one final stir to make sure that seasoning coats every little piece. Don’t season too early, or salt can actually draw moisture out of the potatoes!
Tips for Success When Making Old Fashioned Fried Potatoes
I’ve got a few hard-earned nuggets of wisdom here that really separate the soggy potatoes from the gloriously crunchy ones. These aren’t just suggestions; these are the things my grandmother hammered into me about getting those perfect Golden Brown Potatoes time and time again. If you treat your ingredients right, they will absolutely reward you!
First off, you need the right vehicle for the job. Ditch that thin, flimsy pan! You have to use a heavy-bottomed skillet. A cast iron skillet is the absolute best choice here because it holds and distributes heat so evenly. If you have hot spots, you absolutely will get some burnt bits and some undercooked bits. We don’t want that uneven cooking!
My second crucial tip circles back to temperature, which is so important for this Old Fashioned Fried Potatoes method. When you drop those dry potatoes into the hot fat, it should sizzle immediately, but it shouldn’t instantly smoke or sputter wildly. If it’s too cool, the potatoes soak up the grease and get soggy—that’s the #1 homemade mistake! But if it’s too hot, like I said before, you burn the outside. Keep it steady at medium heat, and let the cooking time do the heavy lifting.
And finally, patience is key when you are going for that crispy exterior. I know we are all busy, but once you spread those potatoes out in the pan, you have to leave them alone for those first 8 to 10 minutes. Don’t touch them! You are trying to form a crust, like baking bread. If you stir them too soon, you break that crust before it even fully forms, and you are back to square one.
Serving Suggestions for Your Skillet Potatoes Recipe
Alright, you’ve got this gorgeous pile of crispy, golden fried potatoes sitting fresh in the pan, seasoned perfectly. Now what? Honestly, these are great all by themselves, but they really shine when paired with other comfort classics. They are the MVP of easy side dishes!
If you’re whipping these up early in the morning, they become the star of any breakfast plate. I love mine next to sunny-side-up eggs where the runny yolk gets all soaked up by the starchy insides. A little crispy bacon or sausage on the side, and you’ve got a **Breakfast Potatoes Recipe** that beats any diner special. Seriously, I think the yolk is just the perfect sauce for these Skillet Potatoes Recipe creations.
For dinner, these are wonderful tucked alongside something hearty. They work surprisingly well with a simple grilled pork chop or even a quick weeknight steak. If you’re going for that true Southern vibe, serve a heaping portion next to some crisp, pan-fried chicken. You can find some amazing ideas for pairing them over on this site for dinner inspiration!
They pair perfectly with anything savory, so don’t overthink it! The key here is to let the texture of the potatoes be the highlight. They don’t need fancy sauces; they just need to be perfectly crisp and waiting for whatever you serve them alongside.
Storage and Reheating Instructions for Leftover Fried Potatoes
Now, I know these Southern fried potatoes are so good you could probably eat the entire batch yourself—I’ve certainly been tempted! But if, and I mean *if*, you happen to have any delicious leftovers, we need to talk about how to treat them right. We don’t want to sacrifice that glorious crispiness we worked so hard to achieve, right? That’s where proper storage and reheating come in.
When it comes to storing them, you want to keep them in an airtight container. Pop them in the fridge, but try to eat them within three days, tops. The longer they sit, the more moisture they absorb from the overall environment, and that’s when they start losing the battle against sogginess.
The microwave is your enemy here. Seriously, don’t even try it unless you enjoy gummy, steaming potatoes. Microwaves reheat quickly but they steam everything, turning your crispy edges into limp sponges. We can do better than that!
The Best Way to Restore Crispness When Reheating
If you want your fried potatoes to taste almost as good as fresh, you need dry heat. My absolute favorite way to bring them back to life is in the oven. Spread them out in a single layer on a baking sheet—this is key, don’t pile them up!—and bake them at about 375°F for about 10 minutes. If they are really soft, you might need to bump the heat to 400°F for the last couple of minutes to really force that moisture out and bring back the crunch.
If you’ve got an air fryer, that is a close second! Air fryers are fantastic at drying things out rapidly. Toss those cooled leftovers in the air fryer basket, skipping overcrowding, and cook them at 375°F for maybe 6 to 8 minutes, shaking the basket halfway through. They come out beautifully golden so you can enjoy your Home Fried Potatoes Technique success all over again!
Frequently Asked Questions About Making Fried Potatoes
I get tons of messages about this recipe, which just proves how much everyone loves classic comfort food! You all want those perfect Diner Style Potatoes, and I want to make sure you get them. Here are the questions I hear most often about getting that crispness just right.
Can I make these potatoes ahead of time?
You totally can do some prep work ahead of time, which is great if you’re making a huge brunch spread! You can dice your Russets and even rinse them. But here’s the thing: once they are rinsed, you must keep them submerged in cold water in the fridge, and you have to rinse and dry them again right before they hit the fat. For the best texture in your final fried potatoes, I highly recommend slicing them, drying them really well, and then frying them fresh that day. Par-boiling first can lead to a softer interior when frying later, which skips the speed advantage of this recipe.
What is the secret to achieving Tender Inside Crispy Outside Potatoes?
It truly boils down to two things we talked about earlier, but they are worth repeating because they are absolute game-changers for a great Breakfast Potatoes Recipe! First, you have to get them bone dry after rinsing. Seriously, wipe every drop of water away; moisture equals steam, and steam stops crisping. Second, you must control your heat! Medium heat is your friend. It cooks them slowly so the inside turns fluffy while simultaneously building that golden crust on the outside—never high heat!
Why are my fried potatoes getting soggy instead of crispy?
This is almost always one of three things, and they are all fixable! Either your pan wasn’t hot enough when the potatoes went in (they started soaking up the fat instead of frying in it), you didn’t dry your potatoes well enough, or you crowded the pan. Cutting them in a single layer is non-negotiable! If you pile them high, the ones on the bottom steam up, and that’s the end of the crispiness dream. Check out the details about checking our privacy policy if you ever wonder how we handle your data here on the site!
Nourishing Your Day with Simple Comfort Food Potato Recipes
Well, folks, that’s it! We’ve created something magical from just a potato and some fat—classic, comforting, perfect fried potatoes. Now comes the fun part: enjoying them!
I really hope you give this Skillet Potatoes Recipe a try this week. When you do make them, circle back here and leave us a star rating! I’d also love to hear your favorite way to serve these up. Are you team breakfast potatoes piled high with eggs, or do you prefer them alongside a big dinner roast? Drop me a line over at my contact page!
PrintCrispy Southern Fried Potatoes with Onions
Make classic Southern fried potatoes that are golden brown and crispy on the outside and tender inside. This skillet recipe uses simple ingredients for a comforting side dish perfect for breakfast or dinner.
- Prep Time: 15 min
- Cook Time: 25 min
- Total Time: 40 min
- Yield: 4 servings 1x
- Category: Side Dish
- Method: Pan Frying
- Cuisine: American
- Diet: Vegetarian
Ingredients
- 2 pounds Russet potatoes, peeled and diced small
- 1 small sweet onion, diced small
- 1/2 cup bacon grease (or substitute with butter)
- 1/2 teaspoon kosher salt
- 1/2 teaspoon black pepper
- 1/2 teaspoon Creole seasoning (optional)
Instructions
- Dice your potatoes into small, uniform pieces. Rinse the diced potatoes under cold water until the water runs clear, then drain them well. Pat the potatoes very dry with paper towels. This step helps achieve crispy fried potatoes.
- Place a large, heavy-bottomed skillet over medium heat. Add the bacon grease and let it melt until shimmering.
- Add the diced potatoes to the hot skillet in a single layer if possible. Do not overcrowd the pan; work in batches if necessary.
- Cook the potatoes without stirring for about 8 to 10 minutes until the bottoms are golden brown.
- Stir the potatoes and continue cooking, stirring every few minutes, until they are tender throughout and deeply golden brown on most sides, about 15 to 20 minutes total cooking time.
- Add the diced onion to the skillet with the potatoes during the last 5 to 7 minutes of cooking. Cook until the onions soften and caramelize slightly.
- Season the potatoes and onions with salt, pepper, and Creole seasoning, if using. Stir to combine.
- Serve your perfectly cooked fried potatoes immediately as a delicious side dish.
Notes
- For the best texture, ensure your potatoes are completely dry before they hit the hot fat.
- If you do not have bacon grease, use butter or a mix of butter and vegetable oil for frying.
- To achieve a tender inside and crispy outside, cook over medium heat. High heat will burn the outside before the inside softens.
Nutrition
- Serving Size: 1 serving
- Calories: 300
- Sugar: 2
- Sodium: 450
- Fat: 18
- Saturated Fat: 7
- Unsaturated Fat: 11
- Trans Fat: 0
- Carbohydrates: 32
- Fiber: 3
- Protein: 4
- Cholesterol: 15