
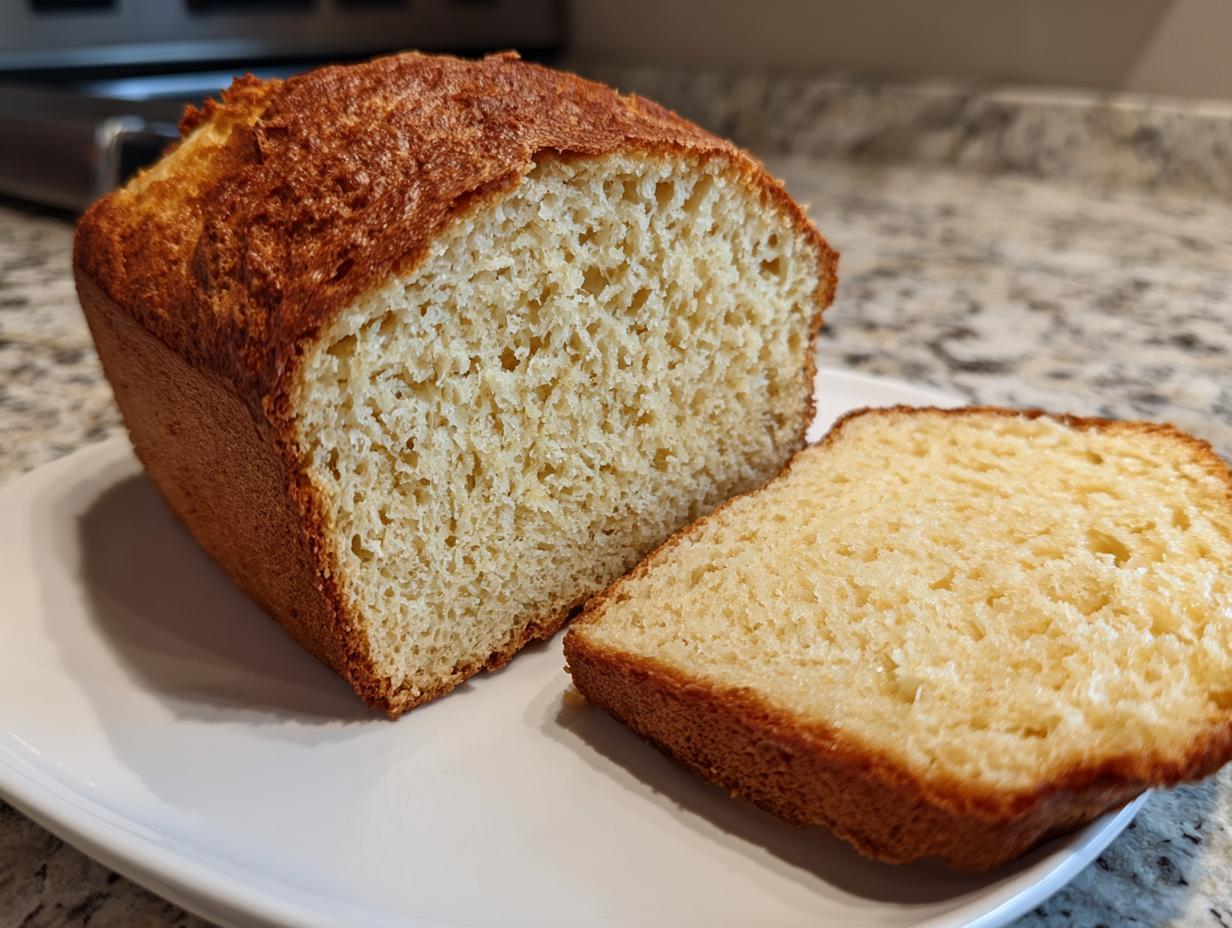
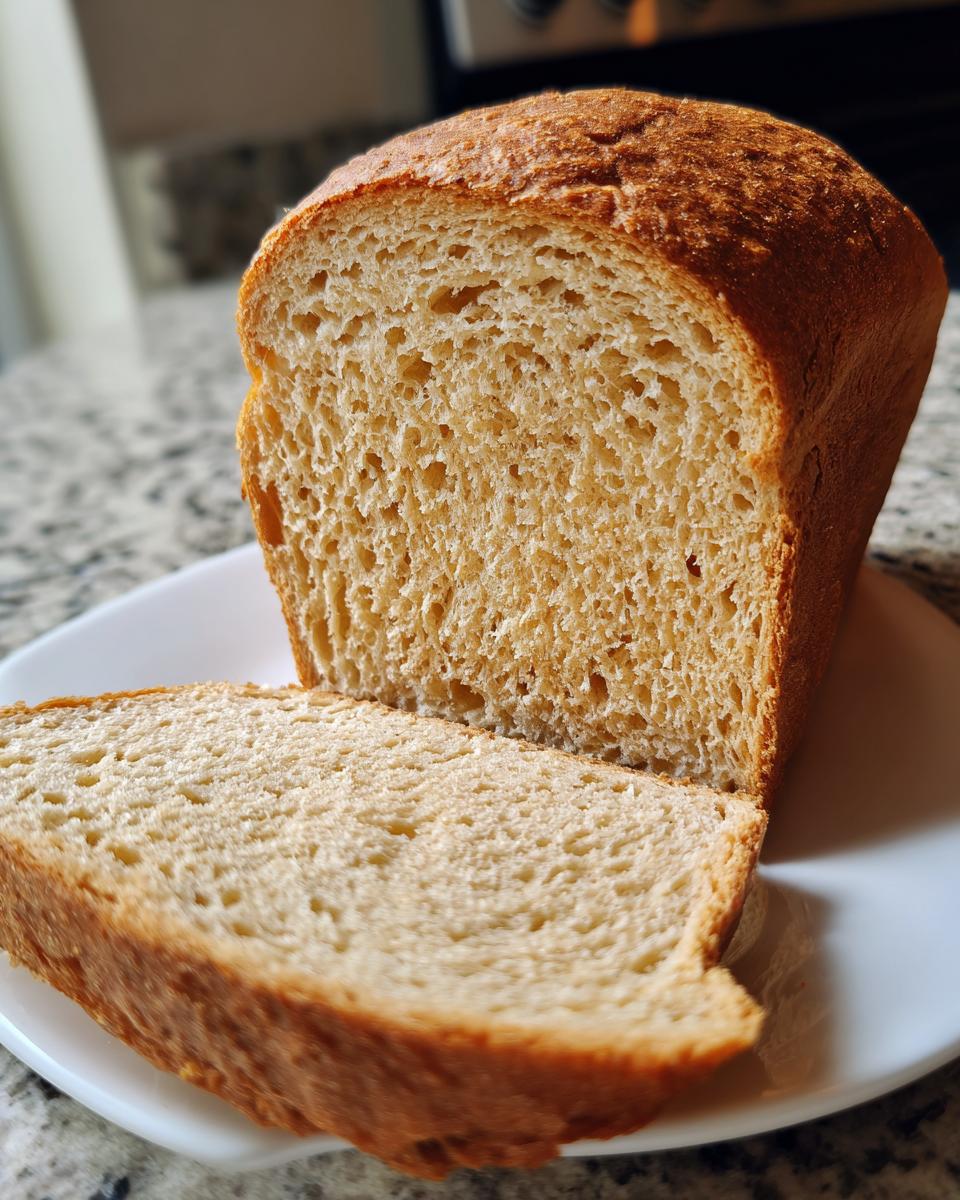
When life gets hectic—and let’s be honest, it often does—we crave food that wraps us up like a warm blanket but doesn’t demand hours in the kitchen. I’ve been there, feeling that pull between wanting real, homemade comfort food and needing something on the table fast. That’s why I’m thrilled to share what might just be the easiest, most satisfying loaf you’ll ever make: our three-ingredient **beer bread**.
There’s no fuss here, y’all. Absolutely no yeast, no kneading, and frankly, no waiting! This Quick & Easy No Yeast Beer Bread proves that simple ingredients, when treated with respect, create pure magic. This isn’t about complicated techniques; it’s about honoring that fundamental joy of setting a truly delicious, savory side dish loaf on the table without breaking a sweat. Welcome back to easy baking!
- Why This Quick & Easy 3-Ingredient Beer Bread Recipe Works (No Yeast Needed)
- Essential Ingredients for Perfect 3-Ingredient Beer Bread
- How to Prepare Your Simple Homemade Bread: Step-by-Step Beer Bread Instructions
- Tips for Success: Achieving a Crispy Crust Bread Every Time
- Variations: Making Cheesy Garlic Beer Bread
- Serving Suggestions for This Dinner Side Bread
- Storage and Reheating Instructions for Leftover Beer Bread
- Frequently Asked Questions About Making Beer Bread
- Share Your Homemade Quick Baking Experience
Why This Quick & Easy 3-Ingredient Beer Bread Recipe Works (No Yeast Needed)
When I first started adapting my grandmother’s recipes for my busy city life, I needed baking ideas that were nearly foolproof. This **No Yeast Bread** recipe became my ultimate go-to because it completely sidesteps the yeast ritual. You’re looking for a satisfying bake, and you want it fast, right? This is the answer!
The reason this Quick Bread Recipe is so fast is all about chemistry. We skip yeast, which requires hours to wake up and do its job, and rely instead on baking powder. When that baking powder meets the acid naturally present in the beer, it creates a rush of carbon dioxide bubbles. That fizz gives us the lift we need, perfectly aerating the dough without any kneading or waiting time. It’s such a wonderful **weeknight baking idea** when you realize at 6 PM you need a fresh side dish for dinner. I always keep a can of room-temperature beer handy just for moments like this. You can find some great tips on making quick bakes for busy nights over at this site.
The Magic of Baking Without Yeast
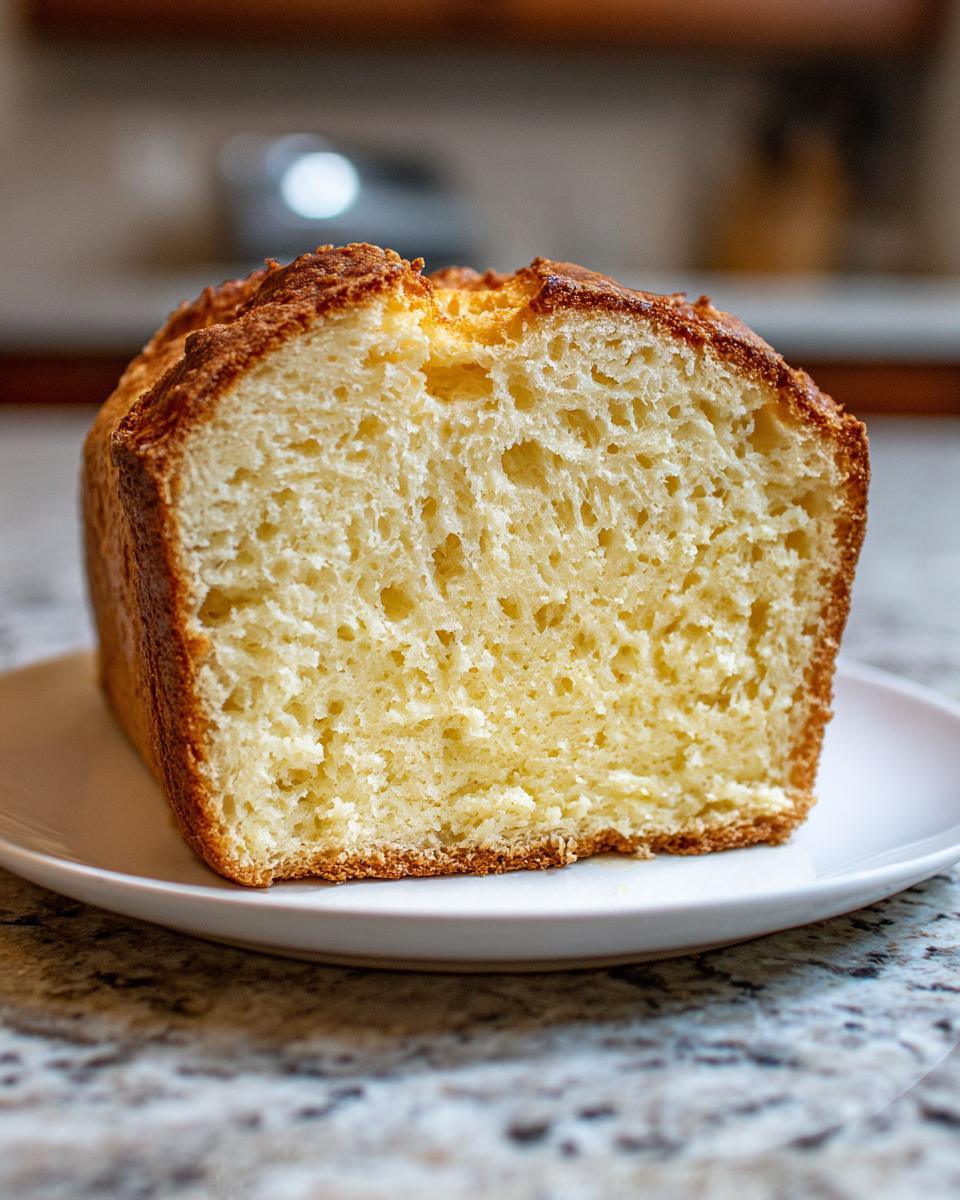
We are using chemical leavening here, which is your baking powder, instead of biological leavening (yeast). This means instantaneous lift once the ingredients mix! Yeast takes patience, but baking powder reacts right away when wet. This quick reaction is exactly what gives you that wonderfully **Soft Center Bread** texture so quickly. You just stir it, pour it, and bake it. That’s the beauty of this simple homemade bread!
Essential Ingredients for Perfect 3-Ingredient Beer Bread
The real beauty of this recipe, which really nails that **Easy Bread Recipe** feeling, is that you only need three things! When I say simple, I mean absolutely minimal shopping required. But every ingredient needs to be correct, otherwise, you won’t get that rise. I learned this the hard way after trying to use cold beer once—oops! That’s why I always stress ingredient clarity here to ensure you get that satisfying loaf we talked about.
Ingredient Clarity: Flour, Baking Powder, and Beer
You’ll need exactly three cups of standard all-purpose flour to start things off. Then, measure out one tablespoon of baking powder—don’t skip that, it’s our lift engine! Finally, and this is the critical bit for this **beer bread**, you need one full 12-ounce can of beer. And listen closely: that beer absolutely must be room temperature. If it’s cold, the carbonation won’t react as strongly with the baking powder, and your bread will just fall flat. Trust me on this!
How to Prepare Your Simple Homemade Bread: Step-by-Step Beer Bread Instructions
Okay, now for the fun part! This is where we turn those few pantry staples into a beautiful, **Savory Quick Bread**. Because this recipe is so straightforward, it’s a fantastic starter for anyone new to baking; it really makes you feel like a wizard. Remember, we want speed and simplicity here, which is why this is such a reliable **Easy Bread Recipe** for busy evenings. You’ll find the full instructions below, which are perfect for making delicious bread without any fuss.
First things first, crank that oven up to 375 degrees Fahrenheit immediately, and don’t forget to grease and flour your standard loaf pan. We want that loaf to slide out without a fuss later! Once the oven is warming up, you can move straight into mixing because there’s zero rising time to worry about. If you want some inspiration on classic, no-fuss baking, check out this great recipe here.
Mixing the Batter for Your Savory Quick Bread
In a nice big bowl, whisk together your flour and baking powder until they are just happily combined. Now, dump in that room-temperature can of beer all at once. This is crucial: take a spoon and stir it—but only until the ingredients just come together. I mean it, stop stirring when you see a few lumps! If you start beating this batter like you’re making cake mix, you’ll overdevelop the gluten, and trust me, that results in a tough, chewy loaf. A few lumps are perfectly acceptable; they are your sign that you’re about to have a perfectly tender crumb.
Baking Time and Testing for Doneness in Your Beer Bread
Pour that slightly lumpy batter straight into your prepared pan. It should look pretty thick! Pop it into that hot oven and let it bake for about 45 to 55 minutes. You’ll know it’s getting close when the top turns that gorgeous deep golden brown color we all want. To check for doneness, use the classic toothpick test: insert it near the very center. If it comes out clean, you’re golden! If it looks wet, give it another five minutes and check again. After you pull it out, leave your **beer bread** in that pan for exactly 10 minutes. This lets it stabilize. Then, gently turn it out onto a wire rack to cool completely or, let’s be real, so you can slice into it immediately!
Tips for Success: Achieving a Crispy Crust Bread Every Time
Everyone wants that perfect result when they bake this loaf—you know, the kind where the crust shatters just slightly when you tap it, giving way to that soft, fluffy interior. This is all about texture texture texture! Since we aren’t using any fancy techniques, nailing the finishing touches makes all the difference in turning this simple **3 Ingredient Bread** into something truly memorable, especially if you’re serving it as a **Dinner Side Bread**.
Choosing the Right Beer for Your Beer Bread Flavor
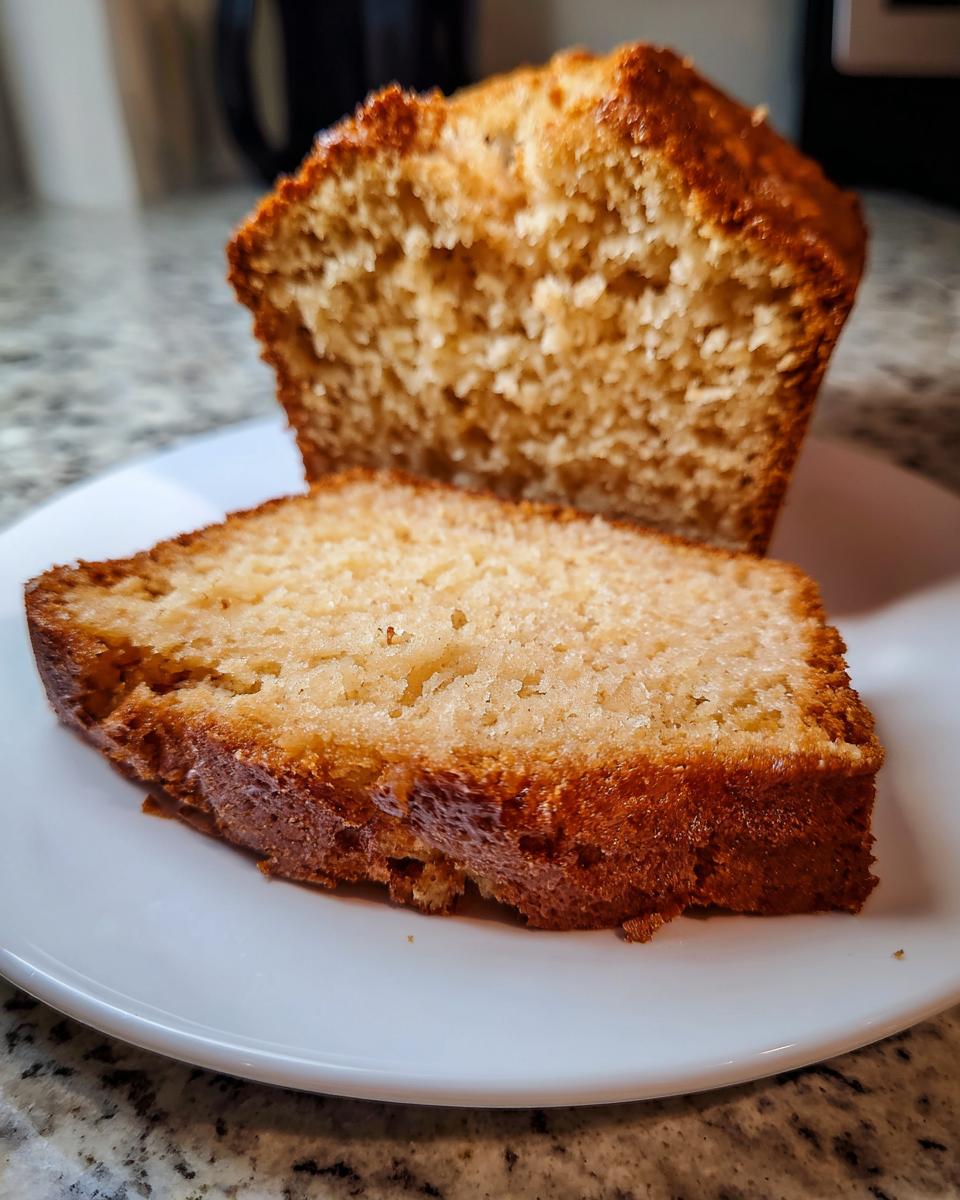
While you *can* use any beer you have on hand, I’ve found that the style of beer you grab really impacts the final taste. If you want your loaf to be subtle and mild, stick with a light American lager. However, if you want that deep, comforting, slightly malty flavor that really screams comfort food, go for something darker. Amber ales or even a nice stout give your **beer bread** so much more depth. It’s amazing how much flavor one can contributes!
The Buttery Bread Recipe Finish
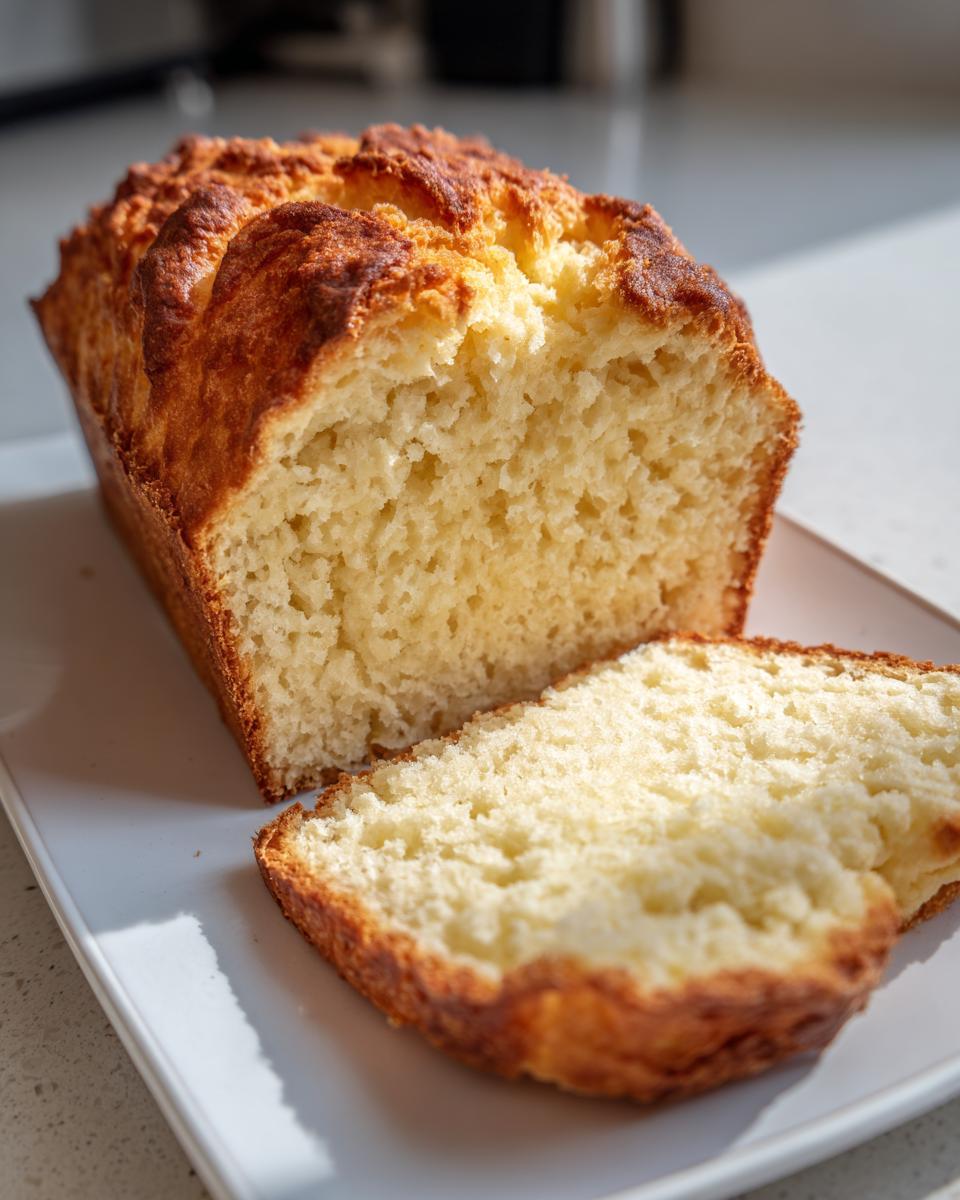
This next step is non-negotiable if you want that ultimate **Crispy Crust Bread**. The absolute second you pull that hot loaf out of the pan—and I mean immediately—brush the top generously with melted butter. It doesn’t need sugar or anything else, just good old-fashioned butter. The heat of the bread melts the butter right into the crust, sealing in moisture on the inside while creating that irresistible buttery, crisp exterior. It’s a necessary step for the perfect texture. If you’re looking for ways to jazz this up next time, you could definitely look into making a variation, like the flavor profiles found in this cheesy version.
Variations: Making Cheesy Garlic Beer Bread
Once you master the basic three-ingredient loaf, you realize how much potential this **beer bread** actually has! It’s wonderfully sturdy, which means it handles extra ingredients so well. I adore making a batch of **Cheesy Bread Variations** when I know we’re serving something spicy, like a great bowl of chili, because this bread is perfect for dipping and scooping. Plus, who doesn’t want cheesy bread for dinner?
It takes virtually no extra effort to transform the base recipe into something much richer. You just need to sneak a couple of extra items into that dry ingredient mix before you add the beer. Think of it as moving from a lovely, simple side dish to a star player on your dinner table!
To turn this into Garlic Cheddar heaven, which tastes almost like those famous biscuits we all love, here’s what you do: Before you whisk the flour and baking powder together, toss in your savory additions. I usually add about one full cup of sharp cheddar cheese—shredded finely works best! Follow that with one to two teaspoons of garlic powder, depending on how much that garlic aroma truly calls to you. Mix those cheeses and spices right in with the flour and baking powder.
Once those additions are mixed well, just proceed exactly as the main recipe dictates: pour in the room-temperature beer and stir until *just* combined. Don’t overmix, remember? That cheese will melt beautifully during the bake time, and you’ll end up with this incredible, savory loaf that’s just begging to be served alongside something warm, like my favorite cornbread casserole recipe you can check out here. It’s honestly a game-changer when you need crowd-pleasing **Quick Dinner Sides** that feel far more gourmet than they actually are!
Serving Suggestions for This Dinner Side Bread
Now that you have this perfect, warm loaf of **beer bread**, the real question is what to serve it with! This is the ultimate **Dinner Side Bread** because it truly plays well with almost anything cozy. I’m talking big, hearty bowls of chili, thick beef stew, or even a bright, flavorful soup.
My favorite pairing, especially when the weather is cool, is serving thick slices of this bread next to my copycat Minestrone soup recipe, which you can find right here. The best part about this loaf, though? It’s fantastic for dipping! Don’t hesitate to use those soft insides to soak up every last drop of broth or sauce. It’s true **Comfort Food Baking** at its finest!
Storage and Reheating Instructions for Leftover Beer Bread
Listen, if you manage to have leftovers of this incredibly easy bake, you are clearly much more disciplined than I am! But for those evenings when this **beer bread** doesn’t get devoured instantly, storing it correctly is key to keeping that soft center intact.
We want to protect that lovely crust we worked so hard to achieve! The best way to store leftover slices—or the whole loaf if you haven’t cut into it—is simply at room temperature in an airtight container. If I slice it, I stack the pieces with a little piece of parchment paper between them so they don’t stick together. You can keep it like this for about two or three days, and it stays surprisingly tender. I’d avoid the refrigerator, honestly, because bread stored in the cold tends to go stale way faster.
Now, the big question: making it taste freshly baked again. You have to warm it up! Resist the urge to just microwave it, because that results in rubbery bread, and we worked too hard for that. The trick to reviving that beautiful exterior is heat. I pop my slice right into a toaster oven for just a minute or two until it’s warmed through and that crust feels just a bit crisp again. If you’re reheating a larger chunk, wrap it loosely in foil and stick it in a moderate oven—say, 300 degrees—for about ten minutes until it’s warm all the way through. You can check out some other bread advice over at this resource if you have questions about storage!
Frequently Asked Questions About Making Beer Bread
It’s funny how even the simplest recipes bring up the most questions! That’s the beauty of home baking, right? Everyone’s kitchen is a little different, and sometimes you need to adjust things slightly. Since this is intended to be a super **Easy Bread Recipe**, I gathered the questions I get asked most often about making sure this **beer bread** turns out perfectly light and fluffy every single time.
Can I use self-rising flour in this 3 Ingredient Bread recipe?
Oh, that’s a great question about adapting your ingredients! Yes, you absolutely can, but you have to make a trade-off. Self-rising flour already contains salt and leavening agents. If you swap in self-rising flour for the regular flour in this **3 Ingredient Bread** recipe, you must remember to completely omit the separate tablespoon of baking powder called for. I haven’t tested the exact ratio, but generally, a cup-for-cup swap works okay. Just be aware that the flavor might be slightly different since the salt content is often higher in self-rising flour.
What is the best beer for beer bread?
The best beer really depends on what flavor vibe you’re going for in your **Savory Quick Bread**! If you want the finished loaf to taste subtly tangy without a lot of noticeable beer flavor, stick to a lighter beer like an American Lager or a Pilsner. Those are great if you plan on smothering it in butter. But if you are looking for something richer, perfect for serving alongside that hearty stew, I strongly recommend using a darker beer, like an Amber Ale or even a Stout. The roasted malt notes really deepen the flavor, giving you that amazing **Comfort Food Baking** experience.
If you want to explore even more great tips on basic baking, you might find some helpful pointers over at Lily Recipes. Happy baking!
Share Your Homemade Quick Baking Experience
Honestly, seeing what you all create in your own kitchens is my favorite part of sharing my recipes here on Misty Plate. This three-ingredient **beer bread** is living proof that we don’t need complicated steps or fancy equipment to make something truly satisfying. It’s just simple ingredients brought together with a little care, which is exactly the philosophy I try to live by—turning those everyday moments into cherished memories around the table.
So, I really want to hear from you! Did you try the basic loaf, or did you go full-on with the Cheesy Garlic variation? Did you serve it next to chili, or did it disappear too fast to need a partner? Please, take a moment and leave a rating right below this section, and drop a comment telling me how your loaf turned out. Hearing about your successes with this **Easy Bread Recipe** helps me know I’m connecting with you all. I love seeing how simple food can bring joy to your busy weeknights! You can read more about why I believe in keeping things simple over on my About page. Happy baking, friends!
PrintQuick & Easy 3-Ingredient No Yeast Beer Bread
Make this simple beer bread with only three ingredients. It requires no yeast and no kneading, resulting in a savory loaf with a crispy crust perfect as a weeknight dinner side.
- Prep Time: 5 min
- Cook Time: 50 min
- Total Time: 55 min
- Yield: 1 loaf (8 servings) 1x
- Category: Side Dish
- Method: Baking
- Cuisine: American
- Diet: Vegetarian
Ingredients
- 3 cups all-purpose flour
- 1 tablespoon baking powder
- 1 (12 ounce) can room temperature beer
Instructions
- Preheat your oven to 375 degrees Fahrenheit. Grease and flour a standard loaf pan.
- In a large bowl, whisk together the flour and baking powder.
- Pour the entire can of room temperature beer into the dry ingredients.
- Stir the mixture gently with a spoon until just combined. Do not overmix; a few lumps are fine.
- Pour the batter into the prepared loaf pan.
- Bake for 45 to 55 minutes, or until the top is golden brown and a toothpick inserted into the center comes out clean.
- Let the bread cool in the pan for 10 minutes before turning it out onto a wire rack to cool completely.
Notes
- Use room temperature beer for the best rise, as the carbonation reacts better with the baking powder.
- For a richer flavor, use a darker beer like a stout or amber ale.
- Slice thick pieces and brush with melted butter immediately after removing from the oven for a buttery bread recipe finish.
Nutrition
- Serving Size: 1 slice
- Calories: 205
- Sugar: 1
- Sodium: 250
- Fat: 1
- Saturated Fat: 0
- Unsaturated Fat: 1
- Trans Fat: 0
- Carbohydrates: 43
- Fiber: 1
- Protein: 5
- Cholesterol: 0