
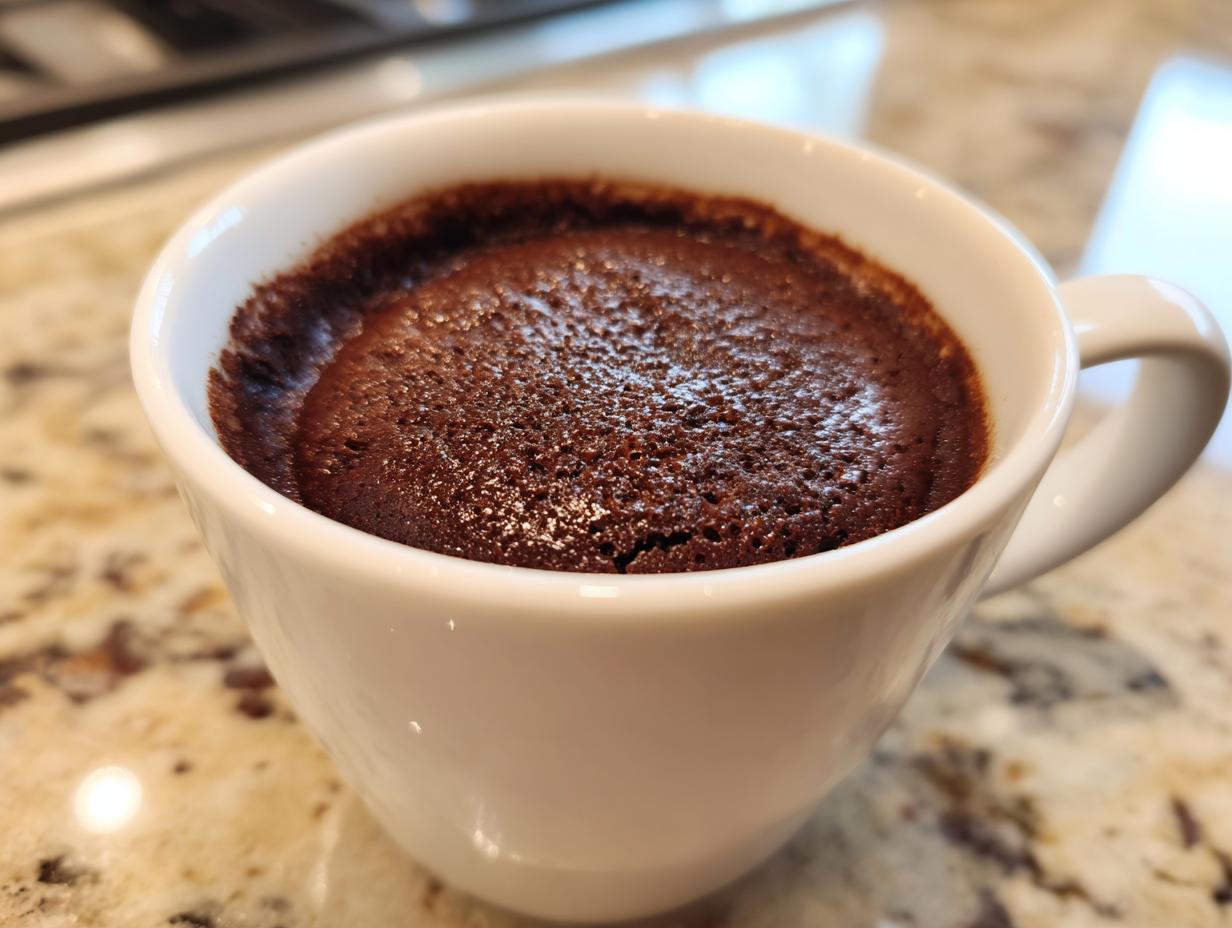
You know those moments? When the day is done, you’re cozy on the couch, and suddenly—*bam*—you absolutely need chocolate, but the thought of pulling out the mixer, greasing a pan, and waiting for the oven to preheat feels like climbing a mountain? Believe me, I’ve been there! That fast-paced life doesn’t mean you have to skip dessert. That’s why I dove deep into pantry staples to create the ultimate **mug cake**. This isn’t some spongy, rubbery microwave mistake, either. This is rich, fudgy comfort, ready in about three minutes. It’s my go-to **cravings buster** because it proves that the best, most satisfying food comes from simple care, not complicated steps. If you’re planning a full menu later, make sure to check out my favorite weeknight dinner ideas!
We’re keeping this recipe straightforward, using ingredients you likely already have on hand, ensuring that your need for a **quick dessert** is met immediately with something truly delicious. Forget the mess; we’re aiming for pure, instant gratification in a mug!
- Why This Fudgy Chocolate Mug Cake is Your New Favorite Quick Dessert
- Ingredients for Your Single Serving Cake
- How to Make the Ultimate Fudgy Chocolate Mug Cake
- Tips for Success When Making a Microwave Dessert
- Storage and Reheating Instructions for Your Dessert in a Mug
- Serving Suggestions for Your Single Serving Cake
- Troubleshooting Common Mug Cake Issues
- Frequently Asked Questions About This Microwave Dessert
- Estimated Nutritional Data for One Serving
- Estimated Nutritional Data for One Serving
Why This Fudgy Chocolate Mug Cake is Your New Favorite Quick Dessert
When I was running around with my city career, I desperately needed a **5 minute dessert** that didn’t taste like sad, microwaved cardboard. This recipe is truly the answer to that problem! It’s built around providing that instant gratification without compromising on that deep, satisfying chocolate flavor we all crave. Trust me, once you try this, it’ll be your go-to.
Instant Gratification: Ready in Under 5 Minutes
Seriously, the total time here is barely three minutes—prep plus cook time! That means from the moment the craving hits to the moment you take that first warm bite, you’re looking at less than five minutes. This is the definition of a **quick dessert**. No preheating, no waiting for the oven; just grab your favorite mug and go!
Achieving the Perfect Moist Mug Cake Texture
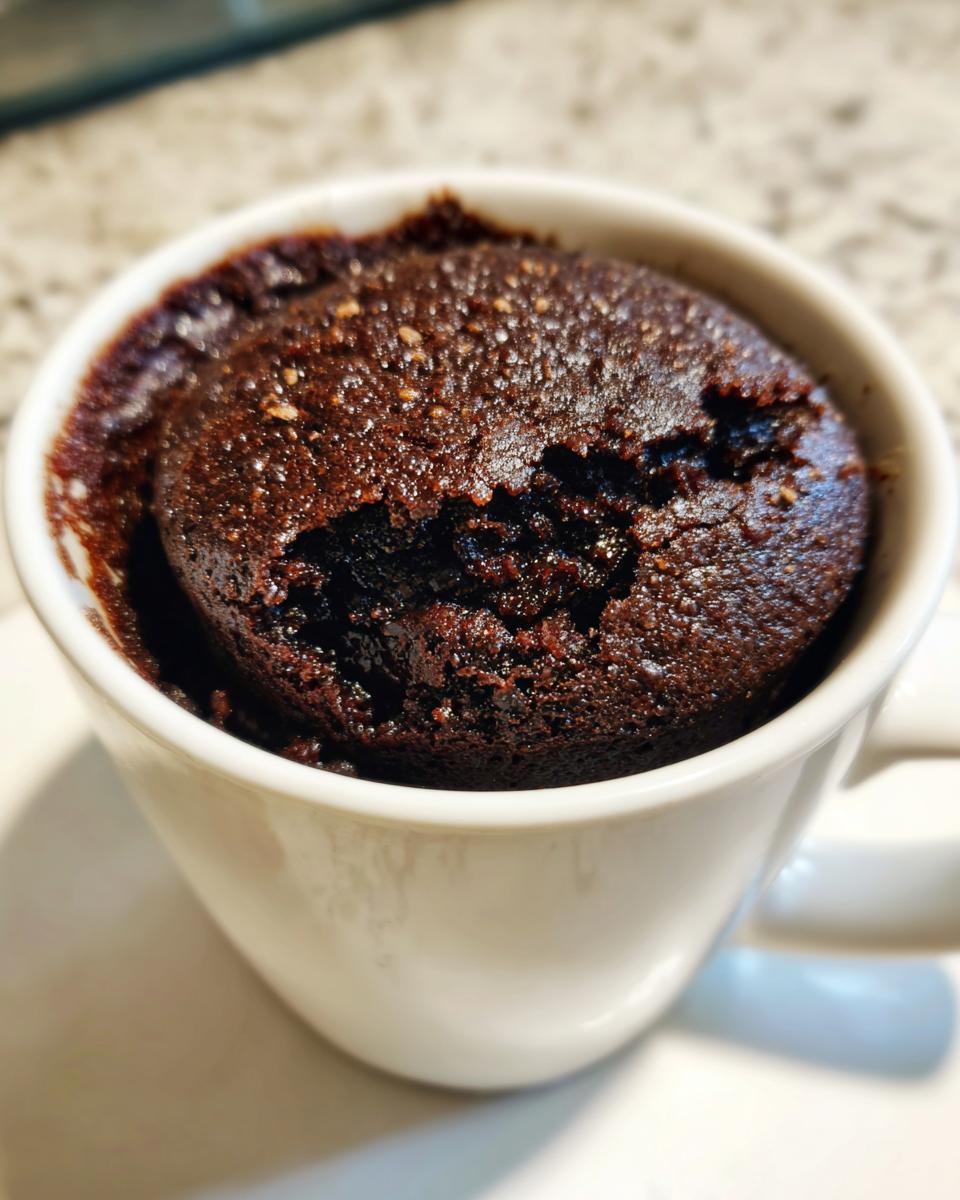
The biggest issue with any **mug cake** is that spongy, dry, rubbery texture, right? Ugh! I hate that. The secret to keeping this a wonderfully **moist mug cake** is two-fold: we use oil instead of solely relying on butter for easy mixing, and we slightly undercook it on purpose. That way, it sets up beautifully but stays fudgy in the middle, like a tiny lava cake just for you.
If you’re looking for more ways to treat yourself without spending hours in the kitchen, take a peek at my full collection of dessert recipes!
Ingredients for Your Single Serving Cake
This is the magic of the **dessert in a mug**, isn’t it? Everything you need is likely sitting right in your cupboard. This recipe is designed to be an **easy homemade dessert** that relies on proper ratios rather than a long ingredient list. You won’t need fancy equipment, just a good fork inside that mug!
Here is what you need for this perfect, rich chocolate treat. Remember, this makes exactly one wonderful serving:
- 4 Tbsp all-purpose flour
- 4 Tbsp granulated sugar
- 2 Tbsp unsweetened cocoa powder
- 1/4 tsp baking soda
- Pinch of salt
- 3 Tbsp milk (dairy or non-dairy)
- 1 Tbsp vegetable oil
- 1/4 tsp vanilla extract
- 1 Tbsp chocolate chips (optional, but highly recommended for extra fudginess!)
If you’re looking for other fast fixes to start your day off right, I have some great easy breakfast recipes that keep things simple too!
Ingredient Notes and Substitutions for Your Mug Cake
I want you to feel comfortable making this whatever way works best for you! That’s part of the fun of home cooking. Since we want this to be as accessible as possible (hello, **pantry staple recipe**!), here are a few notes I always keep in mind when mixing up my **mug cake**.
First, the egg situation: You’ll notice there is absolutely no egg here. That’s intentional! This recipe is naturally egg-free, which helps it avoid that heavy, rubbery texture other microwave cakes get. The baking soda and the liquid work together to give us enough lift.
Next up, the fat. I called for vegetable oil because it stays liquid, helping everything mix easily right inside the mug. But if you have better-tasting oil, or just want a richer flavor, feel free to swap that tablespoon of oil for melted unsalted butter. It’s a straightforward upgrade! And for the milk, whatever you have on hand works—dairy milk, almond, soy, oat—it won’t change the final fudgy result much at all.
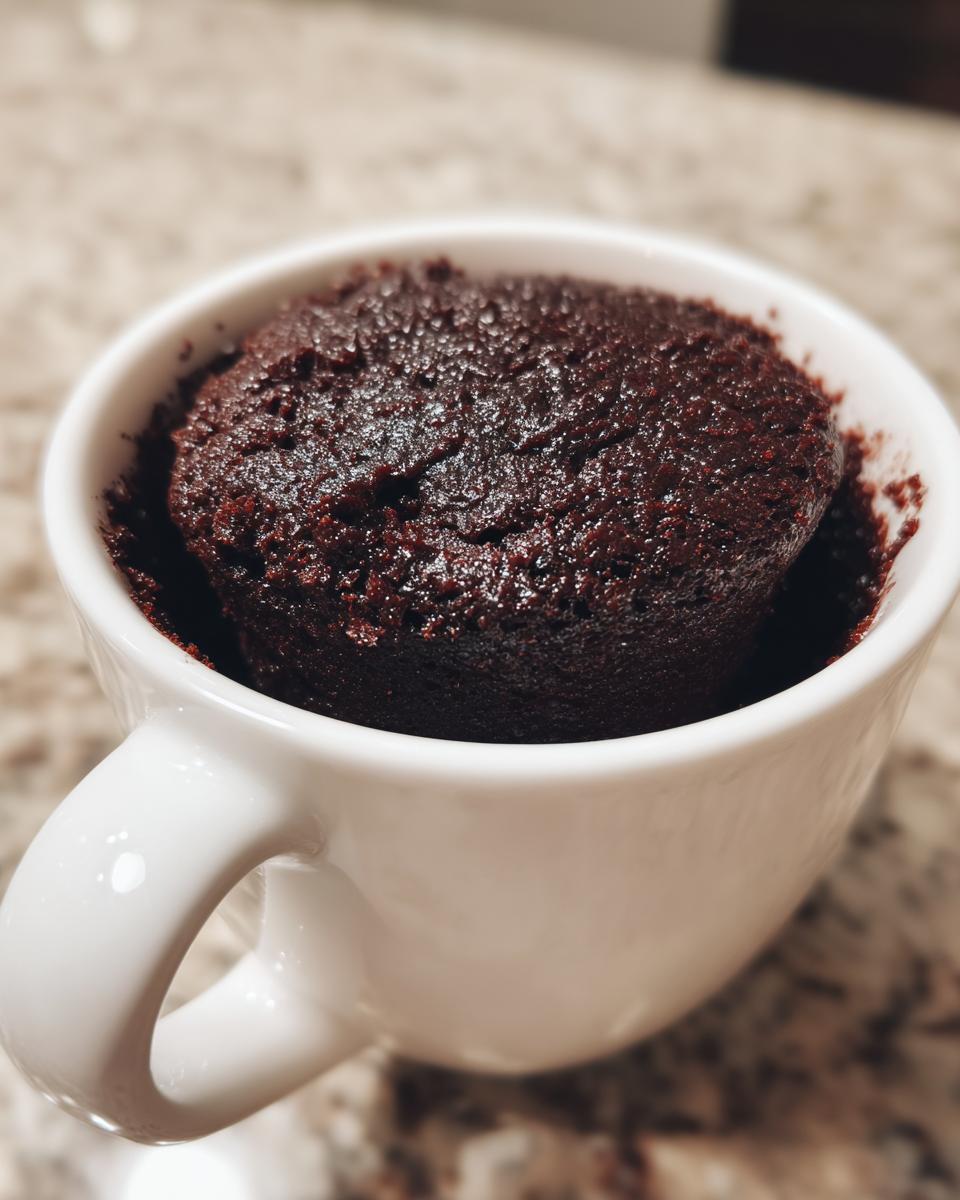
How to Make the Ultimate Fudgy Chocolate Mug Cake
Making this **mug cake** is honestly one of the simplest things you’ll ever do in your kitchen, I promise. We are skipping bowls entirely! That’s right, the beauty of this **single serving cake** is that we mix everything directly inside the vessel you’ll eat it from. Just remember to pick a good, sturdy mug that feels nice to hold!
The instructions are right here. Just follow these steps closely at the beginning, and you will have that perfect, gooey **fudgy chocolate cake** waiting for you in no time.
- First things first, grab a microwave-safe mug. I always grab one that holds at least 10 to 12 ounces just to be safe—nobody wants cake overflow!
- We always start with the dry stuff. Drop the flour, sugar, cocoa powder, baking soda, and that helpful little pinch of salt right into the mug. Take a small fork and seriously mix those dry ingredients until you can’t see any more white flour streaks or dark cocoa spots. This step is key to avoiding weird clumps later!
- Now bring in the wet ingredients: milk (whatever kind you have!), vegetable oil, and the vanilla extract.
- Use that same small fork to gently stir everything together inside the mug until it’s just combined. You want to stop mixing as soon as the dry ingredients are incorporated. If you see a few tiny lumps? That’s totally fine! Overmixing is what makes a **microwave dessert** tough.
- If you opted for those divine chocolate chips, now is the time to fold those in gently.
- Time for the magic! Pop the mug into your microwave. Cook on high power for 60 seconds to start.
- Since every microwave is temperamental, you need to check it. If the top still looks very wet, give it another 10 seconds. Repeat this check every 10 seconds until the top looks set but the center still looks deeply moist and fudgy.
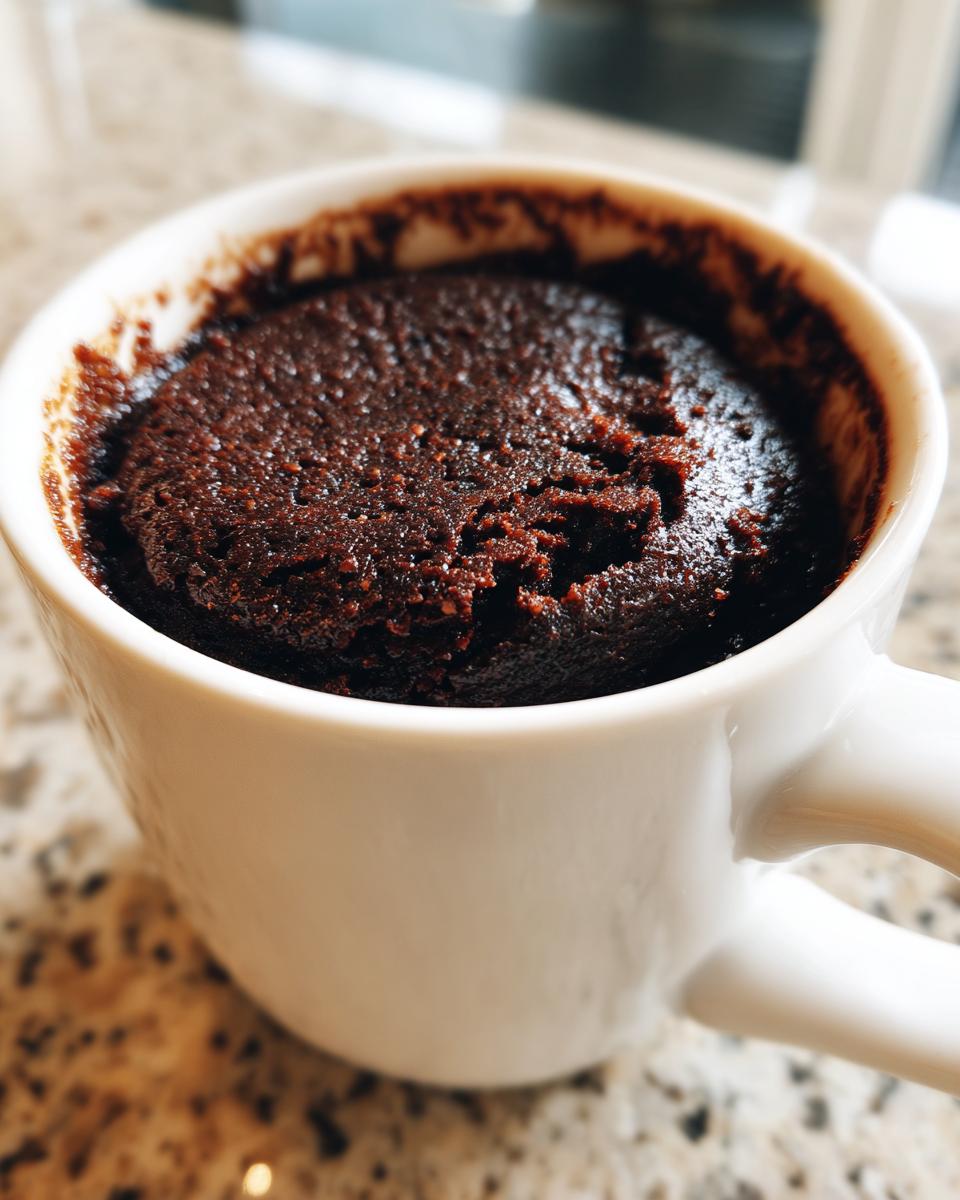
Let it sit for a minute—it’ll be screamingly hot—then dig right in! This is the best **dessert for one** because you eat it straight from the mug.
If you’re looking for a comforting main dish to have before your spontaneous treat, you might love my recipe for easy chicken and green beans skillet!
Mixing Dry and Wet Ingredients for the Best Mug Cake
I can’t stress this enough: you *must* mix the dry ingredients thoroughly before anything wet touches them. Cocoa powder loves to hide in pockets at the bottom of the mug, and if you don’t break it up with the flour and sugar first, you end up with one bite that’s just bitter powder. Mix those dry powders like you mean it! Once you add the milk and oil, switch modes. You only want to gently fold things together until no white streaks remain. Think minimal contact after the wet ingredients go in; this keeps the air bubbles we created when we spooned in the flour, ensuring a **fluffy microwave cake** rather than a dense brick.
Microwave Timing Secrets for a Moist Mug Cake
This is where people go wrong with the **mug cake**, and it always ends up dry! You have to be watching it closely. I know 60 to 90 seconds sounds vague, but the power levels in microwaves vary wildly. If you have a high-powered 1100-watt unit, you might stop closer to 60 seconds. If yours is older or weaker, aim for 80 or 90.
My biggest trick? Always err on the side of undercooking if you want that gooey center. It’s better if it looks slightly too wet when you pull it out because it continues to cook for a minute while it cools on the counter. That residual heat is what guarantees you get that signature **fudgy chocolate cake** texture.
Tips for Success When Making a Microwave Dessert
Even though making a **mug cake** is supposed to be the ultimate **quick dessert** solution, there are a few tiny details that can take it from ‘okay’ to absolutely perfect. I’ve learned these the hard way, usually by cleaning up a chocolate explosion! So grab your favorite sturdy mug, and let’s make sure your next attempt at this **dessert in a mug** is flawless.
When I create these single-serving treats, I pretend I’m making a full cake, just scaled down. A little attention to the vessel and the cooling process makes all the difference.
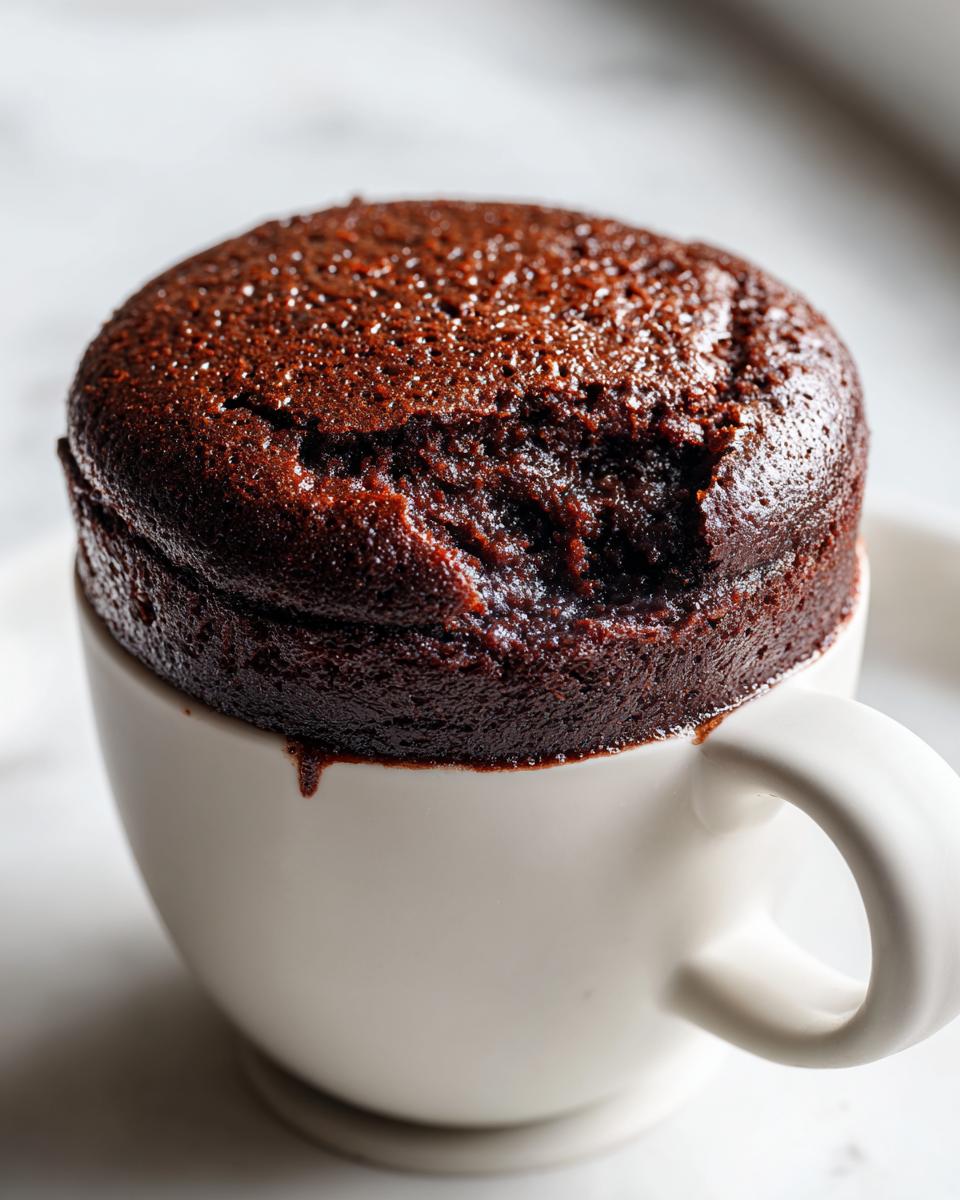
- Choose Your Mug Wisely: This is vital for any **microwave dessert**. Never use a mug smaller than 10 ounces. If you try to cram the batter into a small teacup, it will absolutely rise over the sides during cooking. That sticky brown mess on the ceiling is not worth saving 30 seconds of prep time! Aim for straight-sided mugs rather than ones that drastically taper inward near the middle.
- Don’t Skip the Cool Down: I know the temptation is real when you want that **cravings buster** immediately, but you have to let it rest for at least one minute after the microwave stops. Remember what I said about residual heat? That minute allows the center to firm up just enough so you aren’t trying to eat molten lava. It also prevents you from burning yourself, which is always a win in my book!
- Watch the Baking Soda: Since this **mug cake** uses baking soda for lift instead of egg, ensure your baking soda is fresh. Old baking soda won’t activate properly, and your cake will turn out dense and sticky instead of slightly **fluffy microwave cake**. If your box has been hanging out in the pantry since the last presidential election, now might be the time to swap it out!
For another super easy, family-friendly meal that feels fuss-free—perfect for the night you just want dessert—you absolutely have to try these easy homemade chicken nuggets.
Storage and Reheating Instructions for Your Dessert in a Mug
This is the tricky part about the glorious single-serving **mug cake**: it’s designed for immediate, hot consumption. Like most things made in the microwave, this is truly at its peak texture—moist, fudgy, and perfectly tender—the very second it comes out of the machine (after that mandatory one-minute cool down, of course!).
Because it’s such a **quick dessert**, making it ahead of time really isn’t my top recommendation for flavor quality. When you store it, even in an airtight container, the moisture starts to redistribute oddly, and reheating can easily push it into that dreaded ‘spongy’ territory. It truly shines as an **instant gratification dessert**!
But hey, I get it. Sometimes you make an extra, or you simply can’t finish *all* the deliciousness while it’s warm. If you absolutely must store leftovers, here’s how I manage it:
- Storage: Let the **dessert in a mug** cool completely. Cover the top of the mug tightly with plastic wrap or transfer the cake remnants into a very small, sealed container. It should stay okay on the counter for about 12 hours if nothing else is in the kitchen, but I’d aim to refrigerate anything past a few hours.
- Reheating the Mug Cake: This takes careful handling! If you reheat the whole thing in the microwave for too long, it gets tough fast. Stick it in for just 10 to 15 seconds on about 50% power if you can control it. If you only have high power, watch it like a hawk for 5-second bursts. You are just trying to warm it through, not re-cook it!
Honestly though, if you can possibly avoid storing it, do! The whole point of this **easy baking recipe** is that you can whip up a fresh **single serving cake** whenever the mood strikes. For future reference, if you are planning your meals ahead of time, I always rely on my weeknight dinner ideas list to make sure I have low-effort main dishes ready to go!
Serving Suggestions for Your Single Serving Cake
Just because this **mug cake** comes together in a jiffy doesn’t mean we can’t make it feel like a fancy, decadent treat! That’s the beauty of making a **dessert for one**—you get to customize it completely without worrying about pleasing a whole crowd. This is your moment of simple joy, so let’s dress it up!
Even though this recipe is a fantastic **cravings buster** all on its own, a little topping takes it over the top. These suggestions are perfect whether you’re enjoying a quiet night in or need a cute, fast **no oven dessert** presentation.
- The Classic Crowd-Pleaser: Ice Cream! Seriously, what is better than a warm, fudgy chocolate cake meeting a scoop of cold vanilla ice cream? The contrast in temperatures is just heaven. If you melt the edge of the ice cream slightly, it creates its own little ribbon of sauce right into the warm cake. It turns this into a sophisticated late-night snack idea instantly.
- Whipped Cream and Berries: If you want something a bit lighter, top your freshly cooked **mug cake** with a dollop of fresh whipped cream and a sprinkle of tart raspberries or sliced strawberries. Those berries cut through the richness of the chocolate beautifully, making it feel fresh.
- A Dusting of Magic: Sometimes, the simplest is best. A quick, light dust of powdered sugar just before serving is lovely. If you want to elevate that even further—and this works great if you made the vanilla variation—add a tiny dash of cinnamon sugar on top. It gives you that warm, bready feeling, kind of like a **cinnamon roll bake** but in cake form!
- Extra Goo Factor: If you love layers of texture, drizzle a little extra melted chocolate or a spoonful of warm peanut butter right over the top. If you are feeling really wild, add more chocolate chips right on top *after* it cooks—they will melt slightly but keep their shape.
Remember to always serve this **single serving cake** warm! And if you’re prepping your fridge for fruit later this week, don’t forget to check out my recipe for winter fruit salad—it’s bright and refreshing!
Troubleshooting Common Mug Cake Issues
Okay, let’s talk about the things that go wrong—because they have happened to me, too! When you’re relying on a short burst of microwave energy to bake your **mug cake**, things can occasionally go sideways. But that’s exactly why I’m here! We’re going to solve all those texture disasters so you are only left with the incredible, **fudgy chocolate cake** we promised.
If your **quick dessert** isn’t turning out right, it almost always comes down to two things: too much heat or mistakes in the mixing phase. Let’s dive into preventing that dreaded sponge texture and saving a cake that looks a little…sad.
My Mug Cake Came Out Rubbery or Too Spongy
This is the number one thing I hear people complain about when they try a **microwave dessert**. That tough, chewy outside layer means one thing: you cooked it too long or your ingredients weren’t balanced right. If the recipe calls for an egg, that’s usually the culprit, but since ours is egg-free, it usually means the power setting was too high or you left it in for 15 extra seconds!
The Fix: Pull it out *before* you think it’s done. If the edges look set but the middle still wobbles slightly, take it out immediately. That residual heat will finish the cooking process, leaving you with a **moist mug cake** instead of a bouncy ball. Also, make sure you are just stirring gently when combining wet and dry ingredients; overmixing develops gluten, which leads straight to toughness in a **mug cake**!
My Chocolate Mug Cake Tastes Dry or Crumbly
When the **single serving cake** comes out looking dry, it’s usually a measurement issue or a fat issue. Did you scoop your flour or cocoa powder without leveling it first? Too much dry powder will suck up all the available moisture!
The Fix: When measuring flour and cocoa powder, always use the spoon-and-level method. Spoon the flour lightly into the measuring spoon, then use the back of a knife to level it off. Never pack it down! If your cake seems dry even when you followed the measurements perfectly, try substituting the vegetable oil with melted butter next time. Butterfat equals richness and moisture in any **easy baking recipe**.
I Ended Up With Big Cocoa Pockets Instead of Even Chocolate Flavor
Oops! This is exactly why I harp on mixing the dry ingredients first. Cocoa powder is super fine and loves to settle at the bottom of the mug or cling to the sides. If you dump the milk in on top of unmixed powder, those dry pockets are simply going to absorb the liquid last, resulting in a bite that is wildly bitter compared to the sweet cake around it.
The Fix: You need to whisk the flour, sugar, cocoa, baking soda, and salt together vigorously with a fork *before* adding anything wet. Once the milk goes in, switch to gentle folding. If you see a dry streak when you go to microwave, that’s your warning sign that you didn’t mix the dry ingredients well enough. Next time, really work that fork through the powder layer!
We want every single bite of this **mug cake** to be perfect. If you’ve tried everything and still have questions, please don’t hesitate to reach out to me directly through my contact page. I love hearing how you’re enjoying these simple treats!
Frequently Asked Questions About This Microwave Dessert
When you’re cooking something this quick, sometimes questions pop up that seem small, but they make a huge difference in texture! I’ve gathered the most common things people ask about making this delicious **mug cake**. Remember, this recipe is designed as the ultimate **no oven dessert** solution, so keep that microwave handy!
Can I use cake mix instead of flour for this mug cake?
That’s a fantastic question, especially if you’re in a rush! While this recipe is designed to be made from scratch using basic dry pantry staples like flour and cocoa powder, you absolutely *can* adapt it using a boxed cake mix. People often look for that option for **quick dessert** prep, especially when feeding a crowd of kids. If you swap the 4 Tbsp flour and 2 Tbsp sugar for about 6 Tbsp of cake mix, you should be fine, but you might need to reduce the milk slightly because mixes are often pre-sweetened. My recipe here focuses on whole ingredients, but I know having a mix on hand is a great emergency backup for a **dessert in a mug**!
How do I make a vanilla cake microwave version?
Oh, I love when people customize! If you don’t feel like chocolate one day and want something lighter—maybe leaning toward a **vanilla cake microwave** style—it’s super easy to pivot. To transform this fudgy recipe: simply omit the 2 tablespoons of cocoa powder entirely. Then, to keep the dry/wet balance right since we removed some powder, add one extra tablespoon of flour. That’s it! You’ll end up with a wonderfully light, slightly sweet base that works beautifully on its own or topped with fruit. You’ll still get that perfectly satisfying **single serving cake** texture we love.
I want a cinnamon roll flavor; can I adapt this?
You read my mind! If you’re craving that warm, spiced flavor profile similar to a **cinnamon roll bake**, you can totally riff on this chocolate base. Omit the chocolate chips, use just 1 tablespoon of cocoa powder (or skip it if you want pure vanilla), and add a generous half-teaspoon of cinnamon and a tiny pinch of nutmeg into your dry ingredients. A drizzle of glaze on top afterward brings it home! It stays a fabulous **cravings buster** but swaps the decadence for cozy spice.
For anything else that pops up while you’re experimenting with these quick fixes, hop over to my About Page to learn more about how I develop these recipes!
Estimated Nutritional Data for One Serving
Now, nobody really eats a **mug cake** thinking it’s health food, right? It’s meant to be that perfect little indulgence, that **instant gratification dessert** that hits the spot without blowing your calorie budget for the *entire day*. I’ve run the numbers on the basic recipe (without optional chocolate chips) so you have a general idea of what you’re getting in this single-serving treat.
Please remember, this is just an estimate! If you use non-dairy milk, different types of fat, or add toppings, those numbers will definitely change. But for a quick look at what’s in your **easy homemade dessert**, here are the figures:
- Serving Size: 1 mug
- Calories: 280
- Sugar: 25g
- Fat: 10g (with 3g saturated)
- Carbohydrates: 45g
- Protein: 4g
It’s a rich little treat, perfect for when you need that satisfying sugar hit! When you are planning your proper meals, you can find lots of balanced recipes on my site, like my weeknight dinner ideas collection.
Estimated Nutritional Data for One Serving
Now, nobody really eats a **mug cake** thinking it’s health food, right? It’s meant to be that perfect little indulgence, that **instant gratification dessert** that hits the spot without blowing your calorie budget for the *entire day*. I’ve run the numbers on the basic recipe (without optional chocolate chips) so you have a general idea of what you’re getting in this single-serving treat.
Please remember, this is just an estimate! If you use non-dairy milk, different types of fat, or add toppings, those numbers will definitely change. But for a quick look at what’s in your **easy homemade dessert**, here are the figures:
- Serving Size: 1 mug
- Calories: 280
- Sugar: 25g
- Fat: 10g (with 3g saturated)
- Carbohydrates: 45g
- Protein: 4g
It’s a rich little treat, perfect for when you need that satisfying sugar hit! When you are planning your proper meals, you can find lots of balanced recipes on my site, like my weeknight dinner ideas collection. And just so you know where everything stands, I always make sure my policies are clear, so feel free to review my Privacy Policy if you ever have questions about your data here on the site.
PrintThe 5-Minute Fudgy Chocolate Mug Cake (Moist, No Eggs)

Make this rich, fudgy chocolate mug cake in under five minutes using your microwave. This single-serving cake is the perfect quick dessert for instant gratification and satisfies late-night cravings without needing an oven.
- Prep Time: 2 min
- Cook Time: 1 min
- Total Time: 3 min
- Yield: 1 serving 1x
- Category: Dessert
- Method: Microwave
- Cuisine: American
- Diet: Vegetarian
Ingredients
- 4 Tbsp all-purpose flour
- 4 Tbsp granulated sugar
- 2 Tbsp unsweetened cocoa powder
- 1/4 tsp baking soda
- Pinch of salt
- 3 Tbsp milk (dairy or non-dairy)
- 1 Tbsp vegetable oil
- 1/4 tsp vanilla extract
- 1 Tbsp chocolate chips (optional, for extra fudginess)
Instructions
- Select a microwave-safe mug that holds at least 10-12 ounces.
- Add the dry ingredients directly into the mug: flour, sugar, cocoa powder, baking soda, and salt. Use a small fork to mix these thoroughly until no clumps remain.
- Pour in the wet ingredients: milk, vegetable oil, and vanilla extract.
- Mix everything together inside the mug until just combined. Do not overmix; a few small lumps are acceptable.
- Stir in the chocolate chips, if using.
- Place the mug in the microwave. Cook on high power for 60 to 90 seconds. Start with 60 seconds and check the center. If it still looks very wet, microwave in 10-second intervals until the top is set but the center remains moist.
- Let the mug cake cool for one minute before eating directly from the mug.
Notes
- For a fudgier texture, slightly undercook the cake. It will continue to set as it cools.
- If you prefer a cake without eggs, this recipe uses baking soda for lift and requires no egg.
- If you want a richer flavor, substitute the vegetable oil with melted butter.
- This recipe makes one serving, perfect for a dessert for one.
Nutrition
- Serving Size: 1 mug
- Calories: 280
- Sugar: 25
- Sodium: 250
- Fat: 10
- Saturated Fat: 3
- Unsaturated Fat: 7
- Trans Fat: 0
- Carbohydrates: 45
- Fiber: 2
- Protein: 4
- Cholesterol: 0