
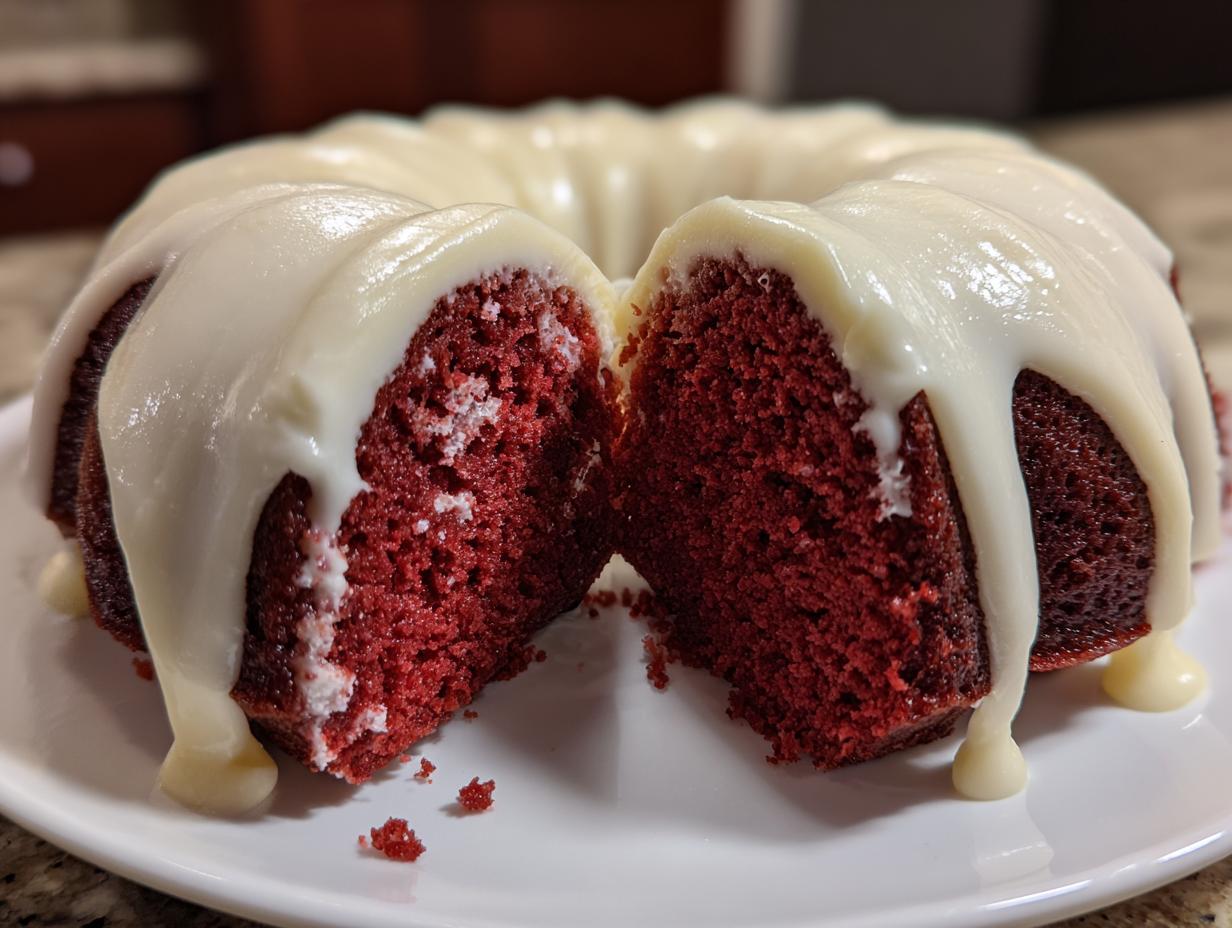
Forget everything you think you know about dry, disappointing Bundt cakes, especially when it comes to that incredible, deep flavor we all love. Baking a showstopper dessert for friends or family should feel joyful, not stressful, right? That’s why I worked tirelessly to perfect this red velvet bundt cake recipe. This version, made completely from scratch, gives you that luxurious, velvety crumb that melts in your mouth, all wrapped up with a bright, tangy cream cheese glaze. It’s proof that simple, honest ingredients, baked with care, make the best memories around the table. This cake truly connects us to great baking traditions without all the fuss. If you love this rich flavor profile, you absolutely must try my classic carrot cake recipe next time you’re in the mood for spice!
- Why This is the Best Red Velvet Bundt Cake Recipe You Will Make
- Gathering Ingredients for Your Homemade Red Velvet Bundt Cake
- Step-by-Step Instructions for the Perfect Red Velvet Bundt Cake
- Crafting the Tangy Cream Cheese Icing for Bundt Cake
- Tips for Success When Baking a Showstopper Red Velvet Bundt Cake
- Making This Red Velvet Bundt Cake a Festive Holiday Red Velvet Baking Centerpiece
- Storage and Reheating Instructions for Your Red Velvet Cake Ring Recipe
- Frequently Asked Questions About Red Velvet Bundt Cake
- Nutritional Estimates for This Decadent Red Velvet Dessert
Why This is the Best Red Velvet Bundt Cake Recipe You Will Make
Wow, there are a lot of recipes out there, but trust me when I say this red velvet bundt cake is the one you should keep. When I developed this recipe, I wasn’t aiming for ‘good enough’; I wanted show-stopping, bakery-quality results for your own kitchen. This cake is different because it checks every box.
- It nails that deep, decadent cocoa flavor without tasting overly artificial.
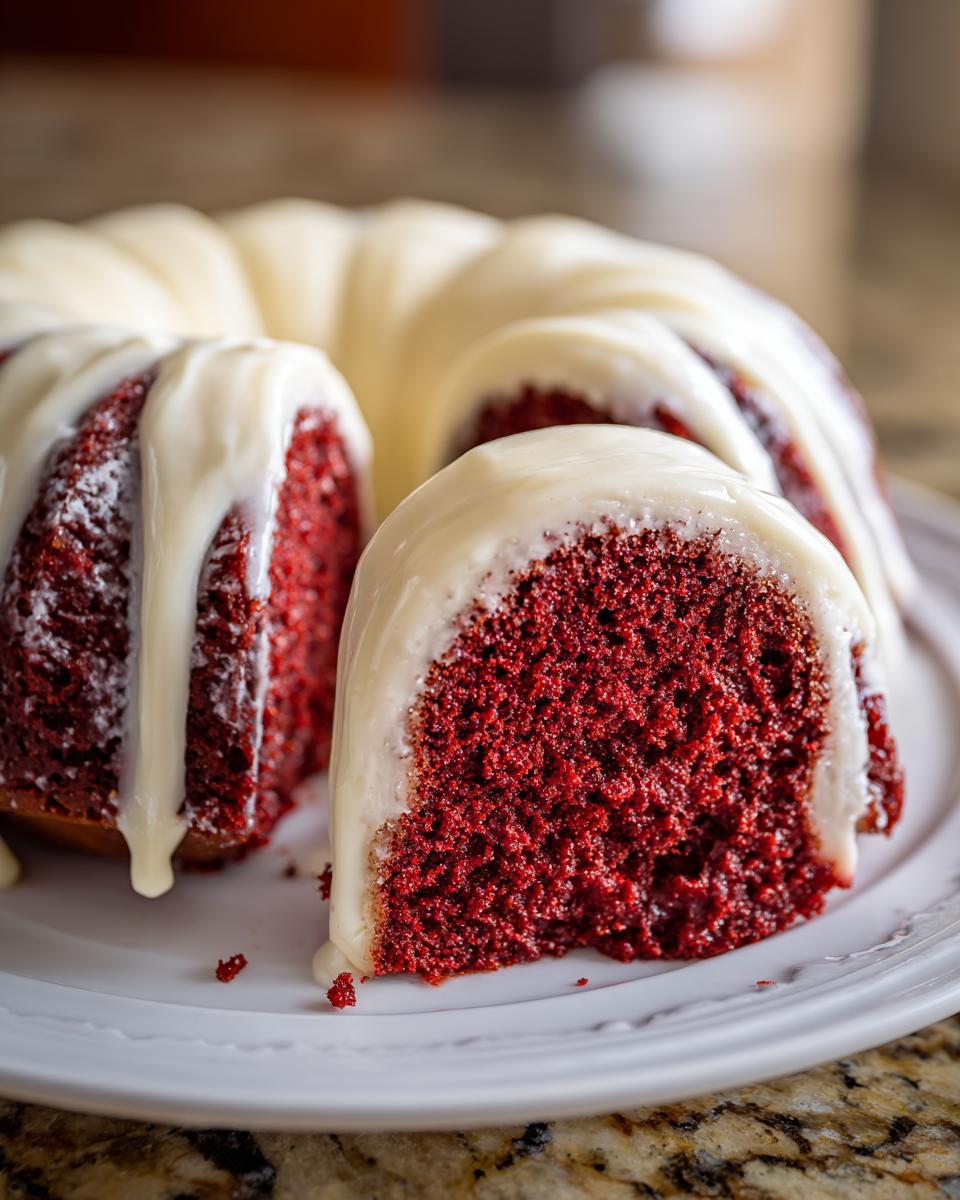
- It always comes out vividly colored—that deep red shade you’re dreaming of.
- It pairs that perfect cake structure with a tangy cream cheese glaze that just sings!
If you’re looking for the Moist Red Velvet Bundt Cake Recipe that won’t leave you reaching for a glass of water, you’ve found it. You can check out my guide on perfect sugar cookie cutouts for inspiration on decorating later, but first, let’s talk texture secrets!
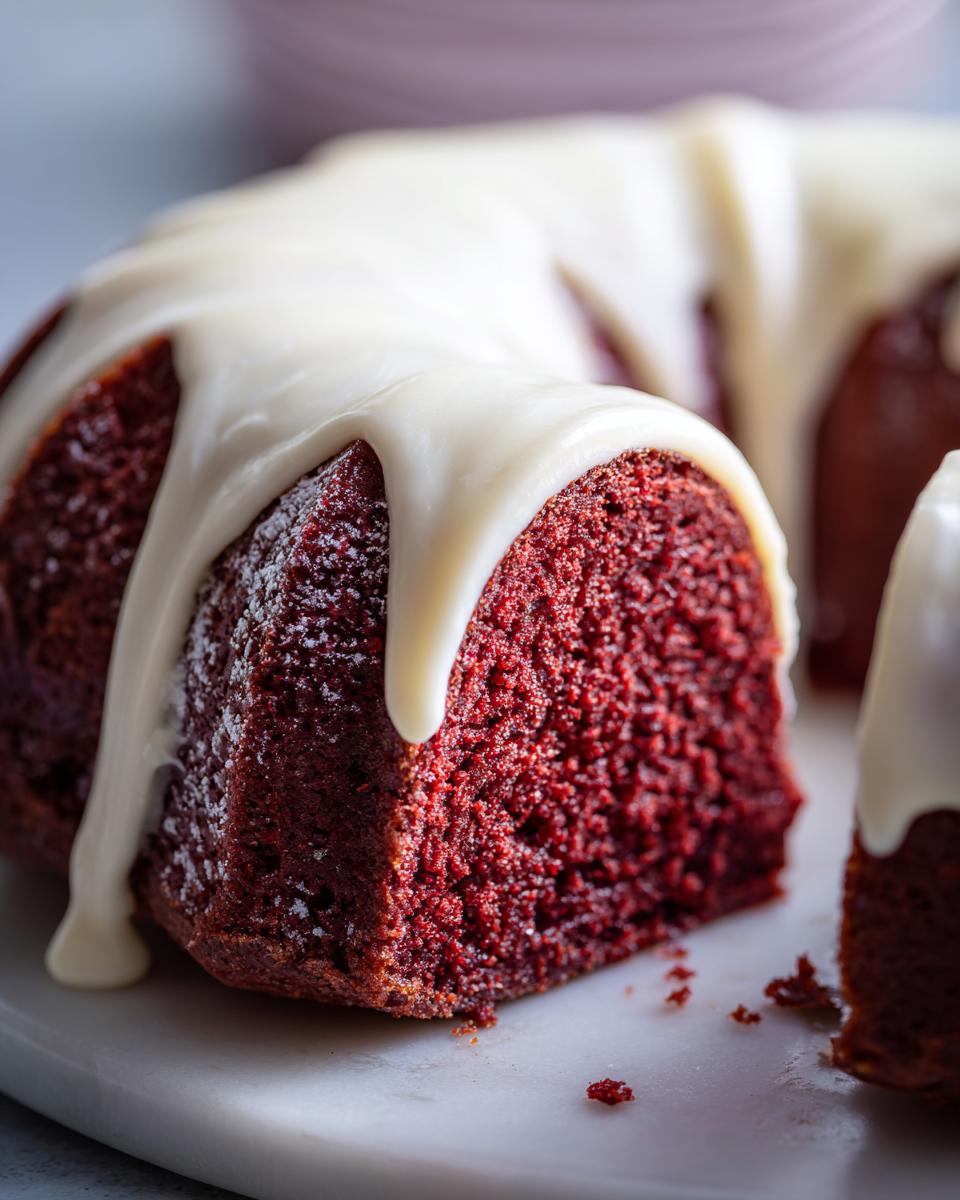
Achieving the Signature Moist Red Velvet Bundt Cake Texture
Moisture is non-negotiable with red velvet, right? You want velvet, not dust! We achieve that luxurious, tender crumb mainly in two ways. First, we use vegetable oil instead of relying only on butter. Oil stays liquid at room temperature, which keeps the cake beautifully soft, sometimes for days! Second, we use buttermilk—it’s essential. The acid in that buttermilk reacts with the baking soda to create the perfect lift while tenderizing the flour. That reaction is key to this Moist Red Velvet Bundt Cake Recipe.
Gathering Ingredients for Your Homemade Red Velvet Bundt Cake
Now that you know *why* this is the best red velvet bundt cake from scratch, let’s talk about the goodies you need to grab! As an advocate for simple, beautiful baking, I promise you don’t need any fancy, impossible-to-find items here. Everything on this list should be easy to pick up at your regular grocery store.
But listen closely—the success of this cake hinges on a couple of small preparation steps before you even turn the oven on. Please, please ensure your eggs and buttermilk are at true room temperature. Cold ingredients fight each other, and that fights our goal of a smooth, cohesive batter. For a truly decadent treat, you’ll want to check out how I make my cream cheese muffins sometime too; that tang is addictive!
Notes on Key Ingredients for Red Velvet Cake with Cream Cheese Glaze
There are two ingredients where a little extra care goes a really long way toward making this the Best Red Velvet Bundt Cake you’ve ever made. First, the buttermilk: if you don’t have any on hand, don’t stress! Just take one cup of whole milk, stir in one tablespoon of white vinegar or lemon juice, and let it sit on the counter for five minutes. It ‘curdles’ slightly, and voilà—homemade buttermilk!
Second, the color! To get that deep, festive red that looks so stunning against the white glaze, skip the watery liquid coloring if you can. Gel paste coloring is much more concentrated. You’ll use less of it, meaning you don’t accidentally add too much liquid to our carefully balanced batter. That focus on quality matters, even in the small details.
Step-by-Step Instructions for the Perfect Red Velvet Bundt Cake
Alright, time to roll up those sleeves! This is where the magic happens, and I want you to feel totally confident as we work through this process for our red velvet bundt cake. Remember, baking is chemistry, but it’s also love, so don’t rush the steps! First things first: get your oven preheated to 325°F (160°C). You need to treat that Bundt pan right, too—don’t skimp on greasing and flouring every crevice! A sticky cake is a heartbreaking cake, and we simply won’t stand for it here.
Before we start mixing, whisk your buttermilk and white vinegar together in a little bowl and let that sit for about five minutes. It settles just enough to start curdling, which gives us slightly better results. If you’re needing a quick refresher on a classic, you can always look over my classic French toast recipe for tips on warming up ingredients!
Mixing the Batter for a Tender Crumb Red Velvet
We start with the wet ingredients: oil, sugar, eggs, and vanilla. Beat those until they look happy and combined. Now, for the dry mountain: flour, salt, cocoa, and leaveners. Don’t just dump it all in! We follow the classic balancing act. Alternate adding the dry ingredients with our waiting buttermilk mixture. I usually go dry, then wet, then dry, then wet, and finishing with the dry ingredients last. Every time you add flour, mix *just* until it disappears. Seriously, stop mixing when you still see a few tiny streaks of flour. Overmixing develops gluten, and gluten is the enemy of a tender crumb in any Velvet Cake Bundt Style!
Baking and Cooling Your Velvet Cake Bundt Style
Once that beautiful, deep red batter is in the pan, slide it into the oven and set your timer for 55 minutes. Every oven is different, so check it between 55 and 65 minutes. We are looking for that wooden skewer test to come out clean—no wet batter clinging to it! If you see moist crumbs clinging to the wood, that’s what we want for a truly decadent slice.
This next part is crucial for a cake that releases perfectly: let the cake sit right there in its warm Bundt pan on a wire rack for exactly 15 minutes. Set a timer for that! After 15 minutes, flip it out onto the rack to cool completely. If you try to glaze it sooner, the glaze will just melt right off, and trust me, you want that thick, gorgeous drizzle to set properly.
Crafting the Tangy Cream Cheese Icing for Bundt Cake
Okay, the cake is resting, and now it’s time for the crowning glory! If red velvet is the beautiful deep mahogany dress, this cream cheese icing is the perfect pearl necklace—it just elevates everything. This glaze cuts through the richness of the cocoa and that subtle tanginess from the buttermilk we used earlier. It’s the essential pairing for any truly great red velvet bundt cake.
You’ll notice in the ingredient list that we use a precise mix of softened cream cheese and softened butter. Don’t get lazy here; they MUST be soft enough to blend easily, or you’ll end up with little lumps in your gorgeous drizzle. Start by beating those two together until they are completely smooth and airy. That step prevents any gritty spots in our final Cream Cheese Icing for Bundt Cake.
Next, we add the powdered sugar slowly. I mean it—slowly! If you dump it all in at once, you’ll create a sugar cloud that will haunt your kitchen for days! Mix until it’s thick, then add the vanilla. If it looks too stiff, just splash in a tiny bit of milk or cream, a half-teaspoon at a time, until it’s thick enough to coat the back of a spoon but thin enough to happily drizzle down the sides of your cooled cake. Seriously, don’t overdo the liquid! When I made this for my neighbor last week, I found that a slightly thicker consistency meant the glaze dripped perfectly along the ridges of the Bundt shape for that incredible presentation we’re aiming for. You can dip into my creamy white pizza sauce recipe for tips on getting ultra-smooth dairy mixtures if you ever need to practice!
Tips for Success When Baking a Showstopper Red Velvet Bundt Cake
You’ve mixed the batter perfectly, and you’ve got that gorgeous glaze ready to go. But how do we make sure this red velvet bundt cake goes from ‘great bake’ to ‘absolute showstopper’ on the table? After years of testing and tweaking this recipe, I’ve gathered my go-to tricks—my Ava’s Pro Tips, if you will—that guarantee you huge results when baking a Homemade Red Velvet Bundt Cake.
The biggest hurdle people face is getting that signature, deep color without sacrificing moisture. If you use too much liquid red food coloring, you upset the delicate balance of flour and fat, and suddenly your cake is sinking! My biggest piece of advice here, which I mentioned when talking about ingredients, is to invest in a high-quality, concentrated red gel coloring. You need so little of it, and it delivers that dramatic color right away. You don’t need to search for complex methods; sometimes the simplest ingredient swap makes the biggest difference!
Another little secret for that show-stopping look is making sure you have a completely cool cake before you even *think* about glazing it. If the cake is even slightly warm, that glorious cream cheese icing melts into a thin, sad puddle that sinks into the cracks. Patience is part of the journey here. If you’re looking for more simple solutions for busy evenings, I’ve got tons of ideas over on my post about weeknight dinners.
Finally, for that extra festive touch, especially if you are planning this for a winter gathering—because this truly is a wonderful choice for Holiday Red Velvet Baking—try adding a light dusting of crystalline sanding sugar right after the glaze starts to set. It catches the light beautifully! If you’re really hunting for festive ideas, check out this inspiration for a beautiful Christmas Red Velvet Bundt Cake, which uses seasonal garnishes!
Making This Red Velvet Bundt Cake a Festive Holiday Red Velvet Baking Centerpiece
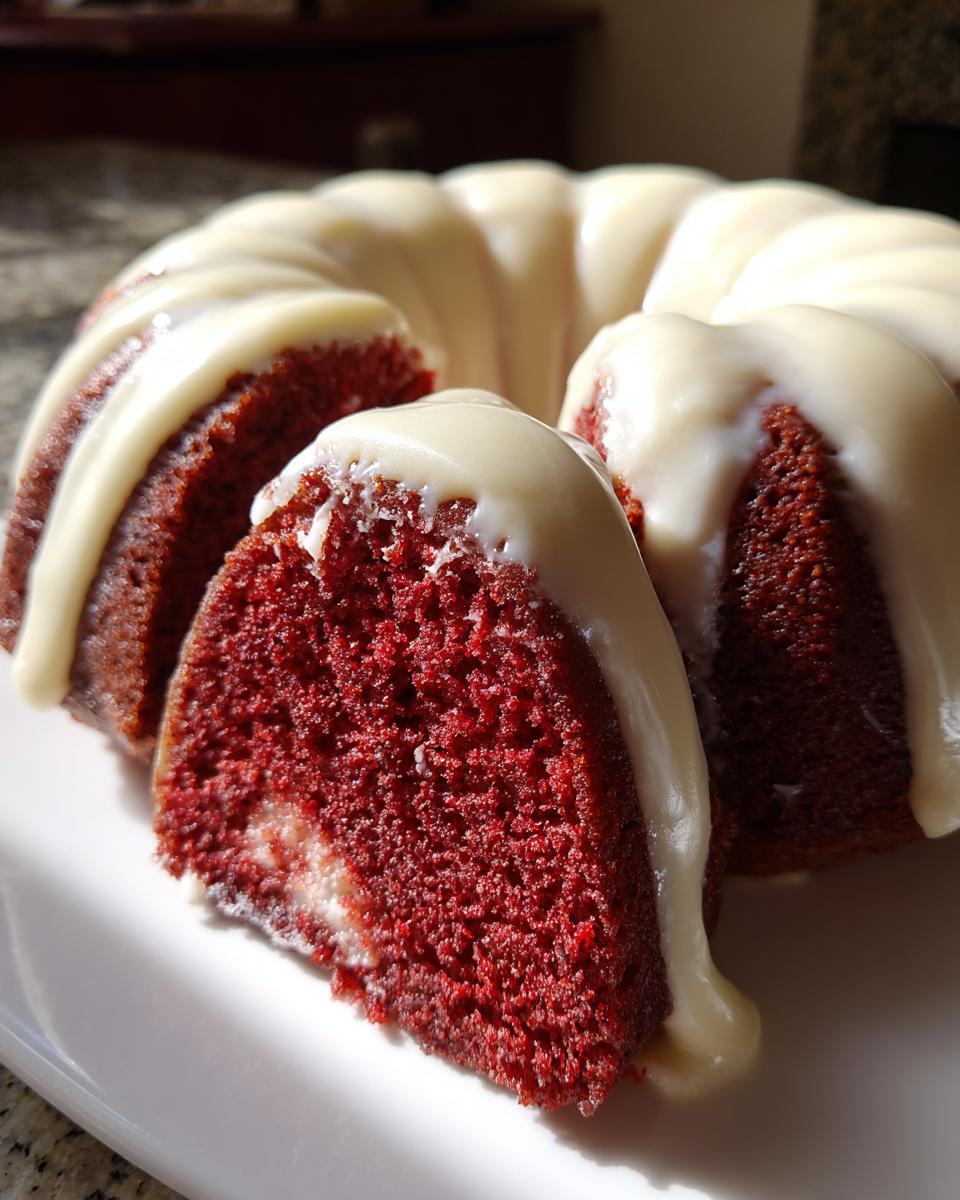
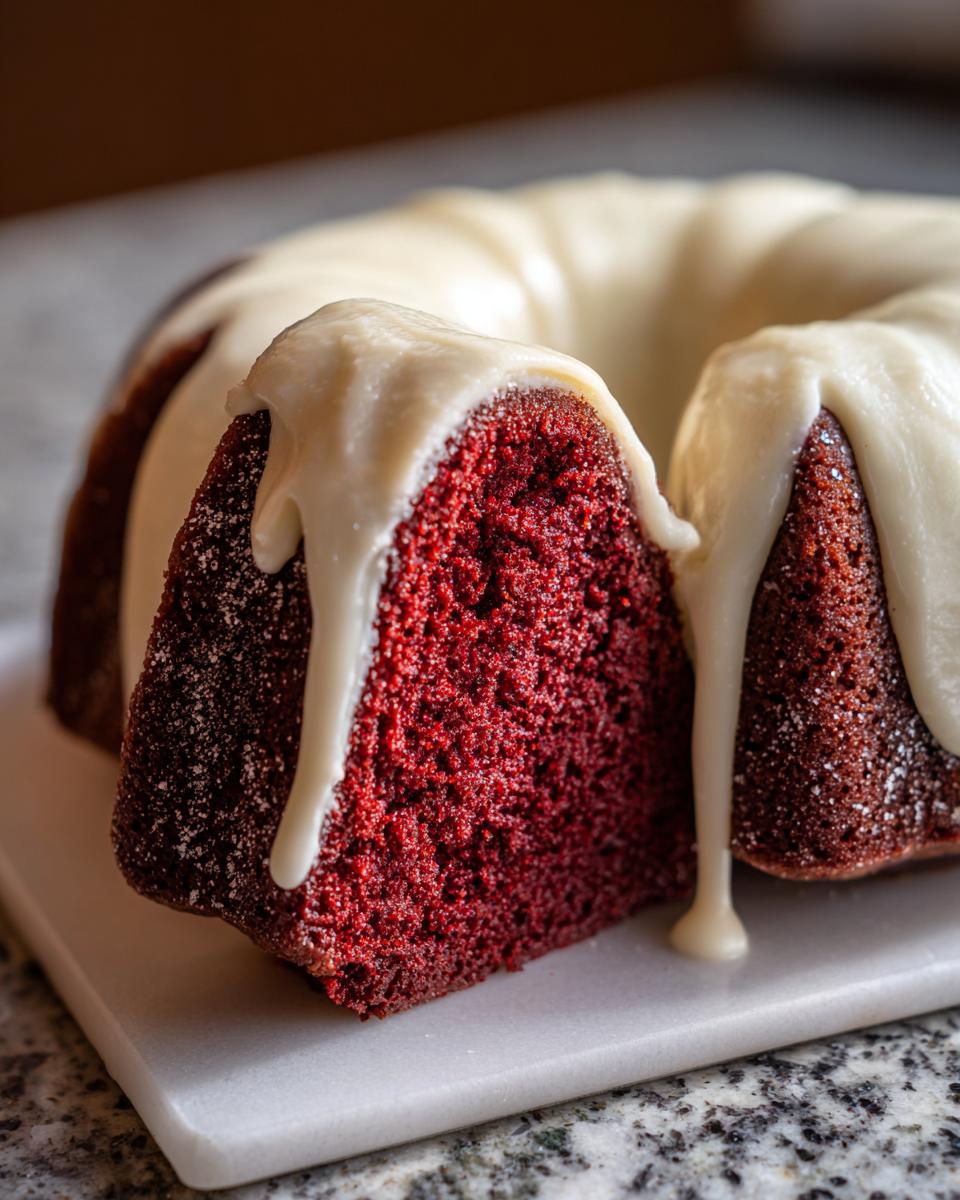
A red velvet bundt cake is inherently dramatic, isn’t it? That deep color just screams ‘special occasion,’ making it one of my absolute favorites for **Holiday Red Velvet Baking**. You’ve done the hard work to get that perfectly moist crumb, so now we need to make sure it looks as good as it tastes when you bring it to the table. Presentation is half the fun of baking!
Since this cake is already molded beautifully by the Bundt pan, you don’t need complex frosting skills. We are leaning into that elegant simplicity Ava Sinclair loves. The key is letting that tangy cream cheese glaze drape just right. Think of the glaze as a flowing white ribbon over the dark red cake. I love watching it set up, creating those thick, gorgeous drips down the sides.
If you want to step it up just a little bit, think about texture. As I mentioned before, a light dusting of coarse white sanding sugar or even some fine gold edible glitter sprinkled over the glaze right when it starts to firm up catches the light beautifully. It gives it that icy, festive sparkle that elevates it instantly. It’s subtle, but it makes people stop and look!
For a really stunning centerpiece, especially around Christmas or Valentine’s Day, you can echo that festive look with natural garnishes. Think about using a few fresh cranberries scattered lightly around the base, or maybe a sprinkle of chopped toasted pecans right on top for contrast. If you’re feeling ambitious for a gorgeous centerpiece, you have to see the look achieved in this Red Velvet Holiday Wreath Cake—it shows how creative you can get using the Bundt shape!
And hey, don’t forget the flavor pairings! When serving this, I always pair it with something bright or perhaps a warm drink. If you want an easy breakfast or starter to balance out all that richness, you should absolutely try my recipe for apple cinnamon overnight oats the next morning. Honestly, seeing this cake sit there, rich and vibrant, makes all the mixing worthwhile!
Storage and Reheating Instructions for Your Red Velvet Cake Ring Recipe
Phew! You made it. Now that you have this gorgeous, moist Red Velvet Cake Ring Recipe sitting perfectly proofed on your counter, the last thing you want is for it to lose its velvet texture overnight, right? Luckily, because we used oil instead of just butter, this cake is built to last a little longer than some of its drier cousins.
Here’s my rule: once the cream cheese glaze is totally set—and I mean rock solid—you can store this cake right on the counter. Cover it snugly with a cake dome or wrap it tightly with plastic wrap if you don’t have a dome. At room temperature, sealed up tight, this cake stays beautifully moist for about three, maybe even four days. The lower sugar content in the cake itself, compared to a heavily frosted layer cake, helps it hold up well outside of the fridge.
Now, let’s talk about that glorious glaze. Because it has real cream cheese in it, it’s a little more sensitive than just a simple powdered sugar dusting. If your kitchen is super hot or humid, you might want to store leftovers in the refrigerator. If you do refrigerate it, just remember that the cake might firm up a bit. That’s okay! Pull it out about an hour before you plan to serve it to let it come back to that perfect room temperature softness.
Don’t reheat slices in the microwave unless you absolutely must, because that can sometimes make the edges a little tough. If you do need to revive a slice, just 10 seconds should do the trick. For making extra batches ahead of time—because I always do!—you can totally freeze the unfrosted cake. Wrap the cooled cake tightly in plastic wrap, then foil, and it keeps beautifully for up to three months. Thaw it slowly on the counter before glazing. If you’re looking for other recipes that freeze well, check out my chocolate zucchini muffins—they’re fantastic straight from the freezer!
Frequently Asked Questions About Red Velvet Bundt Cake
I know that even with the best recipe in front of you, sometimes little questions pop up once you get started. That is totally normal! Baking a gorgeous red velvet bundt cake shouldn’t feel like a high-stakes science exam, but I want you to have the confidence of a seasoned baker. Here are some of the things readers ask me most often about making this cake the absolute best it can be. If you are looking for something super fast, this recipe beats trying to figure out an Easy Red Velvet Bundt variation because once you master this scratch method, you never look back!
Can I use milk instead of buttermilk in this red velvet bundt cake?
Oh, that’s the million-dollar question when buttermilk isn’t in the fridge! Yes, you absolutely can, but you have to ‘fake’ the buttermilk right before you start mixing. This cake relies on the acid in the buttermilk to interact with the baking soda to give us that beautiful lift and tender crumb. If you only have regular milk, just take one cup of milk—whole milk works best—and stir in one tablespoon of white vinegar or fresh lemon juice. Let that sit on the counter for about five to ten minutes. It will look slightly curdled, and that’s exactly what you want! Use that mixture just as you would regular buttermilk in the recipe. It keeps the chemistry working exactly as it should for that wonderful texture.
How do I get the vibrant color without using too much food coloring in my red velvet bundt cake?
This is so important for achieving that deep, rich red velvet look without watering down your batter! Remember what I said in the notes section? It all comes down to quality and concentration. If you use the standard liquid food coloring you find next to the sprinkles, you’ll need a whole bottle of it, and all that extra liquid will throw off the texture we worked so hard to perfect, leading to a less-than-ideal crumb. For the most vibrant color, you need a highly concentrated gel paste coloring. You use just a few drops, or even just half a teaspoon, and suddenly you have that stunning, deep red payoff! It’s worth spending a tiny bit extra to get the good stuff for this particular recipe; it makes all the visual difference in your red velvet bundt cake.
If you happen to find yourself loving this style of baking, you might also enjoy my method for making easy homemade fluffy rice pilaf—simple ingredients done right!
Nutritional Estimates for This Decadent Red Velvet Dessert
So, let’s talk numbers for just a second. I know sometimes we want that pure indulgence, but it’s good to have a general idea of what we’re dealing with when we make a truly Decadent Red Velvet Dessert like this beautiful Bundt cake. As I always say, food is about love and connection, not perfection, and that includes how we view nutrition!
Please keep in mind, because this is a scratch recipe and everything from the type of oil to the exact amount of glaze you use can shift things around, these values are just estimates based on the standard servings listed (12 slices). If you use less sugar in the cake or decide to go lighter on the cream cheese icing, your numbers will naturally look better! We base this on the recipe as written.
Here’s the rundown per slice:
- Calories: Approximately 480
- Fat: Around 28g (Remember, some of that is from the good stuff in the oil and butter!)
- Carbohydrates: About 58g
- Sugar: Roughly 55g (That’s where the flavor lives!)
- Protein: About 4g
Honestly, when you serve something this rich and gorgeous for a special gathering, it’s meant to be enjoyed! It’s a treat, not an everyday snack, and that’s perfectly okay. If you’re looking for something a little lighter on the sugar front for your next bake, you might want to grab the recipe for my fudgy date brownies—they rely on natural sweetness!
PrintPerfectly Moist Red Velvet Bundt Cake with Tangy Cream Cheese Glaze
Bake a show-stopping, moist Red Velvet Bundt Cake from scratch that delivers rich cocoa flavor and a vibrant red color. This recipe includes a simple, tangy cream cheese glaze, making it an elegant dessert for any special occasion.
- Prep Time: 25 min
- Cook Time: 60 min
- Total Time: 1 hour 45 min
- Yield: 12 servings 1x
- Category: Dessert
- Method: Baking
- Cuisine: American
- Diet: Vegetarian
Ingredients
- 1 1/2 cups vegetable oil
- 2 cups granulated sugar
- 2 large eggs
- 1 teaspoon vanilla extract
- 1 1/4 cups all-purpose flour
- 1 1/4 cups cake flour
- 1 teaspoon baking soda
- 1 teaspoon salt
- 1 tablespoon unsweetened cocoa powder
- 1 cup buttermilk, room temperature
- 1 tablespoon white vinegar
- 1 teaspoon red food coloring (high quality recommended)
- 4 ounces cream cheese, softened
- 1/2 cup unsalted butter, softened
- 3 cups powdered sugar, sifted
- 1 teaspoon vanilla extract
- 1–2 tablespoons milk or heavy cream
Instructions
- Preheat your oven to 325°F (160°C). Grease and flour a 10-cup Bundt pan thoroughly.
- In a small bowl, whisk together the buttermilk and white vinegar. Set aside for 5 minutes to curdle slightly.
- In a large bowl, whisk together the vegetable oil and granulated sugar until combined. Beat in the eggs one at a time, then mix in the vanilla extract.
- In a separate medium bowl, whisk together the all-purpose flour, cake flour, baking soda, salt, and cocoa powder.
- Add the dry ingredients to the wet ingredients in three additions, alternating with the buttermilk mixture, beginning and ending with the dry ingredients. Mix only until just combined after each addition. Do not overmix.
- Stir the red food coloring into the batter until you achieve a deep, uniform red color.
- Pour the batter into the prepared Bundt pan. Bake for 55 to 65 minutes, or until a wooden skewer inserted near the center comes out clean.
- Let the cake cool in the pan on a wire rack for 15 minutes. Invert the cake onto the wire rack and allow it to cool completely before glazing.
- Prepare the cream cheese glaze: In a medium bowl, beat the softened cream cheese and butter together until smooth. Gradually beat in the sifted powdered sugar until incorporated. Add the vanilla extract and 1 tablespoon of milk or cream. Beat until smooth, adding the second tablespoon of milk or cream if needed to reach a thick, pourable consistency.
- Drizzle the tangy cream cheese glaze over the cooled Red Velvet Bundt Cake. Allow the glaze to set before slicing and serving.
Notes
- For the moistest crumb, ensure your buttermilk and eggs are at room temperature before mixing them into the batter.
- Use a high-quality, concentrated red food coloring to achieve the deep, vibrant color without adding excess liquid to the batter.
- To make this a showstopper dessert, consider decorating the cooled cake with a light dusting of white sanding sugar or small red sprinkles before the glaze sets.
Nutrition
- Serving Size: 1 slice
- Calories: 480
- Sugar: 55g
- Sodium: 310mg
- Fat: 28g
- Saturated Fat: 10g
- Unsaturated Fat: 18g
- Trans Fat: 0.5g
- Carbohydrates: 58g
- Fiber: 1g
- Protein: 4g
- Cholesterol: 55mg