
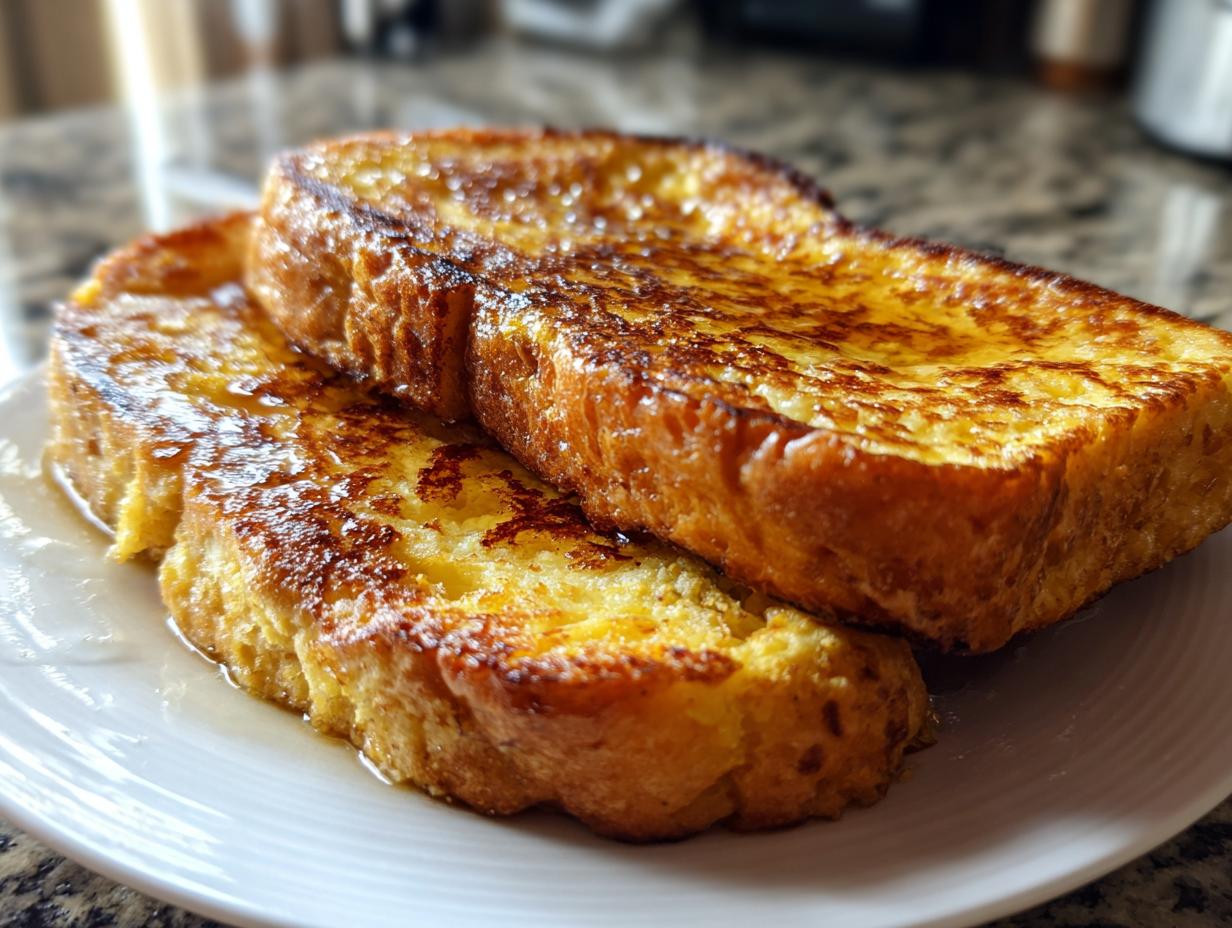
Morning dreams often involve that perfect stack of golden-brown bread, right? We all want that incredible French toast that’s crispy when you bite into the edge but melts in your mouth in the center. That’s exactly what we’re chasing here. Forget flimsy, soggy slices! Here at Misty Plate, my philosophy is about finding the everyday magic, and that means making your weekend breakfast feel truly special without needing a full culinary degree. Trust me, getting that rich, custardy center paired with the most satisfying crispy french toast edges is absolutely achievable with simple, quality ingredients and just a little technique.
- Why This Is The Best Classic French Toast Recipe You Will Ever Make
- Ingredients for Perfect French Toast
- How to Prepare The Ultimate French Toast
- Best French Toast Tips for Weekend Breakfast Ideas
- Variations on Classic French Toast Recipe
- Storage and Reheating Instructions for French Toast
- Serving Suggestions for Your Gourmet Breakfast
- Frequently Asked Questions About Making French Toast
- Estimated Nutritional Data for This French Toast
- Estimated Nutritional Data for This French Toast
Why This Is The Best Classic French Toast Recipe You Will Ever Make
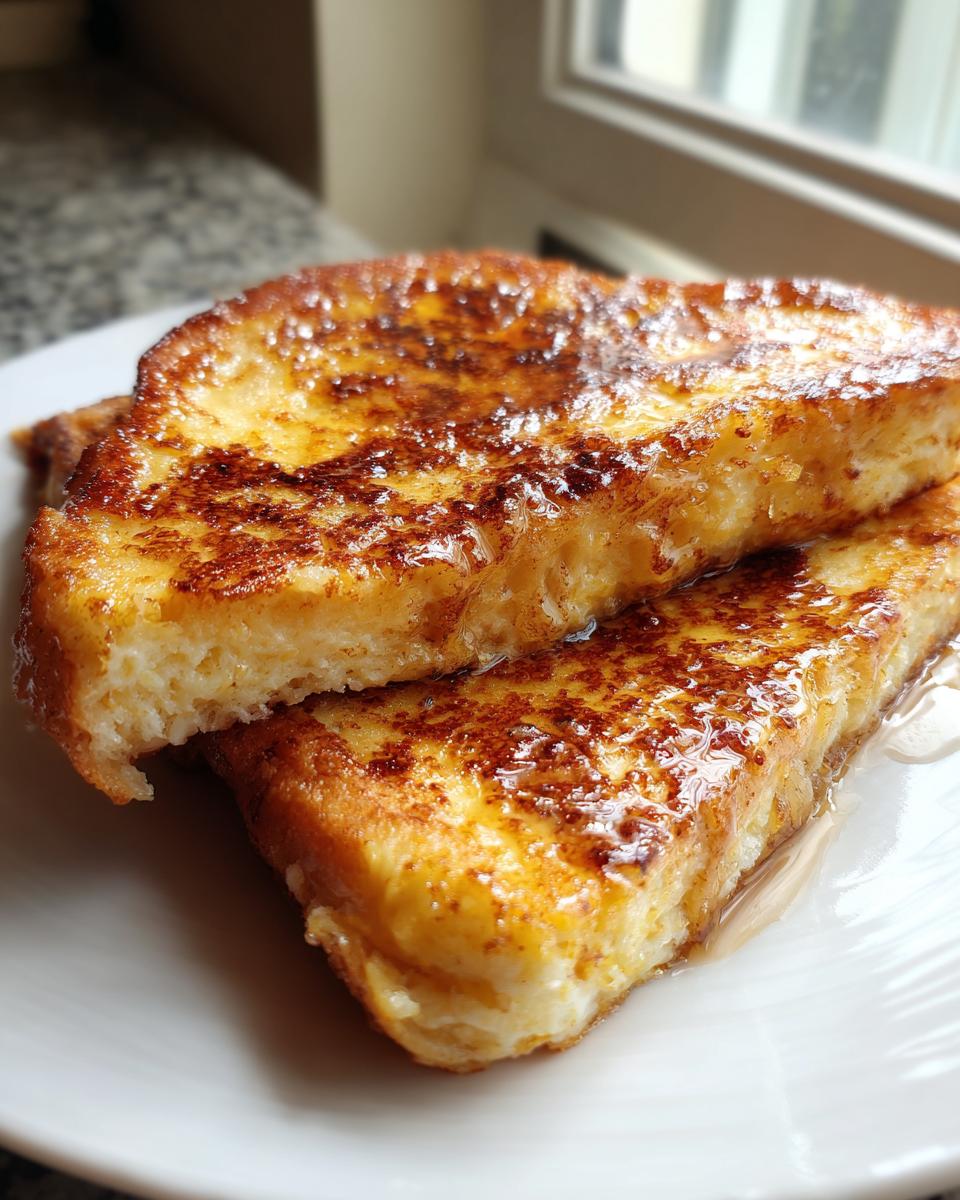
I’ve tinkered with so many versions over the years, trying to get that perfect balance, and I can honestly tell you, this classic french toast recipe is the one that makes everyone ask for seconds. It’s not just about dumping bread in milk; it’s about the ratio. We use just enough custard so the bread is saturated—hello, ultimate custardy french toast centers!—but not so much that it disintegrates when it hits the pan.
The magic truly comes from using the right starting canvas. A lot of recipes skip this, but I learned from my community here at Misty Plate that the bread choice changes everything. We’re talking thick-cut, slightly dry slices. This lets the egg mixture really penetrate, giving you that glorious interior structure while ensuring the outside gets perfectly golden. If you want to see the philosophy behind why I test every recipe multiple times until it’s just right for your busy life, you can always check out my journey here.
When you nail this technique, you get those beautifully browned, crispy french toast edges every single time. It elevates a simple breakfast into something you’ll crave all week long.
Ingredients for Perfect French Toast
Okay, let’s look at what you need for this masterpiece—it’s shockingly simple, which is exactly how I like my weekend mornings! We are using standard pantry staples, but the quality here really does matter. You’ll need just 8 slices of bread, 4 large eggs, whole milk (or if you’re feeling decadent, half-and-half!), vanilla, cinnamon, a little sugar, and salt. And don’t forget the unsalted butter for cooking; we need that rich, nutty flavor for frying them up!
Selecting the Right Bread for Your French Toast
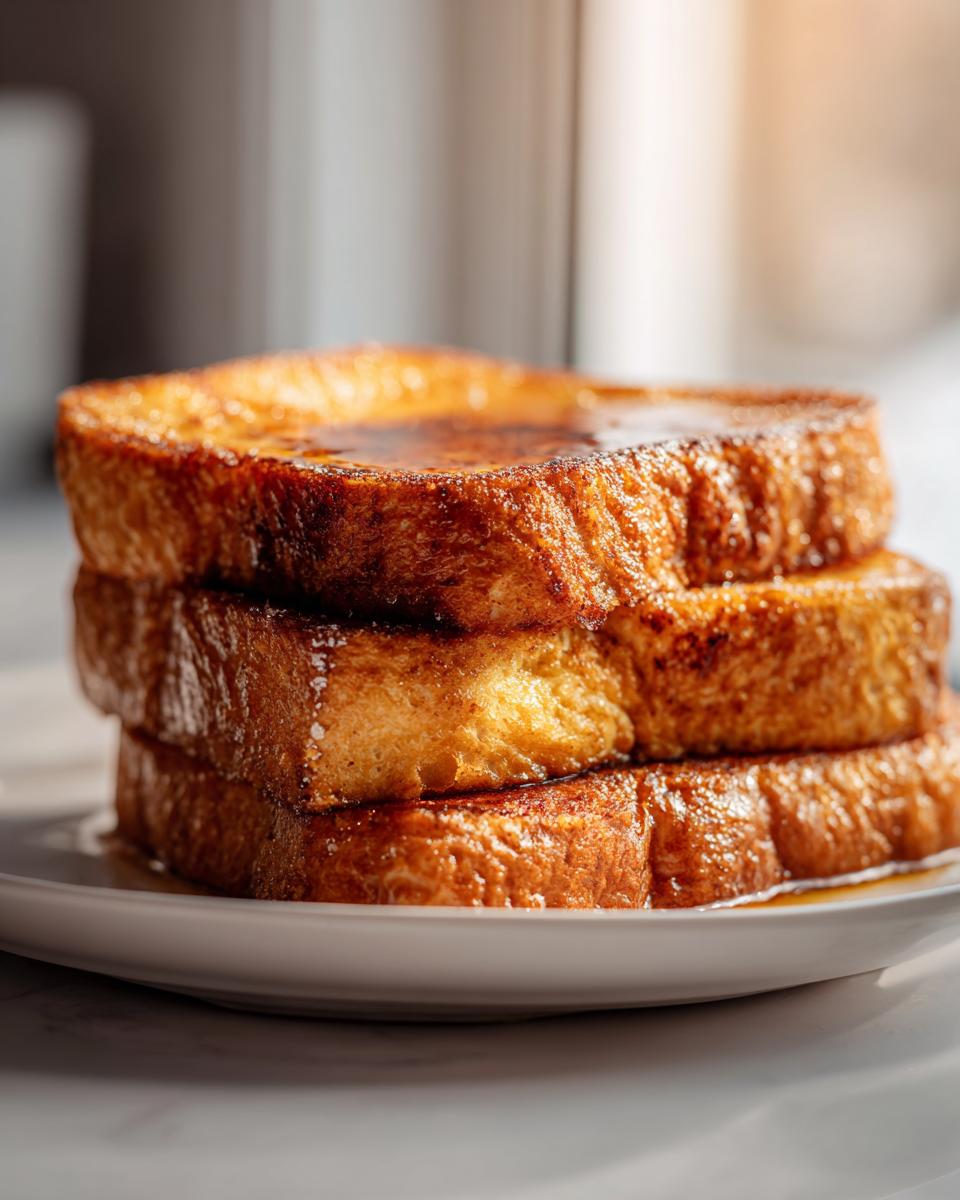
This is where we lock in that amazing texture. Forget thin, squishy supermarket slices! You want something substantial that can handle getting soaked in that rich custard without turning to mush. My absolute favorites for getting those dreamy custardy french toast centers are thick-cut challah french toast or buttery brioche french toast. If your bread is fresh, just leave it out on the counter for an hour or two before you start. A little dryness is your best friend here; it prevents your beautiful slices from dissolving in the pan.
How to Prepare The Ultimate French Toast
Alright, now for the fun part—turning those ingredients into breakfast gold! The process for this french toast is all about timing and gentle handling. First things first, we need that custard base perfectly emulsified. Then, we move fast but carefully to get them cooked. Remember, if you’re using a high-powered mixer, be gentle; we aren’t trying to inflate cupcakes here. We want rich, not overly airy.
Make sure your skillet is preheated while you’re dipping the bread. Everything moves quickly once the butter hits the heat! And one last thing before we dive in: I’ve put together some essential rules on data handling over on my privacy policy page here, just because transparency matters to me in every part of my business, including this recipe.
Making the Custard Base for Fluffy French Toast
In a nice shallow dish—one that fits your bread slice easily—toss in those 4 eggs, milk, vanilla, cinnamon, sugar, and that pinch of salt. Now, grab a whisk and whip it until everything is totally smooth. You want zero streaks of egg white visible. That sugar and salt aren’t just for flavor; they actually help the egg structure set nicely when it hits the heat, leading to that beautiful, fluffy french toast interior.
Soaking and Cooking Techniques for Crispy French Toast Edges
This is the make-or-break moment! Dip one slice of bread into the custard mixture, letting it soak for a deliberate 15 to 20 seconds on each side. Don’t walk away! If you over-soak, especially with soft bread, it’ll just weep out the sides when you press it on the griddle, and that’s how you get soup, not an amazing breakfast!
Medium heat is your absolute best friend here on the skillet. Add your butter and let it melt until it just starts foaming. Lay your soaked bread down gently. You need to cook these for about 3 to 4 minutes per side. We are looking for that deep, golden-brown color. This lower-and-slower approach is what creates those heavenly, crispy french toast edges you crave while letting the inside fully set up into that creamy layer.

Best French Toast Tips for Weekend Breakfast Ideas
I’m telling you, making truly fantastic French toast isn’t magic; it’s just knowing a few simple rules. These are the best french toast tips I’ve learned over countless weekend brunches. First, and this is crucial, use slightly stale bread if you can! When the bread is a day old, it absorbs all that lovely custard without getting mushy. Seriously, if you notice someone else’s came out perfectly fluffy french toast, I bet they used slightly dry bread.
Also, don’t be afraid to enrich that custard base. If you swap out the milk for half-and-half—as noted in the recipe—you are instantly upgrading to a richer, more velvety texture inside. It just tastes more luxurious, which is perfect for a weekend treat! For more amazing techniques and ideas on perfecting this classic, check out what my friends over at Modern Honey are doing here. You’ll find endless inspiration!
Variations on Classic French Toast Recipe
Once you’ve mastered the classic technique—that perfect balance of crispy outside and custardy center—you’ll want to start playing around! This base recipe is flexible, making it perfect for jazzing up your gourmet breakfast spread. You can easily turn this into a deep, cozy cinnamon french toast just by adding an extra half-teaspoon of the spice to your custard mix. It smells incredible while it cooks, I promise!
For those mornings when you want something truly show-stopping for your easy brunch recipes, we move into the stuffed territory. It requires just a tiny bit more planning, but the payoff is huge.
Making Cream Cheese Stuffed French Toast
If you’re aiming for that incredibly decadent cream cheese stuffed french toast, here is the quick rundown on how to modify the process. Before you even dip the bread, you’ll take two slices and spread a thin layer of cream cheese mixture (a little powdered sugar and vanilla mixed in is great) onto one side of one slice. Then, gently press the second slice right on top, making a sandwich.
Now, treat that sandwich exactly as you would a single slice of bread! Dip it carefully into the custard—you might need to let it soak just a *tiny* bit longer, maybe 25 seconds per side, so the center gets coated. Just make sure those edges are firmly sealed together before it hits the buttered, hot skillet. The trick is keeping that filling contained until you cut into it!
Storage and Reheating Instructions for French Toast
I know, sometimes breakfast is so good you just want to eat leftovers the next day! While this recipe isn’t a full make ahead french toast casserole, these slices reheat beautifully if you follow a couple of rules. Store any extras in a single layer in an airtight container in the fridge for up to three days. Don’t just stack them moist, or they’ll steam and lose that crispness!
When it’s time to eat them again, skip the microwave! That’s the quickest way to negate all our hard work achieving that perfect texture. For the best results, pop the slices directly onto a baking sheet in a 350°F oven for about 5 to 7 minutes. This gentle heat warms the inside back up to that creamy texture while refreshing the edges so they are pleasantly crisp again. A quick skillet sear with a tiny swipe of butter works too if you’re only reheating one or two pieces.
Serving Suggestions for Your Gourmet Breakfast
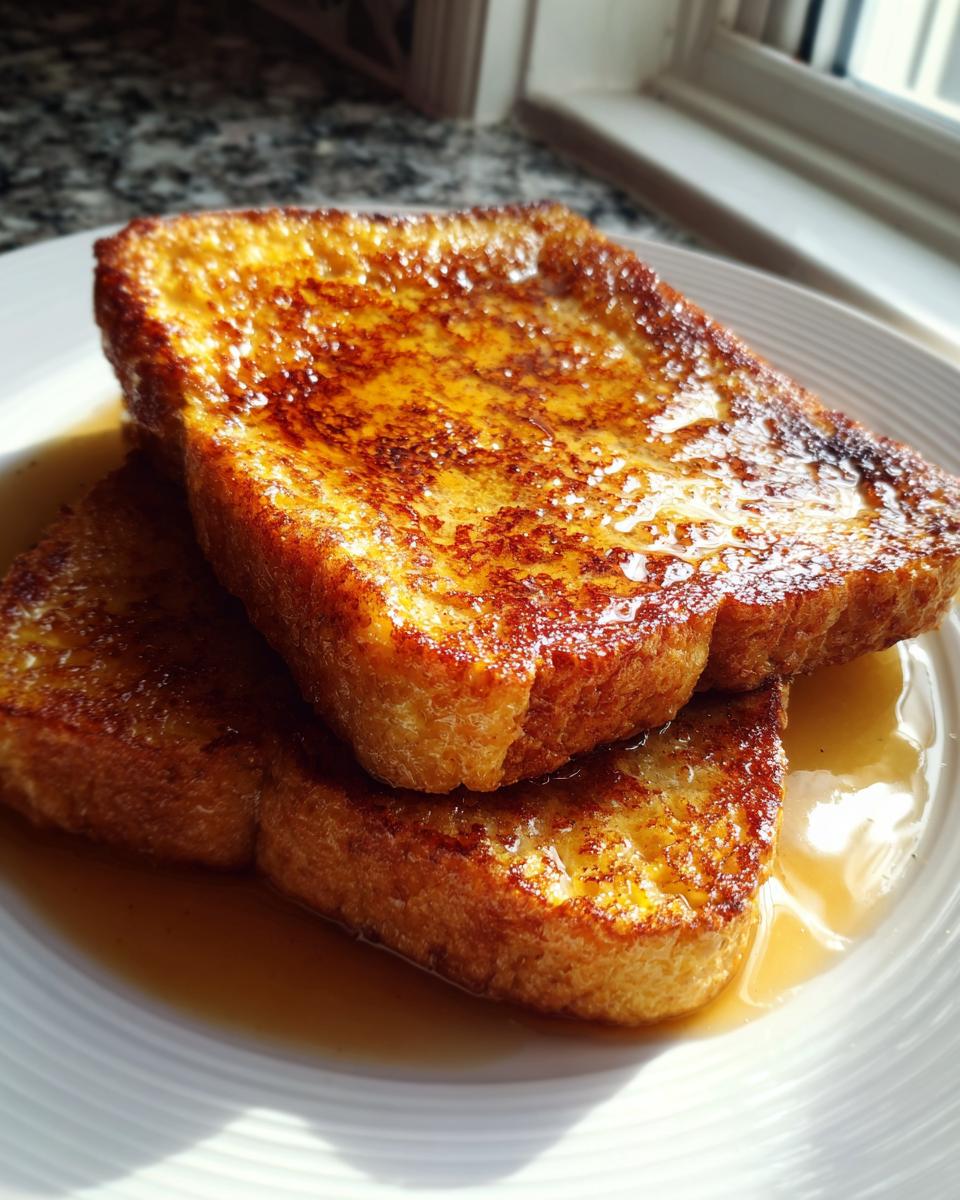
Now that you’ve mastered the absolute best french toast, it’s time to make the presentation worthy of those beautiful golden slices! While pure maple syrup is non-negotiable for me—none of that pancake syrup nonsense—we can always elevate things a bit for those easy brunch recipes.
You absolutely must have fresh seasonal fruit. Think bright berries in the summer or sautéed spiced apples if it’s cooler outside. The sweet-tart contrast cuts through the richness of the custard beautifully. For something slightly unexpected that really pushes this into gourmet territory, try a sprinkle of toasted, chopped pecans right on top of the syrup. If you need more topping inspiration, check out some creative ideas here!
Frequently Asked Questions About Making French Toast
I get so many questions about how to troubleshoot issues when making French toast at home, and honestly, that’s great! It means you care about making something truly delicious for your family. Dealing with texture issues is super common, but once you know the baseline rules—like using thick bread—you’ll never look back. I want you to feel confident serving this up for any of your weekend breakfast ideas!
Can I use regular sandwich bread for french toast?
You absolutely can, but here’s my honest opinion: you’ll notice a difference. Thin, soft sandwich bread is fantastic for a *quick breakfast*, yes, but it absorbs too much of that wonderful custard mixture way too fast. This usually results in bread that falls apart the second you try to move it to the skillet, often leading to just slightly soggy bottoms instead of those desired crispy french toast edges.
If that’s all you have, my hack is this: cut the soaking time down to about 8 to 10 seconds per side, maximum. You want it lightly coated, not completely drowned. This prevents it from getting completely saturated before it hits the heat for that nice golden sear.
How do I make this a quick breakfast ideas option?
If you’re aiming for true speed, you can cheat a little bit with the soak time, as I mentioned above. A 15-second dip is the sweet spot for thick bread, but for a super fast run, dipping each side for maybe 10 seconds will get you dinner-table ready faster. Keep your butter foaming and your heat perfectly medium, as rushing the cooking process is what ruins the inside.
Even with quickened steps, remember that the goal of this particular recipe focuses on achieving those creamy, custardy french toast centers. So, while you can speed up the *dip*, giving it those full 3-4 minutes per side on the griddle is what guarantees the interior sets beautifully. If you’re making slices for a crowd and want to prep ahead, remember you can bake them later, or check out my tips above on reheating slices perfectly!
If you ever need to review the exact rules about acceptable use of the content here, you can always swing by the terms of use page here.
Estimated Nutritional Data for This French Toast
I always like to include an estimate of what you’re working with, just for full transparency—that’s just how we do things here at Misty Plate! Please remember these numbers are based on using 2 slices of standard brioche or challah bread per serving and topping just with butter before cooking. Your syrup and fruit will obviously change the final count! We estimate about 320 calories and 15g of fat per serving (2 slices). For more info on my contact details, feel free to reach out here.
PrintThe Absolute Best Classic French Toast Recipe

Learn the secrets to making perfect French toast every time. Achieve buttery, crispy edges and a rich, custardy center using simple techniques perfect for your weekend breakfast or brunch.
- Prep Time: 10 min
- Cook Time: 15 min
- Total Time: 25 min
- Yield: 4 servings 1x
- Category: Breakfast
- Method: Pan Frying
- Cuisine: American
- Diet: Vegetarian
Ingredients
- 8 slices thick bread (Challah or Brioche recommended)
- 4 large eggs
- 1/2 cup whole milk or half-and-half
- 1 teaspoon pure vanilla extract
- 1/2 teaspoon ground cinnamon
- 1 tablespoon granulated sugar
- Pinch of salt
- 2 tablespoons unsalted butter, for cooking
Instructions
- Prepare the custard mixture: In a shallow dish, whisk together the eggs, milk, vanilla extract, cinnamon, sugar, and salt until fully combined.
- Heat a large skillet or griddle over medium heat. Add half of the butter and let it melt until it foams slightly.
- Dip each slice of bread into the custard mixture, allowing it to soak for about 15 to 20 seconds per side. Do not over-soak, especially if using fresh bread.
- Place the soaked bread onto the hot skillet, ensuring not to overcrowd the pan.
- Cook for 3 to 4 minutes per side, adjusting the heat as needed to achieve a deep golden brown color without burning the exterior. You want the center to set into a custard.
- Remove the cooked French toast and keep warm while you cook the remaining slices, adding more butter to the skillet as needed.
- Serve immediately with your favorite toppings like maple syrup and fresh fruit.
Notes
- For the best texture, use slightly stale bread. This allows the bread to absorb more custard without falling apart.
- For extra richness and a custardy center, use half-and-half instead of milk in the egg mixture.
- If you prefer crispier edges, cook the slices a little longer on lower heat.
Nutrition
- Serving Size: 2 slices
- Calories: 320
- Sugar: 12
- Sodium: 350
- Fat: 15
- Saturated Fat: 7
- Unsaturated Fat: 8
- Trans Fat: 0
- Carbohydrates: 35
- Fiber: 2
- Protein: 14
- Cholesterol: 180