
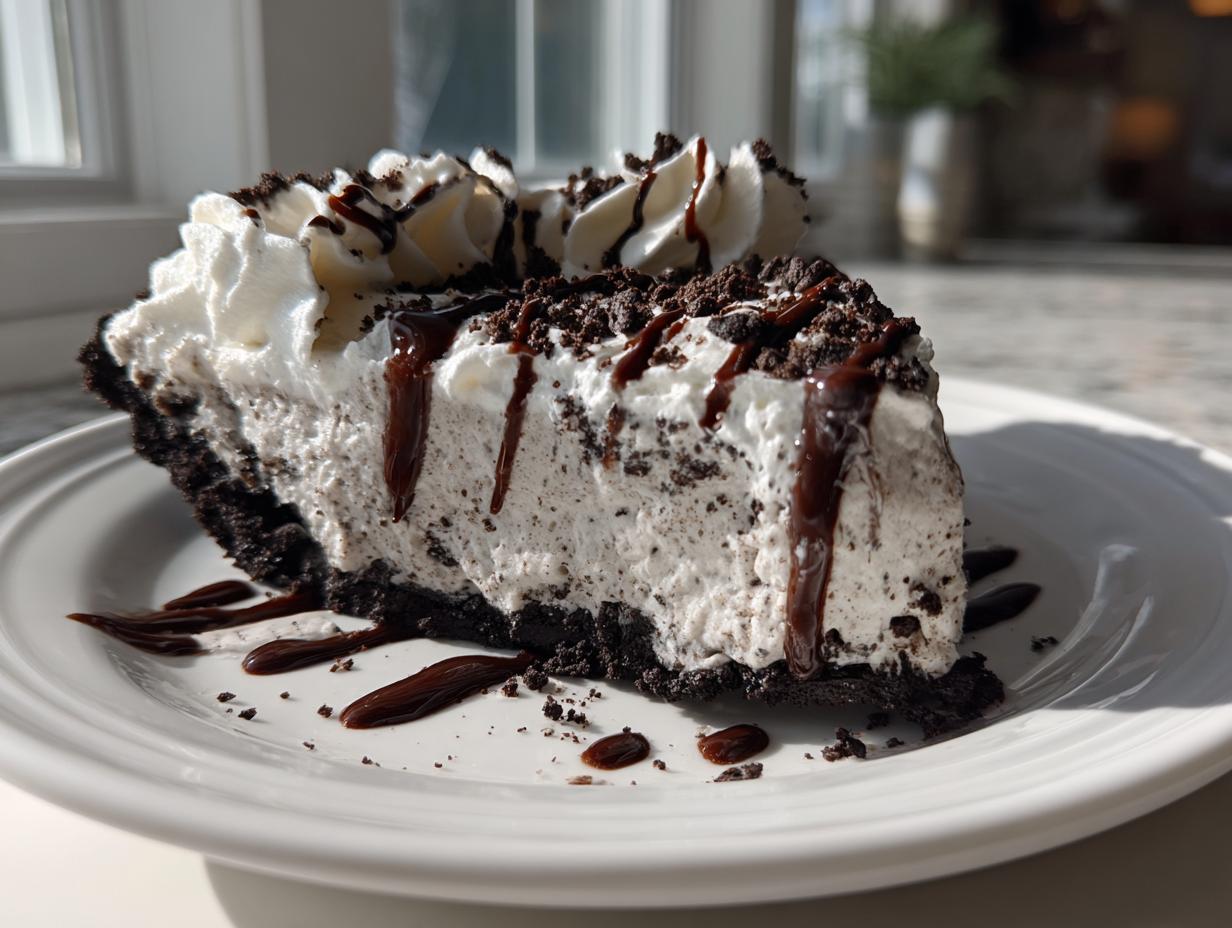
Whew, is it just me, or is the heat trying to melt us all into puddles right now? When those temperatures spike, my absolute favorite thing to crave isn’t something warm and heavy; it’s instant, frozen cold, and thankfully, no oven required! That’s why I’m handing over the keys to my go-to recipe right now: the No-Bake Ultimate Cookies & Cream Ice Cream Pie. Seriously, forget complicated baking projects for a minute. This is about bringing that simple, accessible joy back into your kitchen.
This ice cream pie is everything you want in a summer dessert—it’s rich, it’s got that satisfying crunch from the crust, and it comes together faster than you can decide what movie to put on. It’s proof that the most satisfying treats often require the least fuss. Let’s make something cold!
- Why This No-Bake Ice Cream Pie is Your New Favorite Summer Ice Cream Desserts
- Gathering Ingredients for Your Ultimate Ice Cream Pie
- Step-by-Step Instructions for the Easy Ice Cream Pie Recipe
- Tips for Success When Making Your Ice Cream Pie
- Ingredient Notes and Substitutions for Your Ice Cream Pie
- Serving Suggestions for This Party Ice Cream Pie Ideas
- Storage and Reheating Instructions for Your Make Ahead Dessert
- Frequently Asked Questions About Making an Ice Cream Pie
- Share Your Experience with This Decadent Frozen Pie
Why This No-Bake Ice Cream Pie is Your New Favorite Summer Ice Cream Desserts
Listen, when I was developing this recipe, my only goal was hitting that sweet spot where ‘easy’ meets ‘impressive.’ We test every single recipe here in my own kitchen, and this is the one I turn to when I need a quick frozen treat that feels totally indulgent. It truly is the ultimate Easy Ice Cream Pie Recipe because it skips the oven entirely, leaving your kitchen cool and your evening free!
Key Benefits of Our Homemade Ice Cream Pie
- It’s completely no-bake, which means zero oven time when it’s sweltering outside.
- You start with pantry staples mixed with store-bought ice cream—minimal tracking down fancy items!
- It freezes beautifully, making it the perfect make-ahead option for busy weekends or birthday celebrations.
- The Oreo crust gives you that gorgeous crunch that holds up perfectly against the creamy filling.
Gathering Ingredients for Your Ultimate Ice Cream Pie
Alright, now for the fun part—gathering our supplies! Because this is a no bake frozen dessert, the ingredient list is wonderfully short, which is exactly what I love about it. We focus on getting the textures right in the crust and the filling so we don’t compromise on flavor just because we skipped the oven. Pay close attention to the state of the ice cream; that’s a major factor for success here. Everything else is pretty straightforward!
For the Oreo Crust Dessert Base
This is the foundation of our crunch, so don’t skimp on these simple three things. Remember, we need those cookies finely crushed!
- 1 1/2 cups crushed Oreo cookies
- 1/4 cup unsalted butter, melted
For the Creamy Frozen Pie Filling
This layer needs to be spreadable, which is why we let the ice cream come out just a touch before mixing. We’re incorporating a homemade whipped cream topping right into the center for that extra layer of creaminess.
- 1 1/2 quarts vanilla ice cream, softened slightly
- 1 cup heavy cream
- 1/4 cup powdered sugar
- 1 teaspoon vanilla extract
- 1/2 cup mini chocolate chips (optional)
Step-by-Step Instructions for the Easy Ice Cream Pie Recipe
Making this ice cream pie is less about complicated cooking and more about careful layering and chilling. We’re moving fast at the start so everything sets up beautifully. Don’t worry about using fancy equipment; if you have a sturdy spatula and a mixer for the whipped cream, you’re golden. I love that the crust gets a head start in the freezer, ensuring it stays crisp when we add those cold fillings. Trust me, attention to that initial chill time pays off hugely!
Creating and Setting the Oreo Crust Dessert
First things first, let’s get that base ready. Mix your crushed Oreos and that melted butter until everything looks like wet sand—thoroughly moistened is the key word here. Once it’s uniform, press it really firmly into your 9-inch pie plate. Pack the bottom evenly, and remember to push some mixture up onto the sides to create a proper wall for our filling. Get that pressed crust into the freezer for a solid 30 minutes. It has to be cold before the ice cream goes in!
Layering the Ice Cream and Preparing the Topping
While the crust is chilling, take your vanilla ice cream out just long enough so it’s soft enough to spread, but not soupy, okay? Get that slightly softened ice cream layered evenly over your set crust. If you are adding those optional mini chocolate chips, this is the moment to gently fold them in before smoothing the top. Now, switch bowls because we need to whip up our cloud layer. Beat your heavy cream, powdered sugar, and vanilla until you have stiff peaks. That means when you lift the beaters, the cream stands up straight—no droopy bits!
Assembling and Freezing the Ice Cream Pie
Once the ice cream layer is nice and level, gently spread that homemade whipped topping right over it. Try to keep the layers distinct for that beautiful look when you cut into it later. Cover the whole thing loosely with plastic wrap—we don’t want any freezer smells sneaking in—and this is where patience comes in. Pop it back in the freezer for a minimum of four hours. Seriously, overnight is even better! This is what makes it the perfect make ahead dessert for birthdays or any party.
Tips for Success When Making Your Ice Cream Pie
I know patience isn’t always easy when you’re trying to beat the heat, but a few small tips here will stop your wonderful creation from turning into a milkshake mess. The absolute biggest rookie mistake people make with any creamy frozen pie is using ice cream that’s too rock-solid when spreading it into the crust. If your ice cream is straight from the deep freeze, you’ll end up ripping up the crust you worked so hard to press down!
Let it soften on the counter for 10 to 15 minutes—seriously, set a timer! You want it bendy, not runny. Another thing: make sure you use the back of a sturdy spoon or an offset spatula to smooth that ice cream layer down firmly. Think of it like packing snow for a snowball! This density is what keeps everything stable when you cut it later. If you want to try techniques I use for other things, check out my tips for whipped shortbread cookies, as they focus on getting that perfect texture upfront!
Ingredient Notes and Substitutions for Your Ice Cream Pie
Okay, so while this No-Bake Ultimate Cookies & Cream Ice Cream Pie is absolutely perfect as written, I know sometimes you don’t have the exact ingredients, or maybe you just want to veer into a completely different flavor profile! That’s the beauty of a great, easy recipe—it’s a fantastic base for experimenting. We look at these simple components as building blocks, not unbreakable laws. I even have a separate guide for a rich chocolate peanut butter ice cream pie with Oreo crust if that catches your fancy!
The goal is always to make this accessible, so feel free to swap out the big stars of the show. If you want to see what else is out there in the world of frozen treats, check out this big roundup of amazing frozen ice cream pie recipes for inspiration!
Switching Up the Crust Texture
If you really aren’t an Oreo fan, or maybe you just ran out, don’t sweat it. You can easily swap the cookies for crackers. If you go the graham cracker route, just use the same amount—1 1/2 cups of finely crushed graham crackers—and mix it with the melted butter exactly the same way. It creates a slightly more buttery, subtle base that lets the vanilla shine through even more beautifully. You still want to press it firmly and chill it well!
Flavor Adventures for Your Creamy Frozen Pie
This is where we get to play! Since the recipe uses vanilla ice cream as our main body, changing that out is the simplest way to transform the whole dessert. Are you craving something bright and summery? Swap that vanilla for a quality cherry ice cream—maybe even one with chunks of chocolate mixed in, like some readers have done! Or, if you’re looking for something rich and satisfying, use Mint Chocolate Chip ice cream instead. Just skip the extra chocolate chips in the filling layer since the mint ice cream usually has them built in already. It’s fantastic for a birthday celebration!
Serving Suggestions for This Party Ice Cream Pie Ideas
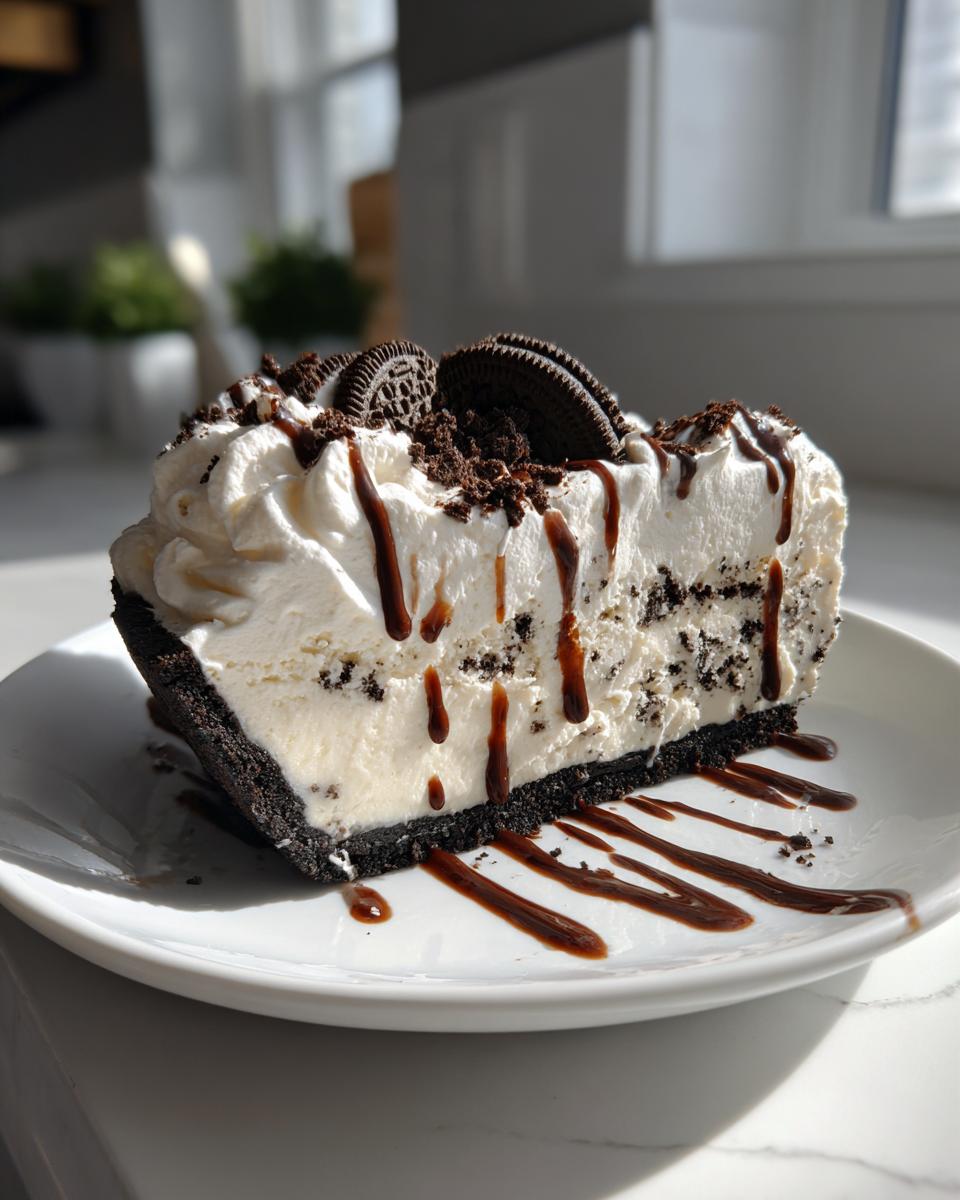
Now that we have this incredible, cool, and creamy **ice cream pie** ready to go, we need to think about how we present this star of the show! Remember, this isn’t just a snack; it’s a dessert meant for celebrations, whether it’s a big summer barbecue or just a Tuesday that needs a serious upgrade. Since we went with that classic Cookies and Cream flavor, we have so many simple ways to dress it up right before serving.
My favorite thing to do is go over the top with texture contrast. That gooey hot fudge drizzle is essential, but you can take it even further. A sprinkle of coarse sea salt right over the fudge? Trust me, it tastes absolutely gourmet—that little bit of salt just wakes up all that chocolate and cream flavor. You can also anchor your pie on a big platter surrounded by little edible treats.
If you happen to have made some decadent chocolate items recently, like my best homemade fudgy cosmic brownies, you can chop those up and scatter the pieces around the base of the pie plate for that extra wow factor. It makes the whole presentation feel so much richer!
For anyone who loves a bit more crunch alongside their soft filling, serving a few extra crushed Oreo pieces on the side is a great idea. People love customizability, even with something this simple. You can also use those extra ingredients you might have on hand.
- Nuts: Chopped pecans or walnuts toast up beautifully in a dry pan for three minutes and add a wonderful warmth.
- Sauce Swap: If you don’t want hot fudge, a thick salted caramel sauce poured right over the top works like magic with the vanilla base.
- Fresh Fruit Touch: While maybe unusual for Cookies & Cream, a small bowl of sliced, macerated strawberries nearby can offer a light, refreshing counterpoint for those who need a break from the richness!
Storage and Reheating Instructions for Your Make Ahead Dessert
This is the glorious part about this ice cream pie: it’s practically designed to be a make ahead dessert! Knowing how to store it properly is the key to making sure that crust stays crisp and the topping doesn’t get freezer-burned or start weeping when you finally pull it out for a party. Since we are dealing with a frozen dessert, the process is super straightforward, but you have to be diligent about wrapping.
The minute your pie is completely solid—after those mandatory four hours in the freezer, or even better, the next day—it’s time to wrap it up. Don’t just rely on the plastic wrap you used before chilling; that’s just to keep ice crystals off the topping. You need to create a true seal to protect that buttery Oreo crust dessert.
Here is my foolproof method:
- First Wrap: Tightly wrap the entire pie plate—plastic wrap directly against the surface of the whipped topping. Smooth out as many air bubbles as you can.
- Second Wrap (The Real Seal): Follow that up with a layer of heavy-duty aluminum foil wrapped securely around the plastic and the pie plate edges. This double barrier is fantastic at blocking out stray freezer smells and preventing surface ice crystals.
You can easily keep this creamy frozen pie wrapped up perfectly in the back of your freezer for up to two weeks. Honestly, it tastes almost as good on day twelve as it does on day one! As for reheating? Well, we definitely don’t reheat a frozen pie, silly! We just transfer it from the deep freeze to the refrigerator about 30 to 45 minutes before you plan to serve it. This lets it slightly soften up just enough so you can slice through it cleanly without needing a saw. Serve immediately after that brief chill-down period!
Frequently Asked Questions About Making an Ice Cream Pie
I know when you’re planning a meal or a big party, you always have last-minute questions pop up. That’s totally normal! I’ve collected a few things folks ask me all the time about this ice cream pie to make sure your adventure into the world of no bake frozen dessert is smooth sailing. If I can get this right, anyone can, seriously!
Can I use a different cookie for the ice cream pie crust?
Oh yes, absolutely! That’s the beauty of developing a reliable base recipe; you can mix and match based on what you have on hand or what flavors you prefer. If you really don’t want the strong chocolate flavor of Oreos, you can easily swap them out for standard graham crackers. We mentioned this in the notes, but for emphasis: use the same amount of finely crushed graham crackers and mix them with the melted butter exactly as you did with the Oreos. It shifts the final profile toward a slightly sweeter, more buttery background, which is perfect if you load your creamy frozen pie with something like peanut butter ice cream. It still freezes up perfectly!
How far in advance can I make this simple ice cream dessert?
This is my favorite part about this easy dessert—it shines when made ahead! Because everything is completely frozen solid, you don’t have to worry about it going stale or losing flavor. I usually aim to make this simple ice cream dessert the day before my event, so it has a solid 24 hours to firm up in the deep freeze. You can honestly push it to about two weeks, provided you wrap it really well using that double layer of plastic wrap and foil method we talked about earlier. It’s the ultimate tool in the party planning arsenal!
If you want a few more ideas for quick, impressive sweets that don’t need an oven, check out my recipe for a fudgy chocolate mug cake—it’s ready in minutes if you need something *right now*!
Share Your Experience with This Decadent Frozen Pie
Well, folks, that’s it! You’ve successfully made what I truly believe is the most satisfying, most fuss-free ice cream pie out there. It’s meant to be a joy, not a chore, and I sincerely hope you found that to be true as you whipped up this creamy treat.
Now comes my favorite part: hearing from you! Did you manage to get it perfectly frozen without making a mess? Did you stick with the classic Cookies and Cream, or did you get adventurous and try that mint chocolate chip swap? Don’t be shy!
I absolutely love seeing your creations! Please come back and rate this recipe down below—five stars if you’re feeling generous! Even better, snap a picture and tag me on social media. I want to know what flavor combinations you are already planning for your next round. Seriously, sharing kitchen wins makes my day!
If you’re already dreaming about what to make next time you need an impressive, easy dessert, make sure you browse all my favorite dessert recipes. Happy scooping, friends!
PrintNo-Bake Ultimate Cookies & Cream Ice Cream Pie

You can make this easy, no-bake ice cream pie using simple ingredients for a refreshing summer dessert or birthday treat. It features a crunchy Oreo crust and a creamy frozen filling.
- Prep Time: 20 min
- Cook Time: 0 min
- Total Time: 4 hr 20 min
- Yield: 8 servings 1x
- Category: Dessert
- Method: No Bake
- Cuisine: American
- Diet: Vegetarian
Ingredients
- 1 1/2 cups crushed Oreo cookies
- 1/4 cup unsalted butter, melted
- 1 1/2 quarts vanilla ice cream, softened slightly
- 1 cup heavy cream
- 1/4 cup powdered sugar
- 1 teaspoon vanilla extract
- 1/2 cup mini chocolate chips (optional)
- 1/4 cup hot fudge sauce, for topping
Instructions
- Prepare the crust: Mix the crushed Oreo cookies and melted butter in a bowl until the crumbs are evenly moistened. Press this mixture firmly into the bottom and up the sides of a 9-inch pie plate. Freeze the crust for at least 30 minutes while you prepare the filling.
- Prepare the ice cream layer: Place the slightly softened vanilla ice cream into the frozen crust. Spread it evenly using a spatula. If you are adding mix-ins, gently fold the mini chocolate chips into the ice cream layer now. Return the pie to the freezer while you prepare the topping.
- Make the whipped topping: In a separate bowl, combine the heavy cream, powdered sugar, and vanilla extract. Beat with an electric mixer until stiff peaks form.
- Assemble the pie: Spread the prepared whipped cream evenly over the frozen ice cream layer.
- Freeze: Cover the pie loosely with plastic wrap and freeze for at least 4 hours, or until completely firm. This is a great make ahead dessert.
- Serve: Before serving, drizzle the top with hot fudge sauce. Slice and serve this quick frozen treat immediately.
Notes
- For a different flavor, substitute the vanilla ice cream with your favorite flavor, such as mint chocolate or peanut butter ice cream.
- If you prefer a graham cracker crust dessert, replace the Oreos with 1 1/2 cups of finely crushed graham crackers mixed with the butter.
- This recipe works well for summer barbecues or any celebration.
Nutrition
- Serving Size: 1 slice
- Calories: 450
- Sugar: 35g
- Sodium: 320mg
- Fat: 28g
- Saturated Fat: 16g
- Unsaturated Fat: 12g
- Trans Fat: 0.5g
- Carbohydrates: 45g
- Fiber: 1g
- Protein: 5g
- Cholesterol: 75mg