
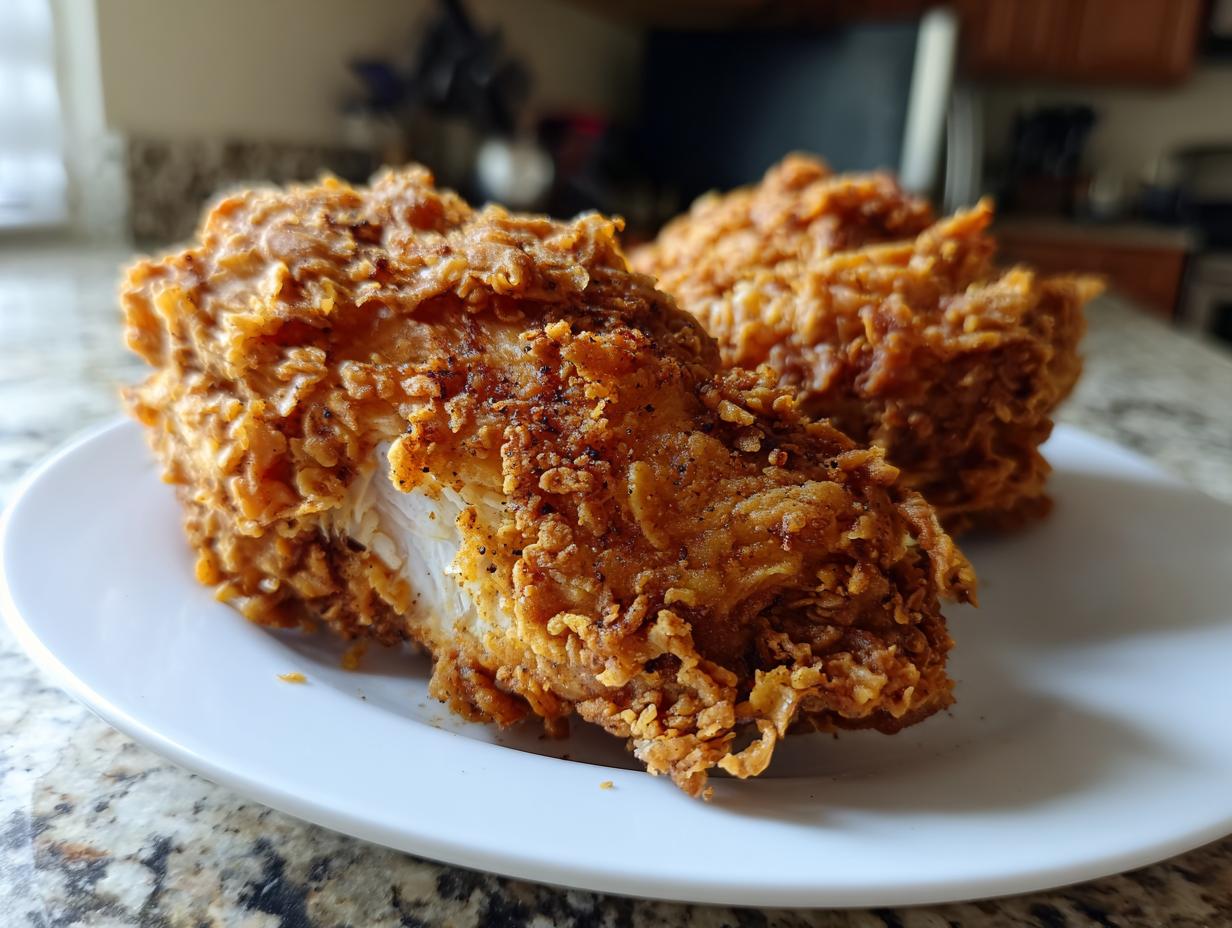
Oh, that craving! You know the one—that deep, soulful need for the absolute best comfort food on the planet? For me, that’s always meant a piece of perfectly rendered, crackling fried chicken. Forget the dry, sad takeout versions, friends. When I came back to the kitchen, moving away from that busy city life, I knew I had to crack the code on my grandmother’s legacy. This isn’t just chicken; this is the recipe that finally delivered that impossible goal: ultra-crispy, golden armor holding in chicken so juicy it practically sings. This Buttermilk Southern Fried Chicken is where I found my way back to simple, soulful cooking again, and I just know it’ll bring that same magic to your table.
- Why This Buttermilk Southern Fried Chicken Recipe Works (The Secret to Juicy and Crispy Chicken)
- Ingredients for the Best Homemade Fried Chicken
- How To Make Fried Chicken: Step-by-Step Instructions
- Tips for Success with Crispy Fried Chicken Recipe
- Serving Suggestions for Your Savory Chicken Dinner Ideas
- Storage and Reheating Instructions for Leftover Fried Chicken
- Frequently Asked Questions About Buttermilk Fried Chicken
- Estimated Nutritional Data for Classic Fried Chicken
- Share Your Perfect Fried Chicken Dinner
Why This Buttermilk Southern Fried Chicken Recipe Works (The Secret to Juicy and Crispy Chicken)
I tried every shortcut, trust me, but you can’t cheat the process if you really want that spectacular result—chicken that is both impossibly juicy and crispy chicken on the outside. The magic here isn’t just throwing some flour on it; it’s respecting two dedicated steps: the brine and the double coat. These methods guarantee that deeply savory flavor penetrates the meat and that the crust is textured enough to stand up to the hot oil.
When you want the best homemade fried chicken, you need structure. That’s why I always refer back to the techniques my grandmother swore by. If you’re curious about my journey back to these soulful methods, you can read more about the Misty Plate philosophy right here.
The Power of Buttermilk Brined Chicken
The buttermilk is doing serious work before it even hits the skillet! That beautiful, tangy acid gently breaks down the tough fibers in the chicken. This is what keeps the meat from drying out when it hits that high frying heat. Honestly, if you can swing it, letting the chicken soak overnight is the ticket. It transforms the texture so it’s unbelievably tender.
Achieving the Ultimate Crunchy Chicken Coating
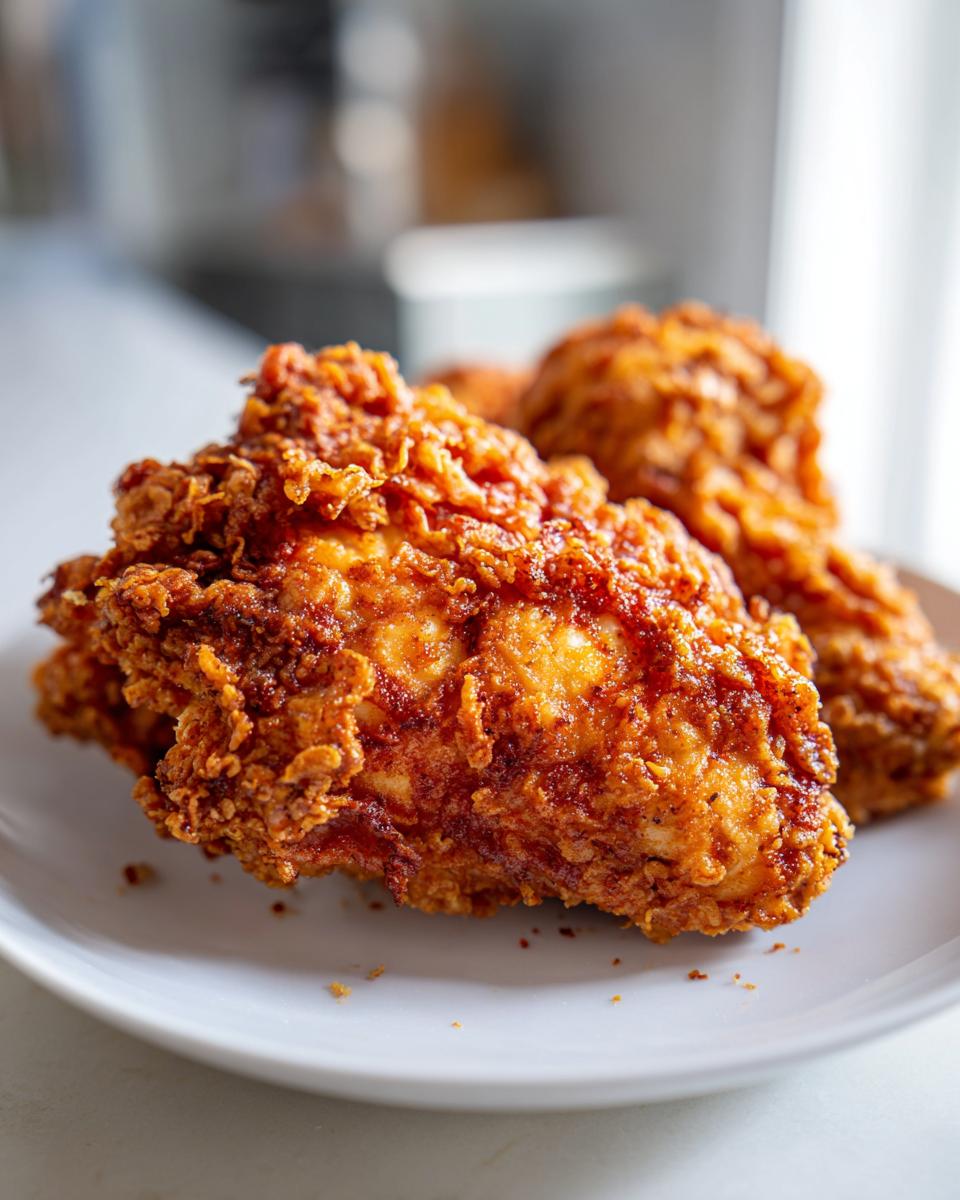
This is where we build our fortress. See that cornstarch in the flour mix? That’s the secret weapon for that shatteringly crisp bite! But the real key to that gorgeous, craggy surface is the double dredge. Dip it, coat it, dunk it *back* into the wet buttermilk, and then coat it heavily again. This layers the flour, creating those beautiful, tough little nooks and crannies that become the signature crunchy chicken coating.
Ingredients for the Best Homemade Fried Chicken
Okay, grabbing your supplies is half the battle won when making truly classic fried chicken. Don’t skimp here—good ingredients make all the difference for this easy fried chicken dinner. I use bone-in, skin-on pieces because they give you the best flavor and moisture, but you do what works for your family!
For the brine, you’ll need:
- 4 cups buttermilk
- 2 tablespoons kosher salt
- 1 tablespoon black pepper
- 1 teaspoon cayenne pepper
And for that crunchy outer coating, make sure you have:
- 4 cups all-purpose flour (don’t substitute this!)
- 1/2 cup cornstarch (our crispiness booster)
- 2 tablespoons paprika
- 1 tablespoon garlic powder
- 1 tablespoon onion powder
Finally, for frying? You need lots of oil—at least 2 to 3 inches of vegetable oil or shortening in your cast iron skillet. Remember, we’re going for that spectacular, golden brown chicken finish, and that requires plenty of hot fat!
How To Make Fried Chicken: Step-by-Step Instructions
Brining the Chicken for Maximum Flavor
Don’t rush this first part! We need flavor deep down to the bone. In a big bowl, mix up your buttermilk with all those seasonings—salt, pepper, and cayenne. Now, tuck your chicken pieces right into that mixture, making sure every single bit is swimming happily in the brine. Cover it up and tuck it into the fridge. You absolutely must let it chill for a minimum of four hours, but trust me, if you can leave it overnight, the results for your Southern Fried Chicken will be ten times better.
Preparing the Dredge and Double Coating
While the chicken is chilling, get your dry dredge ready in a wide, shallow dish—that’s your flour, cornstarch, and all those yummy powders whisked together. Once the chicken is done brining, pull those pieces out, letting just the big globs of buttermilk drip off (don’t rinse them!). Now, you have to press that flour onto the chicken. Don’t be gentle! Really press it in to build up that thick, craggy layer. Then, for that show-stopping crunch, dip it *back* into the leftover wet brine for just a second, and give it one final, heavy toss in the flour. Pile those coated beauties onto a wire rack while you get the oil hot.
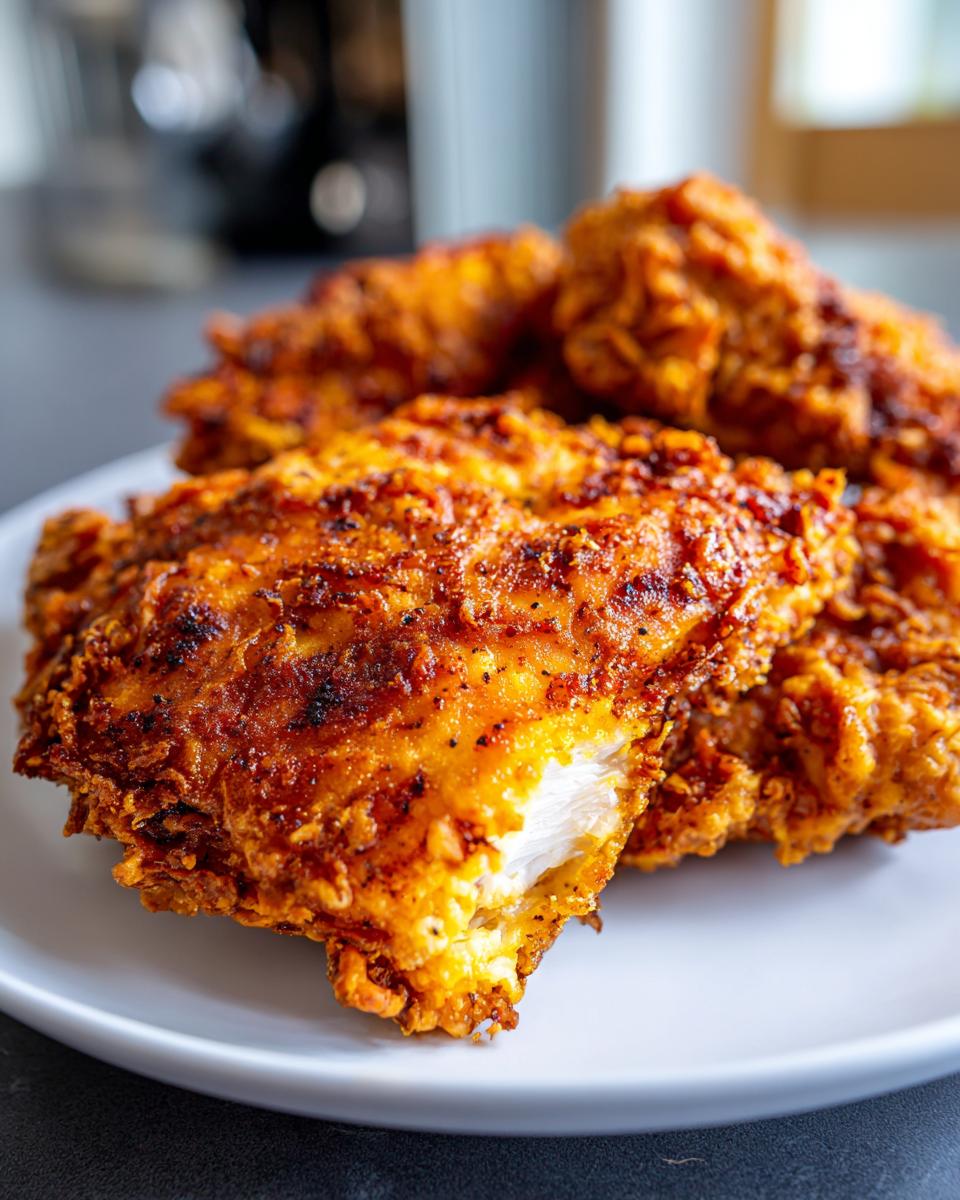
Frying Your Golden Brown Chicken Perfectly
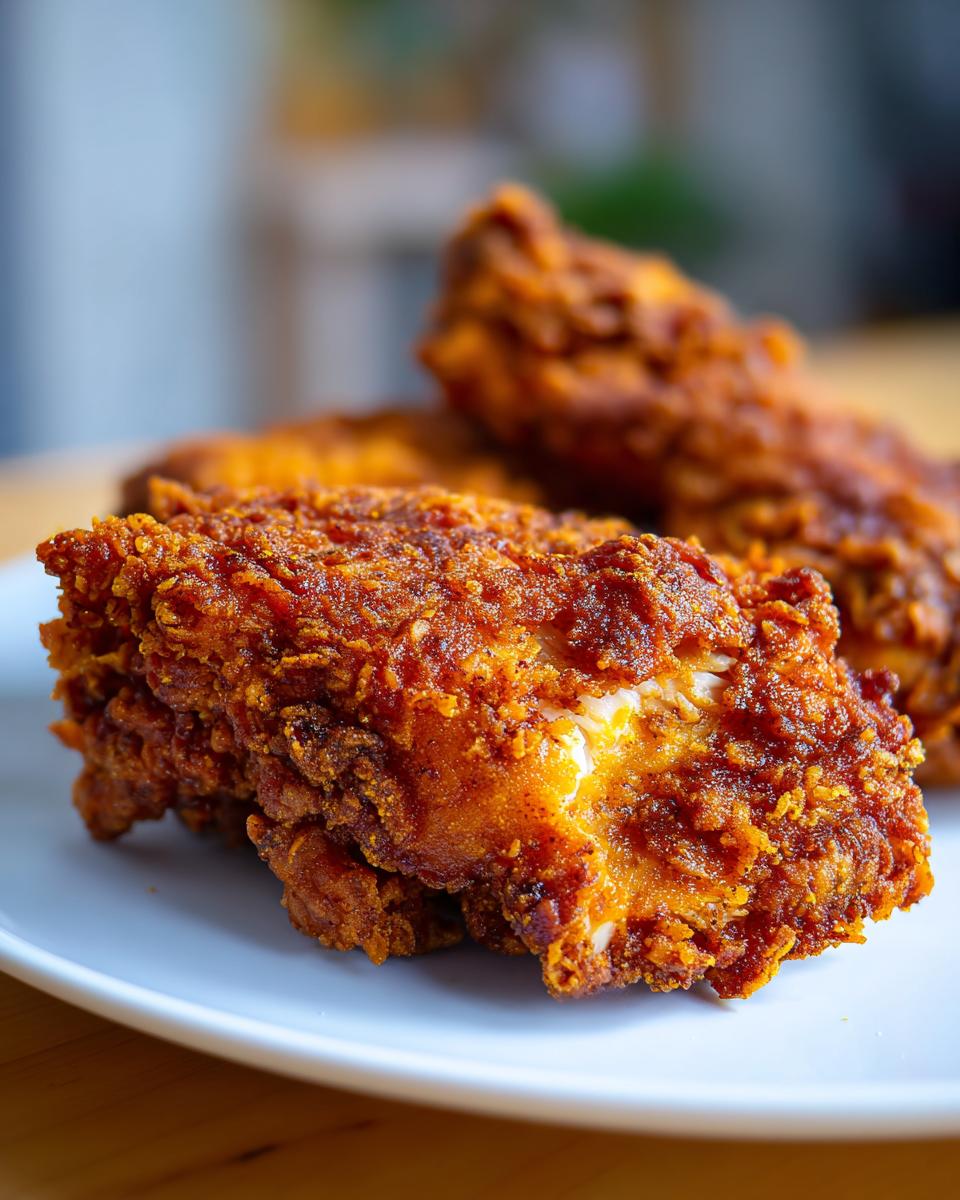
This is the moment of truth! Get your oil heating up—you need about three inches in a heavy skillet—and you HAVE to use a thermometer. Keep that temperature steady right around 325 degrees F. If it drops too low, your fried chicken soaks up grease and gets soggy; too high, and the crust burns before the inside cooks. Carefully place the chicken in batches, don’t crowd the pan! Let it sizzle, turning occasionally, until it’s deeply golden brown chicken, usually about 6 to 8 minutes per side. Use that thermometer to confirm the inside hits 165 degrees F. When they look perfect, pull them out and immediately set them on a wire rack! Seriously, skip the paper towels; the rack lets the air circulate so that crust stays crispy!
Tips for Success with Crispy Fried Chicken Recipe
Look, I want this to be a foolproof fried chicken experience for you! My goal with Misty Plate is always to take the guesswork out, and these little secrets I found by testing this recipe over and over again in my own kitchen are what make all the difference. You’ve done the brining and the messy double-dredging, now here’s how you secure that perfect finish.
First, after you’ve done that final heavy dredge, let the coated chicken rest on the wire rack for about 15 minutes. I know, waiting is the hardest part! But this short rest lets the flour hydrate just a bit better. When it hits the hot oil, it bonds stronger and you get that fantastic, resilient crust that seals in all the juices.
Secondly, remember what I said about oil temperature—it’s non-negotiable for achieving that stunning, even color and safe internal temp. Stay in that sweet spot, between 315°F and 330°F. Anything less means greasy chicken, and anything more burns the outside before the inside is done. Pay attention to your thermometer, and you’ll have success every single time!
Serving Suggestions for Your Savory Chicken Dinner Ideas
Okay, you’ve got this glorious, golden, crispy fried chicken cooling on the rack—now what? You can’t just eat it standing over the sink, though, I certainly have been tempted! To turn this into a truly classic easy fried chicken dinner, you need sides that soak up the flavor and balance out the richness.
For true Southern comfort, I always lean into the traditional lineup. Creamy, homemade mashed potatoes mixed with plenty of butter and maybe a drizzle of the skillet drippings if you’re feeling decadent are non-negotiable. You also need something bright and acidic to cut through that richness. My favorite pairing is a super simple, crisp vinegar-based coleslaw.
And please, don’t forget the biscuits! Warm, flaky biscuits just beg to be dipped into any accumulated juices. Serving this up with those three things—potatoes, slaw, and biscuits—makes the most incredible savory chicken dinner ideas come to life. It’s wholesome, it’s hearty, and it’s exactly what a proper meal should feel like.
Storage and Reheating Instructions for Leftover Fried Chicken
This is the part people often mess up, and it breaks my heart! Even the most perfect fried chicken needs a little love if you’re saving some for later. The biggest enemy of leftover crispy crust is steam, so we have to be smart about how we store it. You want to let the chicken cool down completely on that wire rack first—don’t rush it! Once it’s room temperature, slide it into an airtight container, but here’s the trick: lay down a layer of paper towels, place the chicken on top, and then seal it. This absorbs any moisture trying to escape the chicken so it doesn’t sweat onto the crust.
Now, for reheating—please, please, I beg you, do not put it in the microwave! That just turns your beautiful crunch into tough, rubbery sadness. If you want that classic, crispy coating back, the oven or an air fryer is your sanctuary. Preheat your oven to about 375 degrees F. Place the pieces directly on a clean wire rack set over a baking sheet (keeping it off the direct pan helps the bottom crisp up too!). Heat it for about 10 to 15 minutes, checking frequently. The goal is just to warm the meat through while crisping the flour coating back up. If you have an air fryer, toss them in at 350 degrees F for about 6 minutes. This simple method truly brings back that satisfying texture, making it feel like you just pulled it out of the fryer!
Frequently Asked Questions About Buttermilk Fried Chicken
I gather so many questions whenever I post this batch of fried chicken! It’s the kind of recipe that seems intimidating, but I promise you, once you nail the brine and the temperature, you’ll wonder why you waited so long. Here are the things folks ask me most often about getting that perfect, crispy result.
Can I use different cuts of chicken for this fried chicken recipe?
Absolutely, yes! The recipe calls for bone-in, skin-on pieces like thighs and drumsticks because they handle the heat better and stay incredibly juicy. If you really love breast meat, you can certainly use it, but you must take an extra step. I always tell people to physically pound those chicken breasts to an even thickness before they go into the buttermilk bath. If you don’t, the thinner parts will dry out while you wait for the thick middle part to finish cooking safely inside. The key for any cut is patience during the frying time!
What oil is best for deep-fried chicken?
When we are talking about deep frying, you need an oil with a high smoke point, meaning it can handle that 325°F heat without breaking down or smoking up your kitchen! For the absolute best flavor, some old-school cooks swear by pure shortening, but honestly, I find modern vegetable oil or peanut oil to be the most reliable and easy to find everywhere. Whatever you choose, just make sure you have enough of it—at least two to three inches in the skillet—so the chicken can actually float and cook evenly without sticking to the bottom.
Can I bake this Southern fried chicken recipe instead of frying it?
Oh, honey, you *can* bake it, but let’s be real—it won’t be this recipe! If you bake it, you’re making something more like baked breaded chicken; you won’t get that true, crackling, crunchy coating we worked so hard for with the flour and cornstarch dredge. The beauty of this crispy fried chicken recipe is the way that coating reacts instantly in the hot oil. If you’re looking for an oven method, you’d need a totally different breading setup, probably involving spraying everything heavily with oil. Stick to the deep fry for this one if you want that pure Southern experience!
How long should the chicken really soak in the buttermilk?
If you are in a major hurry, you can get away with a two-hour soak, but you won’t get maximum tenderness. For the best homemade fried chicken experience, you really need that overnight rest! Four hours is minimum, but if you prep it the night before, you wake up knowing you’re going to have the juiciest, most flavorful outcome possible. It lets that buttermilk work itself thoroughly into every fiber of the meat.
If you try this recipe out and have any burning questions while you’re cooking, don’t hesitate to reach out to me on the contact page right here!
Estimated Nutritional Data for Classic Fried Chicken
Now, I have to give you a little disclaimer here—because this is deep-fried, homemade goodness, the numbers are going to look robust! These figures are just estimates based on the bone-in chicken pieces and the flour used, so take them as a ballpark guide for your classic fried chicken.
For one serving (about one piece), you’re looking at approximately:
- Calories: 450
- Fat: 28g
- Protein: 32g
- Carbohydrates: 15g
- Sodium: 650mg
This is true comfort food, my friends! Enjoy it knowing how much love and care went into making this batch of fried chicken.
Share Your Perfect Fried Chicken Dinner
That’s it! You now have everything you need to create the best homemade fried chicken—that ultra-crispy, juicy, buttermilk-soaked dream that turns any night into a celebration. I truly believe the best meals are the ones we share, and I put my whole heart into making sure this recipe comes out stellar for you.
When you finally pull that first batch of golden brown chicken out of the oil, please promise me you’ll take a picture! Post it on social media and tag me—I absolutely love seeing your creations. Did you serve it with those creamy potatoes? Did everyone fight over the legs? That’s the joy of cooking this kind of food!
If you followed along and this recipe became your new go-to comfort food chicken recipe, please come back and drop a star rating below. It means the world to me as I develop these recipes designed for real home cooks just trying to bring a little warmth to the table. Your feedback helps other cooks find their way back to simple, satisfying cooking, too. Creating food you love is always worth the effort. If you have any questions about the process, you can always check out my privacy policy details here!
PrintUltra-Crispy Buttermilk Southern Fried Chicken

Make the best homemade fried chicken with this foolproof recipe. We use a buttermilk brine and a double dredge for an ultra-crispy, golden crust that stays juicy inside. This is classic Southern comfort food.
- Prep Time: 30 min
- Cook Time: 35 min
- Total Time: 7 hours 5 min
- Yield: 4 servings 1x
- Category: Dinner
- Method: Deep Frying
- Cuisine: Southern
- Diet: None
Ingredients
- 3 lbs bone-in, skin-on chicken pieces (thighs, drumsticks)
- 4 cups buttermilk
- 2 tablespoons kosher salt
- 1 tablespoon black pepper
- 1 teaspoon cayenne pepper
- 4 cups all-purpose flour
- 1/2 cup cornstarch
- 2 tablespoons paprika
- 1 tablespoon garlic powder
- 1 tablespoon onion powder
- Vegetable oil or shortening for frying
Instructions
- In a large bowl, combine the buttermilk, kosher salt, black pepper, and cayenne pepper. Add the chicken pieces, ensuring they are fully submerged. Cover and refrigerate for at least 4 hours, or preferably overnight.
- In a separate shallow dish, whisk together the flour, cornstarch, paprika, garlic powder, and onion powder. This is your dredge mixture.
- Remove the chicken from the buttermilk, letting excess drip off, but do not rinse.
- Dredge each piece of chicken thoroughly in the flour mixture, pressing the flour onto the chicken to create a thick, craggy coating.
- For extra crispiness, dip the floured chicken back into the remaining buttermilk for a second, quick dip, then return it to the flour mixture for a final, heavy dredge. Set the coated chicken on a wire rack while you heat the oil.
- In a large, heavy-bottomed skillet or Dutch oven, heat 2 to 3 inches of oil to 325 degrees F. Use a thermometer to maintain the temperature.
- Carefully place the chicken pieces into the hot oil, ensuring you do not overcrowd the pan. Work in batches.
- Fry the chicken for about 6 to 8 minutes per side, turning carefully, until deep golden brown and the internal temperature reaches 165 degrees F. Thicker pieces may require slightly longer cooking times.
- Remove the fried chicken from the oil and place it on a clean wire rack set over a baking sheet to drain excess oil. Do not place it directly on paper towels, as this can steam the crust and make it soft.
- Serve your crispy fried chicken immediately as an easy fried chicken dinner.
Notes
- For the crispiest coating, let the dredged chicken rest on the wire rack for 15 minutes before frying. This allows the coating to hydrate slightly.
- Maintain your oil temperature between 315 and 330 degrees F. If the oil is too cool, the chicken absorbs too much grease; if too hot, the crust burns before the inside cooks.
- If you are using chicken breasts, pound them to an even thickness before brining to promote even cooking.
Nutrition
- Serving Size: 1 piece
- Calories: 450
- Sugar: 1
- Sodium: 650
- Fat: 28
- Saturated Fat: 8
- Unsaturated Fat: 20
- Trans Fat: 0
- Carbohydrates: 15
- Fiber: 1
- Protein: 32
- Cholesterol: 110