
There’s nothing quite like a bowl of warm, sweet comfort food to settle the soul, is there? When I was pulling myself out of the whirlwind of city marketing and back toward what truly nourished me—that’s when I rediscovered the magic of simple, slow-cooked desserts. This recipe for Old-Fashioned Creamy Stovetop Rice Pudding is the very heart of that rediscovery. It’s rich, it’s nostalgic, and it proves you don’t need fuss or fancy techniques to create something truly special. At Misty Plate, we believe food should tell a story, and this rice pudding whispers tales of cozy evenings and simple satisfaction. It’s my go-to whenever I need that grounded feeling that only a truly homemade pudding dessert can deliver.
- Why This Old-Fashioned Creamy Rice Pudding Recipe Works
- Gathering Ingredients for Your Creamy Rice Pudding Recipe
- Step-by-Step Instructions for Stovetop Rice Pudding
- Tips for the Best Creamy Rice Pudding Every Time
- Serving Suggestions for Your Vanilla Rice Pudding
- Make Ahead Dessert Rice and Storage Instructions
- Rice Pudding Variations and Flavor Twists
- Frequently Asked Questions About Classic Comfort Dessert
- Nutritional Estimate for Homemade Pudding Dessert
Why This Old-Fashioned Creamy Rice Pudding Recipe Works
If you’re looking for the best rice pudding recipe, you’ve found it! This isn’t some rushed, thin microwave version. This is the real deal—a proper classic comfort dessert. Because we stick to a few simple principles, it consistently turns out beautifully creamy.
- It hits that sweet spot: perfectly rich but still an easy rice pudding to manage.
- It uses just five core ingredients plus salt and spices!
- The stovetop method keeps things straightforward; no oven babysitting needed.
Achieving Ultimate Creaminess on the Stovetop
The texture is everything, right? We rely on short-grain rice, like Arborio or Calrose, because those starches break down just enough during the slow simmer. Trust me, you have to stir often. Stirring prevents scorching on the bottom—that’s an expert tip! It’s this gentle, constant movement that coaxes all that luxurious creaminess out of the rice and milk.
Simple Ingredients for a Homemade Pudding Dessert
I developed this recipe to prove you don’t need fancy stuff for a truly decadent experience. We’re sticking to staples you likely already have. The real secret for richness comes from using whole milk. It provides that glorious mouthfeel you expect from a homemade pudding dessert. Anything less, and you lose that nostalgic depth!
Gathering Ingredients for Your Creamy Rice Pudding Recipe
Okay, let’s get everything lined up before we even turn on the heat. When I make this, I pull out all my measuring cups first—less chaos that way! We are keeping this super simple, which is why this creamy rice pudding recipe holds up so well. You just need the rice, milk, sugar, salt, vanilla, and cinnamon. That’s it!
For the rice, please, please use short-grain white rice. This is non-negotiable if you want that classic texture we talked about earlier.
Ingredient Notes and Substitutions for Rice Pudding
Since richness is our goal here, make sure you grab whole milk. If you’re feeling extra decadent—maybe it’s a chilly evening—you can substitute about half a cup of that whole milk with heavy cream. It just boosts the luxury level! If you can’t find standard short-grain rice, Arborio or Calrose are fantastic because they release starch beautifully. Long-grain rice just won’t give you the same velvety cuddle in a bowl as these do for our vanilla rice pudding.
Step-by-Step Instructions for Stovetop Rice Pudding
Grab your medium, heavy-bottomed saucepan—that’s important to keep things even! We are going to dump the rice, the whole milk, and that tiny pinch of salt right inside. Don’t worry! This is the start of a truly satisfying, if not completely quick rice pudding dessert. The magic happens in the next 50 minutes, but it’s mostly hands-off time!
The Simmering Process for Perfect Rice Pudding
Turn the heat up to medium and bring the mixture just to a gentle simmer. Remember, we want a simmer, not a roiling boil! While it heats up, stir frequently. Once you see those first little bubbles popping the surface, that’s your cue. Immediately drop that heat way down to low. Do not skip this part! If you leave it on medium, you are going to scorch the rice onto the bottom of the pan—and nobody wants that smoky taste in their stovetop rice pudding. Keep it at a low, happy bubble for 40 to 50 minutes, stirring every five or so minutes until it looks plump and thick.
Finishing Touches: Sugar and Vanilla Rice Pudding Flavor
When the rice is perfectly tender and the pudding coats the back of your spoon, pull the whole pot right off the burner. This is crucial: stir in your sugar first, then the vanilla extract. Never add the sugar or vanilla while it’s actively boiling, or you risk losing that lovely vanilla aroma or maybe even splitting the milk. Let the whole mixture hang out for about five minutes off the heat. It thickens up significantly as it rests, which is exactly what we want for that perfect texture!
Tips for the Best Creamy Rice Pudding Every Time
Even though this recipe is simple, making the absolute best rice pudding recipe sometimes requires a little troubleshooting. We aren’t aiming for glue, we are aiming for velvet! Because we used short-grain rice and stirred carefully, you shouldn’t have major issues, but sometimes life happens in the kitchen, right?
Troubleshooting Common Rice Pudding Issues
If you pull the pot off the heat and wait five minutes, but it still seems way too runny for your liking, don’t panic! Just return it to the lowest possible heat setting and stir gently for another five minutes. It rarely takes long to firm up the rest of the way. Conversely, if you waited too long and it’s gotten *too* thick—like wallpaper paste—just whisk in a splash of milk while reheating gently.
Now, about sticking: I once got distracted answering the phone and scorched a beautiful patch right onto the bottom of my pot! If this happens, don’t stir the scorched bits *into* the pudding. Just gently scoop out the top, un-stuck layer into a clean bowl, and leave that burnt layer behind. It’s a small loss compared to ruining the flavor of the whole batch!
Serving Suggestions for Your Vanilla Rice Pudding
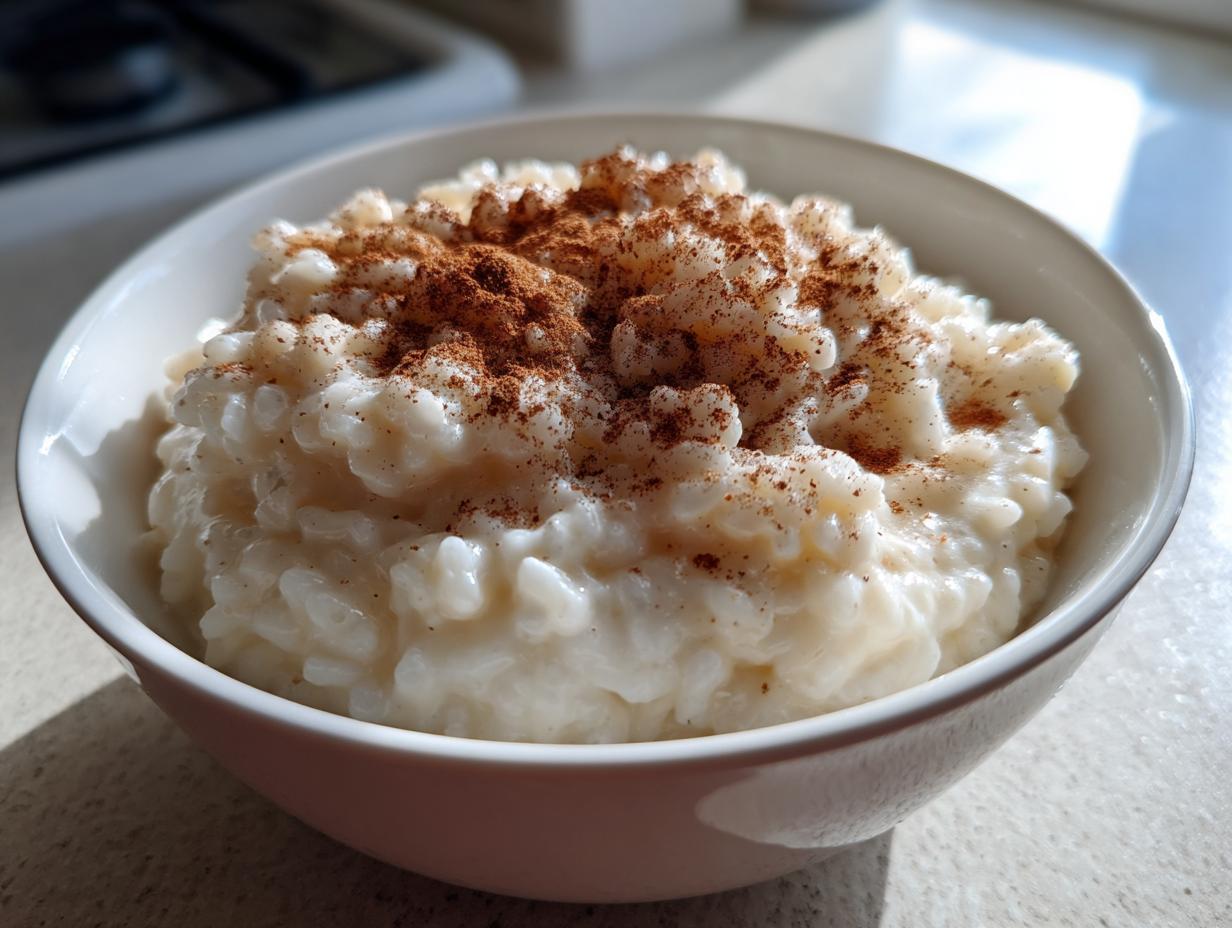
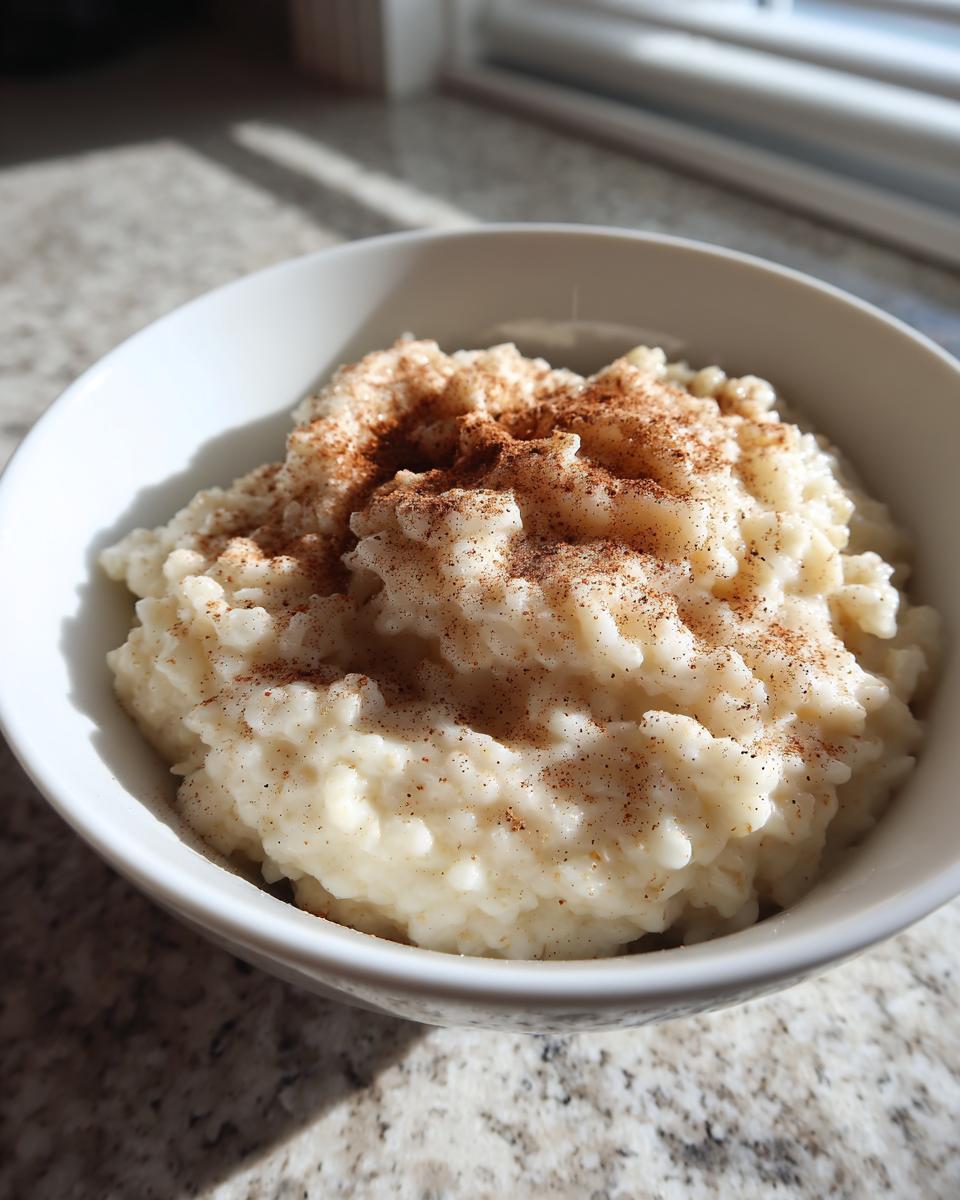
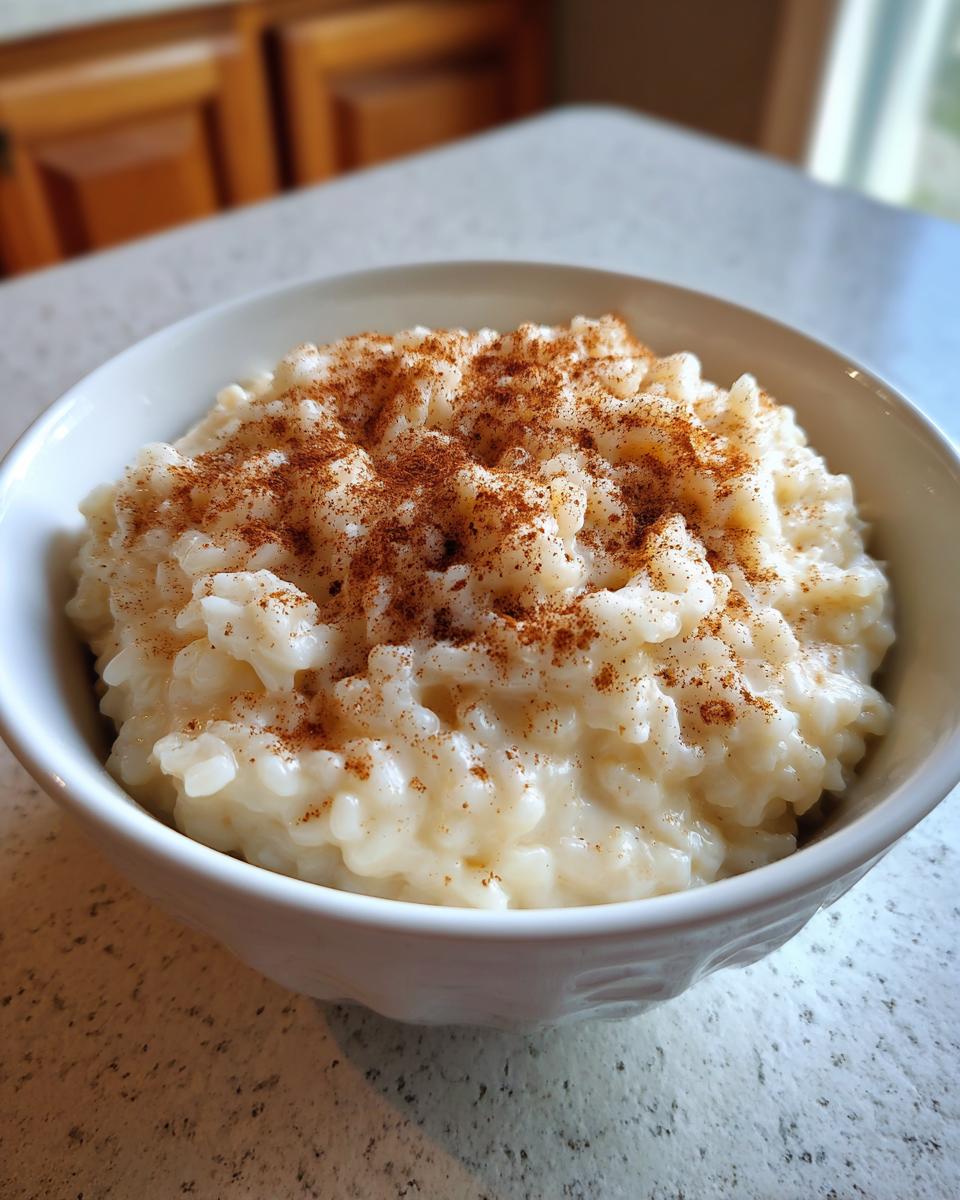
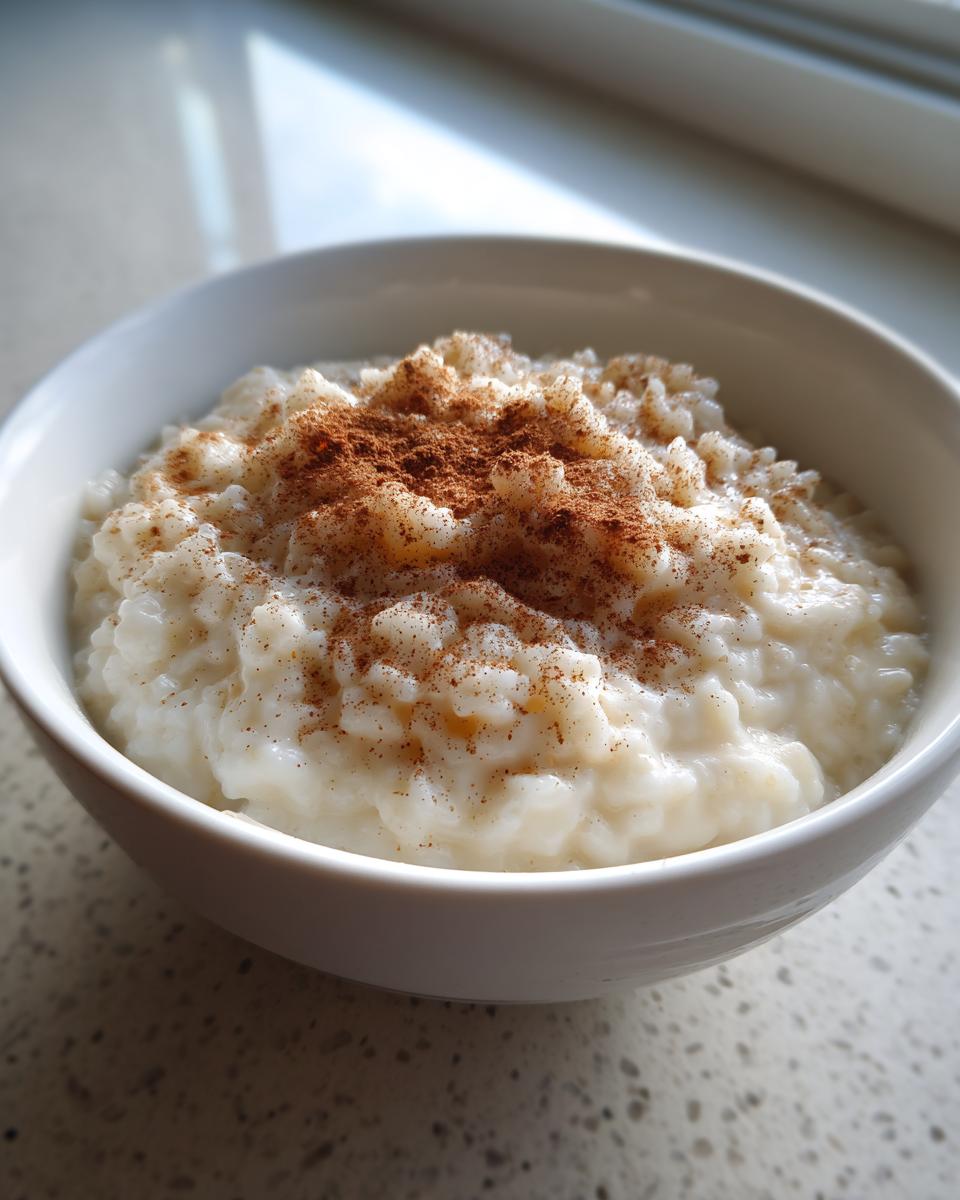
The best part about this vanilla rice pudding is how perfectly happy it is served in two totally different ways! If you’re making this on a chilly Sunday afternoon, you absolutely must taste it warm. That steam carries the vanilla fragrance beautifully. Sprinkle a little extra ground cinnamon right on top—that’s my favorite way to eat it when it’s fresh.
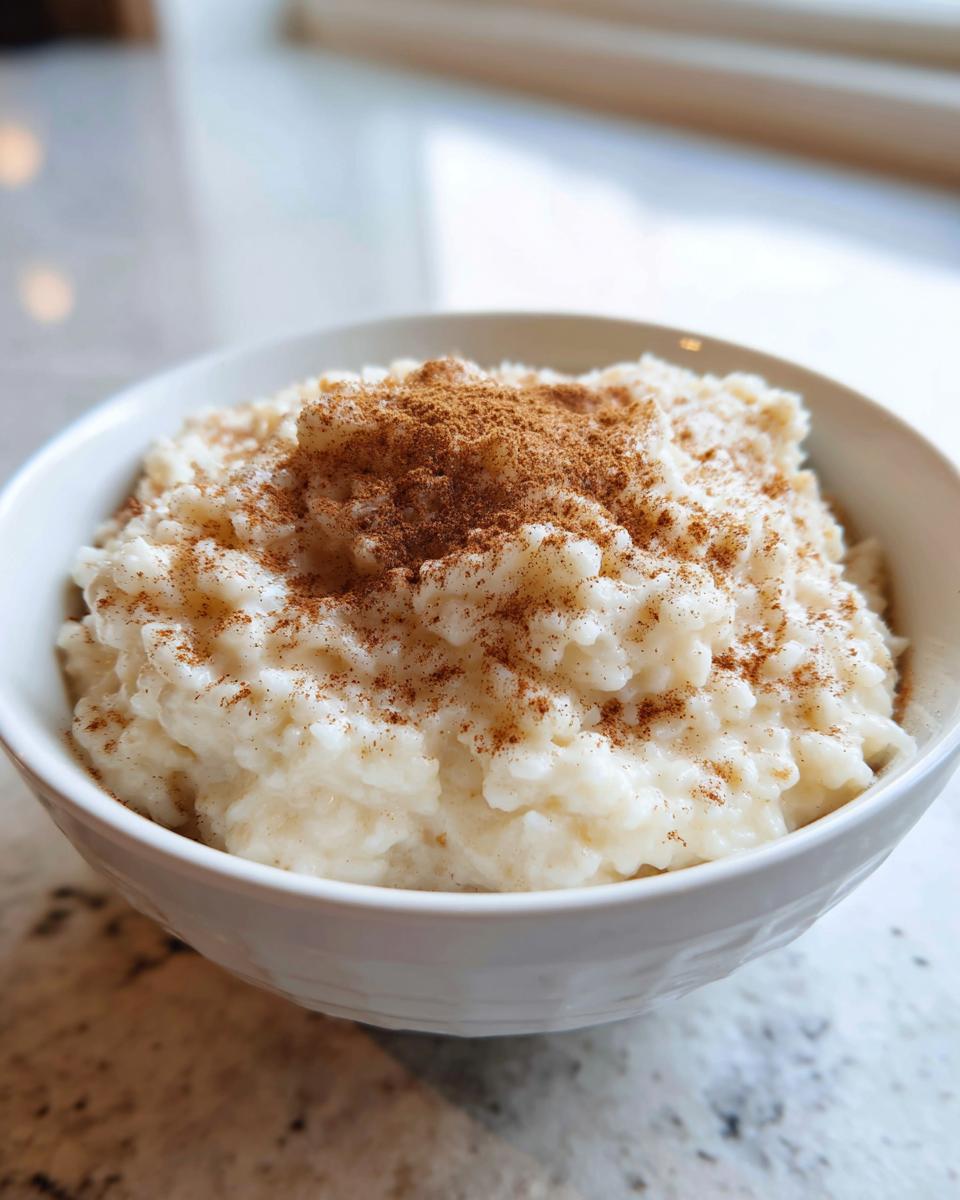
But listen, this is also incredible as a cold dessert! If you chill it overnight, it firms up beautifully. Then, when you scoop it out, maybe add a light grating of fresh nutmeg or even a drizzle of maple syrup. It makes for such a lovely, cool treat. If you’re looking for more topping inspiration, I saw a fantastic one recently that used preserved lemon zest, but for me, you can’t beat a simple dusting of those warm spices.
If you want to see how other folks serve up their classic bowls, check out this delicious old-fashioned rice pudding for ideas!
Make Ahead Dessert Rice and Storage Instructions
Life is busy, so I am a huge fan of anything that lets me get ahead, especially where dessert is concerned! This make ahead dessert rice is genuinely wonderful because you can cook it completely one day and serve it the next. When you chill it, the pudding firms up *a lot*. It goes from that slightly loose, creamy texture we love right off the stove to something much denser.
Don’t frown if it looks almost stiff straight from the fridge! That’s normal. If you plan to serve it cold, let it sit on the counter for 15 minutes before digging in. If you prefer it warm again, put a scoop in a microwave-safe bowl with a splash of milk—maybe just a tablespoon—and heat it in short 20-second bursts, stirring in between. It comes right back to life!
You can safely keep it covered in the refrigerator for up to three days. It’s just so handy to pull out a container of comfort whenever a craving hits!
Rice Pudding Variations and Flavor Twists
We love this creamy rice pudding recipe exactly as written, but honestly, half the fun of home cooking is making something totally your own, right? That’s where exploring different rice pudding variations comes in. Since the base recipe is so sturdy and simple, it takes flavor additions beautifully.
If you had raisins when you were little—mine never did, but maybe yours did—toss a half cup in right when you add the milk in the beginning. Make sure they soak first if you don’t want them stealing moisture from your pudding!
For adults, I sometimes like to add a tiny bit of fresh orange or lemon zest right at the end with the vanilla. It just brightens up the whole bowl. Or, if you want to lean harder into the warm spices, swap out some of that cinnamon for a tiny pinch of cardamom. It’s delicious, and you can see tons of beautiful, warm spice ideas over at this classic site as well!
Frequently Asked Questions About Classic Comfort Dessert
I know when you’re looking for that perfect bowl of comfort, you might have a few little questions popping up. That’s totally normal! When you’re aiming for the best rice pudding recipe, details matter. Here are a few things folks ask me most often about achieving that perfect, classic spoonful.
Can I use long-grain white rice instead of short-grain for this rice pudding?
You absolutely *can*, but I have to level with you: you won’t get that signature, dreamy creaminess. Long-grain rice, like Basmati or Jasmine, holds its shape much better, which means you end up with rice suspended in milk, rather than that cohesive, thick velvet we’re after. If that’s what you have on hand, go for it, but know you’re trading some of that classic texture for convenience.
How do I prevent the rice pudding from forming a skin?
Ah, the dreaded dessert film! This happens as the surface cools down and dries out a bit. If you know you won’t be eating it all right away, the best trick is to lay a piece of plastic wrap directly onto the surface of the pudding while it’s still warm before you put it in the fridge. It blocks that air contact completely. If you forget, no big deal—just stir it vigorously before serving, and the skin will break right back into the pudding.
Is this recipe suitable for a quick rice pudding dessert?
It’s quick in terms of prep time—honestly, it’s maybe five minutes to throw everything in the pot, which is fantastic! But to get that truly thick, old-fashioned, creamy texture, you need that slow, low simmer of 40 to 50 minutes. So, while the setup is fast, think of it as a low-effort, high-reward bake. It’s a quick rice pudding dessert to get started, but it needs love while it cooks!
Nutritional Estimate for Homemade Pudding Dessert
While we are focused on pure comfort here at Misty Plate, I know how helpful it is to have a general idea of what’s in that delicious bowl of homemade pudding dessert. Remember, since everyone uses slightly different brands of milk or sugar amounts, these numbers are just educated estimates based on the ingredients listed above and are calculated for one standard 1-cup serving size.
We take pride in using good, whole ingredients, but since this recipe uses full-fat milk, it definitely packs a satisfying punch!
- Serving Size: 1 cup
- Calories: 310
- Sugar: 25g
- Sodium: 110mg
- Fat: 7g
- Saturated Fat: 4g
- Carbohydrates: 55g
- Protein: 10g
This is why we keep the sugar moderate—it’s already quite rich from the whole milk! For more information on how we handle data and recipes, you can always check out our privacy policy.
PrintOld-Fashioned Creamy Stovetop Rice Pudding

This recipe delivers the creamiest, old-fashioned rice pudding using a simple stovetop method. It is a classic comfort dessert flavored with vanilla and cinnamon.
- Prep Time: 5 min
- Cook Time: 50 min
- Total Time: 55 min
- Yield: 4 servings 1x
- Category: Dessert
- Method: Stovetop
- Cuisine: American
- Diet: Vegetarian
Ingredients
- 1/2 cup short-grain white rice (Arborio or Calrose work well)
- 4 cups whole milk
- 1/2 cup granulated sugar
- 1 teaspoon vanilla extract
- 1/4 teaspoon ground cinnamon, plus more for topping
- Pinch of salt
Instructions
- Combine the rice, whole milk, and salt in a medium, heavy-bottomed saucepan.
- Bring the mixture to a gentle simmer over medium heat, stirring frequently to prevent the rice from sticking to the bottom.
- Once simmering, reduce the heat to low. Continue to cook, stirring every 5 to 7 minutes, for 40 to 50 minutes. The pudding is done when the rice is tender and the mixture has thickened to your desired creamy consistency.
- Remove the saucepan from the heat. Stir in the sugar and vanilla extract until fully dissolved.
- Let the pudding stand for 5 minutes before serving. The pudding will thicken further as it cools.
- Serve warm, sprinkled with extra ground cinnamon, or chill completely for a cold dessert.
Notes
- For an extra rich texture, substitute 1/2 cup of the whole milk with heavy cream.
- If you prefer a thinner consistency, add 1/4 cup more milk while the pudding is still warm.
- You can make this dessert ahead; store it covered in the refrigerator for up to 3 days.
Nutrition
- Serving Size: 1 cup
- Calories: 310
- Sugar: 25
- Sodium: 110
- Fat: 7
- Saturated Fat: 4
- Unsaturated Fat: 3
- Trans Fat: 0
- Carbohydrates: 55
- Fiber: 1
- Protein: 10
- Cholesterol: 25