
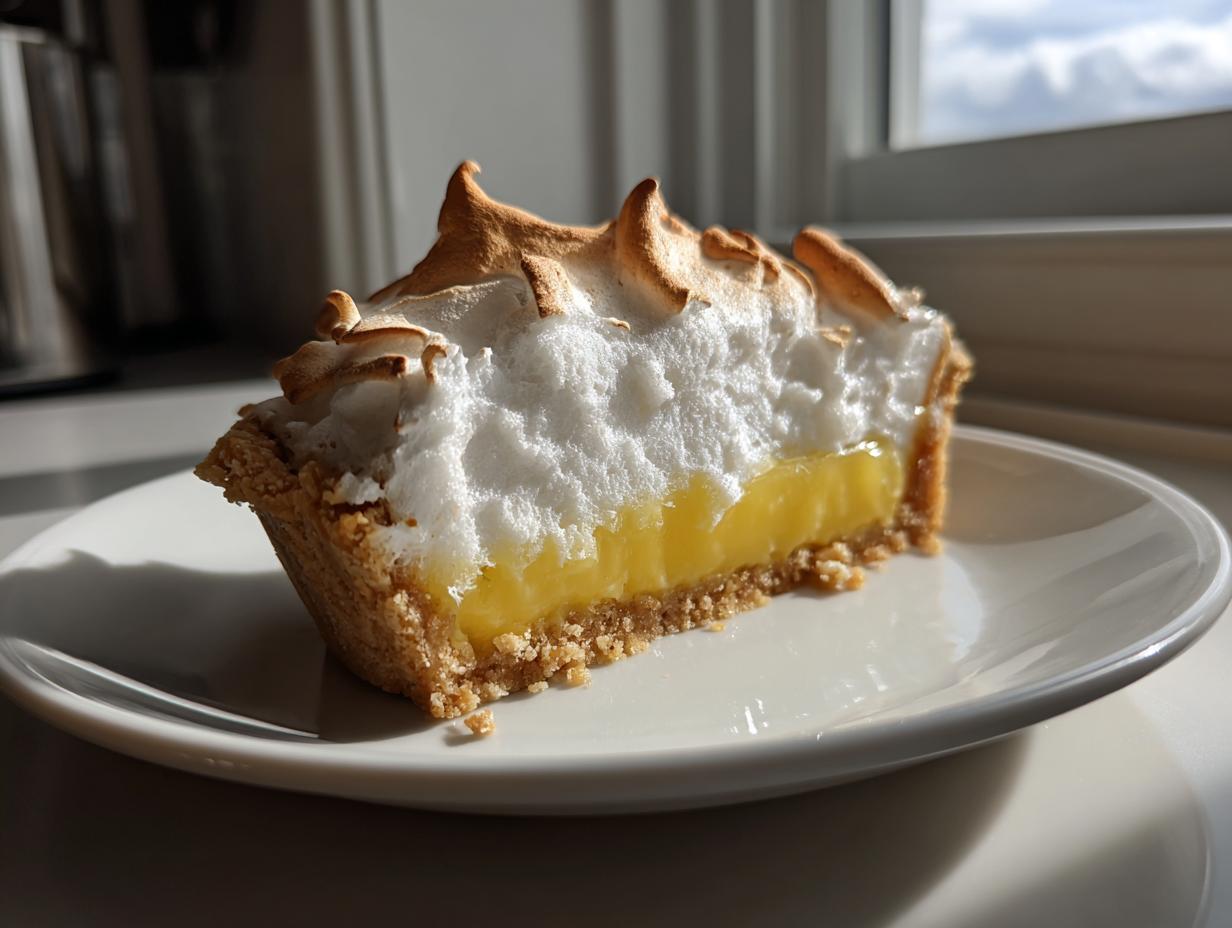
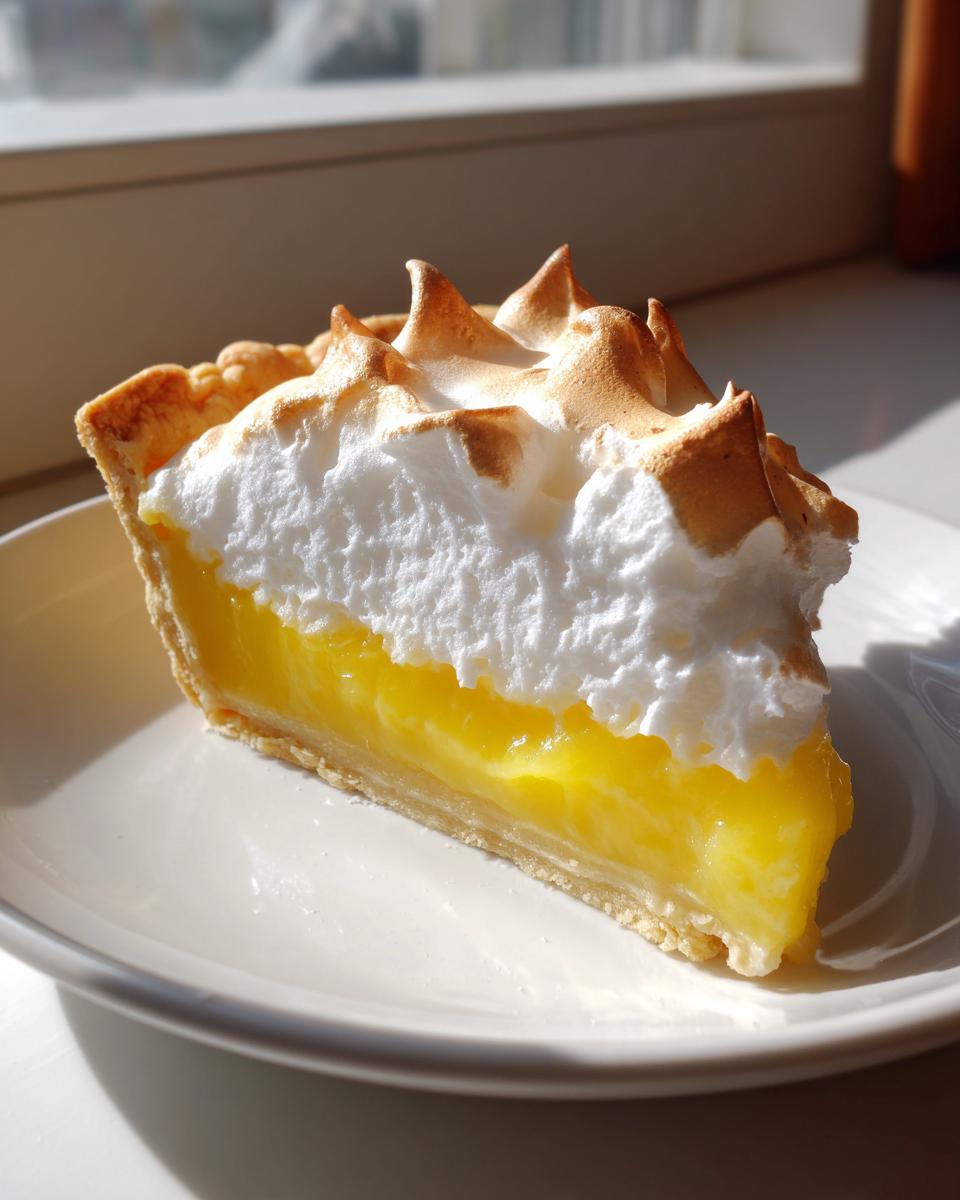
Oh, there’s just something special about that perfect slice of lemon meringue, isn’t there? It’s the sunshine of the dessert world. For me, it brings me right back to my grandmother’s kitchen—that incredible sight of a towering, golden-kissed topping against a bright yellow filling. Maybe you’ve burned a batch or watched the meringue sadly weep the next day, but trust me, those days are over now. Here at Misty Plate, we believe baking should bring joy, not stress! This recipe for a classic lemon pie is designed to be completely homemade from scratch, focusing heavily on technique so you get that stable, fluffy meringue topping every single time. We’re cutting through the fuss to keep that connection to simple, beautiful food alive. If you want to read more about how we approach home cooking here at Misty Plate, feel free to take a look!
- Why This Classic Lemon Meringue Pie Recipe Stands Out
- Gathering Ingredients for Your Homemade Lemon Pie From Scratch
- Step-by-Step Instructions for the Best Lemon Meringue
- Expert Tips for No Weep Lemon Meringue Tips
- Serving Suggestions for Your Zesty Lemon Dessert
- Storage and Reheating Instructions for Lemon Meringue
- Frequently Asked Questions About Classic Lemon Pie
- Nutritional Estimates for a Slice of Lemon Meringue
- Share Your Spring Baking Recipes Success
Why This Classic Lemon Meringue Pie Recipe Stands Out
When you’re making something this iconic, you can’t cut corners, but you absolutely can simplify the stress! This recipe is truly about making a showstopper dessert that tastes absolutely unbeatable. We aren’t messing around with mixes or weird stabilizers here. We’re aiming for perfection, built right from simple, accessible ingredients.
- This is the definition of a tart and sweet pie; you get that beautiful zing that wakes up your palate without being purely sour.
- The texture contrast is everything: that crisp crust against the smooth filling and airy topping. It’s a textural dance!
- We focus on the proven ratios that keep the meringue firm and the filling thick enough to slice cleanly.
Achieving the Perfect Tart and Sweet Balance
Listen, if your lemon filling tastes like lemonade, you’ve messed up the balance. The trick here is the specific amount of sugar used alongside fresh lemon juice. It mellows the extreme acidity just enough so that what you taste is bright, sunny, and zesty—not just sour. This really makes it the ultimate zesty lemon dessert for cutting through heavy meals.
The Buttery Pie Crust Tutorial Foundation
You can’t put a pillow on a wobbly table, right? Same idea here! The filling and meringue are top-tier, but they need a solid platform. That’s why we demand a fully pre-baked, crisp, buttery shell. Because the filling goes into a cooled crust, steam doesn’t ruin the bottom pastry. If you need a refresher on making that killer shell, check out my buttery pie crust tutorial—it’s all about keeping the butter cold!
Gathering Ingredients for Your Homemade Lemon Pie From Scratch
Okay, friend, taking the time to make this pie completely from scratch is where the magic really happens. We’re making a traditional, sturdy filling that sets up beautifully—think of this as a simplified, no-fuss version of a classic lemon curd recipe, but baked right in the shell. Make sure you have everything ready to go before you start cooking, because once that filling heats up, things move fast! Having your cooled crust waiting is half the battle won.
For the Zesty Lemon Filling
This is what gives us that incredible flavor punch. Remember, fresh ingredients aren’t a suggestion here; they are the rule!
- 1 1/2 cups granulated sugar
- 1/3 cup cornstarch (our thickener!)
- 1/4 teaspoon salt
- 1 1/2 cups cold water
- 4 large egg yolks, lightly beaten—make sure no whites sneak in!
- 2 tablespoons unsalted butter
- 1/2 cup fresh lemon juice (yes, squeeze those lemons!)
- 1 tablespoon lemon zest
For the Fluffy Meringue Topping
For that gorgeous, high peak fluffy meringue topping, the only thing you absolutely cannot skip is ensuring your egg whites are at room temperature. Cold whites just won’t whip up to their full, cloud-like potential.
- 4 large egg whites, room temperature
- 1/4 teaspoon cream of tartar (this is our secret stabilizer!)
- 6 tablespoons granulated sugar (for the meringue itself)
Step-by-Step Instructions for the Best Lemon Meringue
Alright, let’s get this pie moving! This is the part where following the sequence exactly prevents everything from turning soupy. We’re working fast because the filling needs to go onto that cooled crust while it’s still hot, which is critical for our final, fluffy meringue topping to set correctly. We’ll tackle the filling first!
Preparing the Lemon Filling Base
First things first: You need to cook your starch mixture until it boils and thickens up well—this is non-negotiable for a filling that holds its shape. Once it’s boiled for a full minute, pull it off the heat. Now comes the slightly nerve-wracking part: tempering those egg yolks! Take about a cup of that hot mixture and slowly drizzle it into your beaten yolks while you whisk like a maniac. If you dump it all in at once, you’ll end up with sweet scrambled eggs, and nobody wants that! Once tempered, pour that yolk back into the saucepan. Get it back on the heat and stir until it thickens again. Then, stir in your butter, lemon juice, and zest until everything melts together into that gorgeous, glossy lemon custard. Pour this hot filling right into your waiting, cooled crust!
Creating the Fluffy Meringue Topping
While the filling is setting up in the crust, we whip the whites! Make sure your bowl is spotless—zero grease allowed. Get those room-temperature egg whites and cream of tartar going until you get soft, billowy clouds. Then, slowly trickle in that 6 tablespoons of sugar. Keep whipping until you hit stiff, glossy peaks. You should be able to lift the whisk and the peak stands straight up without flopping over. This is how you know you’re on your way to how to make perfect meringue success. Spread that fluffy topping right over the hot lemon filling. And listen close: you must spread it all the way to the edge of the crust! Seal that perimeter tight to keep the steam trapped.
Baking and Cooling Your Lemon Meringue Pie
Into a 350°F oven the pie goes for just 12 to 15 minutes. We’re only baking it long enough to toast those pretty peaks to a light golden brown. Don’t overbake, or the meringue will shrink away from the crust! After that quick bake, the cooling process is crucial for getting a great lemon meringue pie. Let it cool on the counter for a solid four hours at room temperature. Don’t rush it into the fridge immediately, or that temperature shock will cause weeping. I saw a great tip about this over at The Recipe Rebel that really hammers home the slow cooling method!
Expert Tips for No Weep Lemon Meringue Tips
If you’ve ever pulled a beautiful pie from the oven only to see little beads of sugary water forming on the meringue later, you are not alone! I call these drops of despair. Avoiding this is key to achieving that perfect slice, and these no weep lemon meringue tips are non-negotiable if you want a showstopper. These aren’t complicated steps, they are just paying attention to the physics of egg whites!
Grease Prevention for Stable Egg Whites
This is probably the single most important factor for a how to make perfect meringue. You need a mixing bowl and whisk attachments that are surgically clean. I mean it—wipe everything down with a little vinegar or lemon juice just before you start whipping those whites. Any microscopic trace of fat (like leftover oil from washing or, heaven forbid, a speck of egg yolk) will stop the egg whites from foaming up properly. They’ll foam reluctantly, but they certainly won’t achieve those sturdy, high peaks we are aiming for.
The Crucial Temperature Transition
The heat relationship between the filling and the meringue is vital. You must spread the meringue over the lemon filling while it is still warm, not cold! This creates a seal that traps steam trying to escape. More importantly, once you pull that pie out of the oven after toasting the peaks, you have to practice patience. Cool it on the counter, slowly, for at least four hours. Rapid temperature change, like plunging a hot pie into a cold fridge, causes the meringue to contract suddenly, releasing all that trapped moisture. Slow and steady wins this race, I promise!
Serving Suggestions for Your Zesty Lemon Dessert
Once you have baked and cooled this stunner, it’s time to present your masterpiece! This zesty lemon dessert is truly a showstopper dessert all on its own, but a little garnish goes a long way. Since this pie screams sunshine, it pairs perfectly with lighter accompaniments. Think about serving a very thin slice alongside a dollop of unsweetened whipped cream. That little bit of cream cuts the tartness just perfectly.
It’s naturally the best lemon meringue for a warm evening, making it an essential summer citrus dessert. If you want an extra pop of color, a very light shaving of fresh lemon zest sprinkled over the meringue just before serving looks elegant. Keep the side dressing simple—this pie delivers all the complex flavor you need!
Storage and Reheating Instructions for Lemon Meringue
Now, here’s the tough part to hear when you have leftovers of this gorgeous lemon meringue: this pie prefers to be enjoyed fresh! Because the meringue is so delicate, it really doesn’t love the cold, damp environment of the refrigerator for long periods. If you must store leftovers, cover the pie loosely with plastic wrap—don’t let the wrap touch the meringue, or it will stick and ruin those beautiful peaks! Try to keep it at cool room temperature for up to four hours.
If you absolutely have to refrigerate it, go for it, but know it’s only good for about 12 hours before weeping becomes a serious issue. Don’t even think about reheating this one; the meringue will just deflate and weep into a sad puddle. Eat it on day one or day two, people!
Frequently Asked Questions About Classic Lemon Pie
I totally get it; pie questions pop up when you mess with something as classic as this! Dealing with custard fillings and delicate toppings can feel tricky, but don’t worry, we’ve all been there. These are the questions I get asked most often about making the classic lemon pie, and I’ve got the answers straight from my test kitchen.
Can I use pre-made crust for this lemon meringue pie recipe?
Oh, absolutely you can! While my heart cheers loudest for a homemade buttery crust, I know life is busy, and sometimes you need an easy lemon meringue recipe shortcut. If you go that route, make sure you buy a crust that is sold pre-baked, or one that is specifically meant for a no-bake filling. Since our lemon filling is cooked and poured hot into a cooled shell, you need that crust to be fully done and cooled first. A raw crust will turn soggy, and nobody wants that sad situation!
How do I prevent the meringue from shrinking?
This goes back to that critical sealing step we talked about during baking. The main reason meringue shrinks or pulls away from the crust is that the moisture and steam trapped underneath need a clear, sealed path out—but not too fast! You have to make sure that fluffy goodness touches the very edge of the crust all the way around. Think of it like gluing the topping to the pie plate using the meringue itself. If that seal is broken, the filling underneath cools unevenly, and the meringue pulls in on itself. Make sure you spread it to kiss the edges!
Can I use lime or orange juice instead of lemon for a different zesty lemon dessert?
That’s a fun thought! Yes, you can definitely make a lime or orange version—it makes an equally wonderful zesty lemon dessert substitute. The biggest adjustment you need to make is with the sugar. Lemons are naturally the most acidic, so they require the most sugar to balance out. If you switch to orange, you might want to knock back the sugar in the lemon filling by about 2 tablespoons. If you use lime, you might need slightly more sugar than lemon because limes can sometimes punch even harder with sourness. Taste your juice before you mix everything, and adjust that sugar amount accordingly until it tastes right to you!
If you have any other questions, or perhaps you want to check our privacy commitment to our readers, we’re here to help! Happy baking!
Nutritional Estimates for a Slice of Lemon Meringue
I know, I know, when something tastes this good, who really looks at the numbers? But for those of you who like to keep track, I wanted to put the data here for transparency. Remember that this pie is made with real butter, real sugar, and real eggs—it’s a true homemade treat, not a lightened-up affair! These estimates are based on the standard recipe above, serving 8 slices, so your personal calorie count might vary based on how thick you cut! Always treat these figures as a good starting point rather than a hard fact.
- Serving Size: 1 slice
- Calories: 380
- Sugar: 45g
- Fat: 18g
- Protein: 6g
- Carbohydrates: 52g
- Sodium: 150mg
Because this is a classic dessert made with our standard ingredients, you’ll see that the sugar content reflects the sugar needed for both the tart filling and that beautiful meringue topping. It’s a splurge, but oh my gosh, it is totally worth every single bite!
Share Your Spring Baking Recipes Success
Now that you have all the secrets to conquering this beautiful, bright lemon meringue pie, I really hope you’ll give it a try! There is nothing more satisfying than pulling off a genuine homemade classic, especially when we are heading toward the warmer months. This dessert truly shines as one of the best spring baking recipes you can attempt.
When you gather your family to enjoy this sunshine-on-a-plate, I want to hear all about it! Did that meringue tower high and proud? Did you manage to get that perfect tart-sweet bite? Please come back and rate this recipe down below, or even better, share a photo on social media and tag us!
We thrive on seeing your real home kitchen magic happen. It proves that beautiful, impressive food doesn’t have to be scary or unattainable. If you have any lingering questions after trying it out, or maybe you want to share a different favorite family recipe, feel free to hop over to our contact page and let me know. Happy baking, friends!
PrintClassic Homemade Lemon Meringue Pie

Make this classic lemon meringue pie from scratch. It features a buttery crust, a zesty lemon custard filling, and a tall, fluffy meringue topping. This recipe balances tart and sweet flavors.
- Prep Time: 30 min
- Cook Time: 35 min
- Total Time: 4 hours 5 minutes
- Yield: 8 servings 1x
- Category: Dessert
- Method: Baking
- Cuisine: American
- Diet: Vegetarian
Ingredients
- 1 recipe for a 9-inch buttery pie crust, pre-baked
- 1 1/2 cups granulated sugar
- 1/3 cup cornstarch
- 1/4 teaspoon salt
- 1 1/2 cups cold water
- 4 large egg yolks, lightly beaten
- 2 tablespoons unsalted butter
- 1/2 cup fresh lemon juice
- 1 tablespoon lemon zest
- 4 large egg whites, room temperature
- 1/4 teaspoon cream of tartar
- 6 tablespoons granulated sugar (for meringue)
Instructions
- Prepare the pie crust: Bake your 9-inch pie crust according to your preferred recipe until golden brown. Let it cool completely.
- Make the lemon filling: In a medium saucepan, whisk together the 1 1/2 cups sugar, cornstarch, and salt. Gradually whisk in the cold water until smooth.
- Cook the base: Place the saucepan over medium heat. Cook, stirring constantly, until the mixture thickens and boils. Let it boil for one minute, stirring constantly. Remove from heat.
- Temper the yolks: In a separate bowl, lightly beat the egg yolks. Slowly pour about one cup of the hot cornstarch mixture into the yolks while whisking constantly to temper them.
- Combine and cook: Pour the tempered yolk mixture back into the saucepan with the remaining hot mixture. Return to medium heat. Cook, stirring constantly, until the filling thickens again and bubbles gently. Do not let it boil vigorously.
- Finish the filling: Remove from heat. Stir in the butter, lemon juice, and lemon zest until the butter is melted and incorporated. Pour the hot lemon filling into the cooled, pre-baked pie crust.
- Make the meringue: In a clean, grease-free bowl, beat the egg whites and cream of tartar with an electric mixer on medium speed until soft peaks form. Gradually add the 6 tablespoons of sugar, one tablespoon at a time, beating well after each addition. Increase speed to high and beat until stiff, glossy peaks form. This creates your fluffy meringue topping.
- Top the pie: Spread the meringue evenly over the hot lemon filling, making sure the meringue touches the edges of the crust all around. This helps prevent the meringue from shrinking or weeping.
- Bake the meringue: Bake the pie in a preheated 350°F (175°C) oven for 12 to 15 minutes, or until the meringue peaks are lightly golden brown.
- Cool the pie: Cool the pie completely on a wire rack at room temperature for about 4 hours before slicing. Avoid placing it in the refrigerator immediately, as rapid cooling can cause the meringue to weep.
Notes
- To prevent weeping meringue, make sure your mixing bowl and whisk for the egg whites are completely free of any grease or egg yolk residue.
- Spread the meringue all the way to the edge of the crust to seal the filling. This traps steam and helps stabilize the topping.
- Cool the pie slowly at room temperature for several hours before chilling. Rapid temperature changes cause moisture release.
Nutrition
- Serving Size: 1 slice
- Calories: 380
- Sugar: 45g
- Sodium: 150mg
- Fat: 18g
- Saturated Fat: 8g
- Unsaturated Fat: 10g
- Trans Fat: 0.5g
- Carbohydrates: 52g
- Fiber: 1g
- Protein: 6g
- Cholesterol: 110mg