
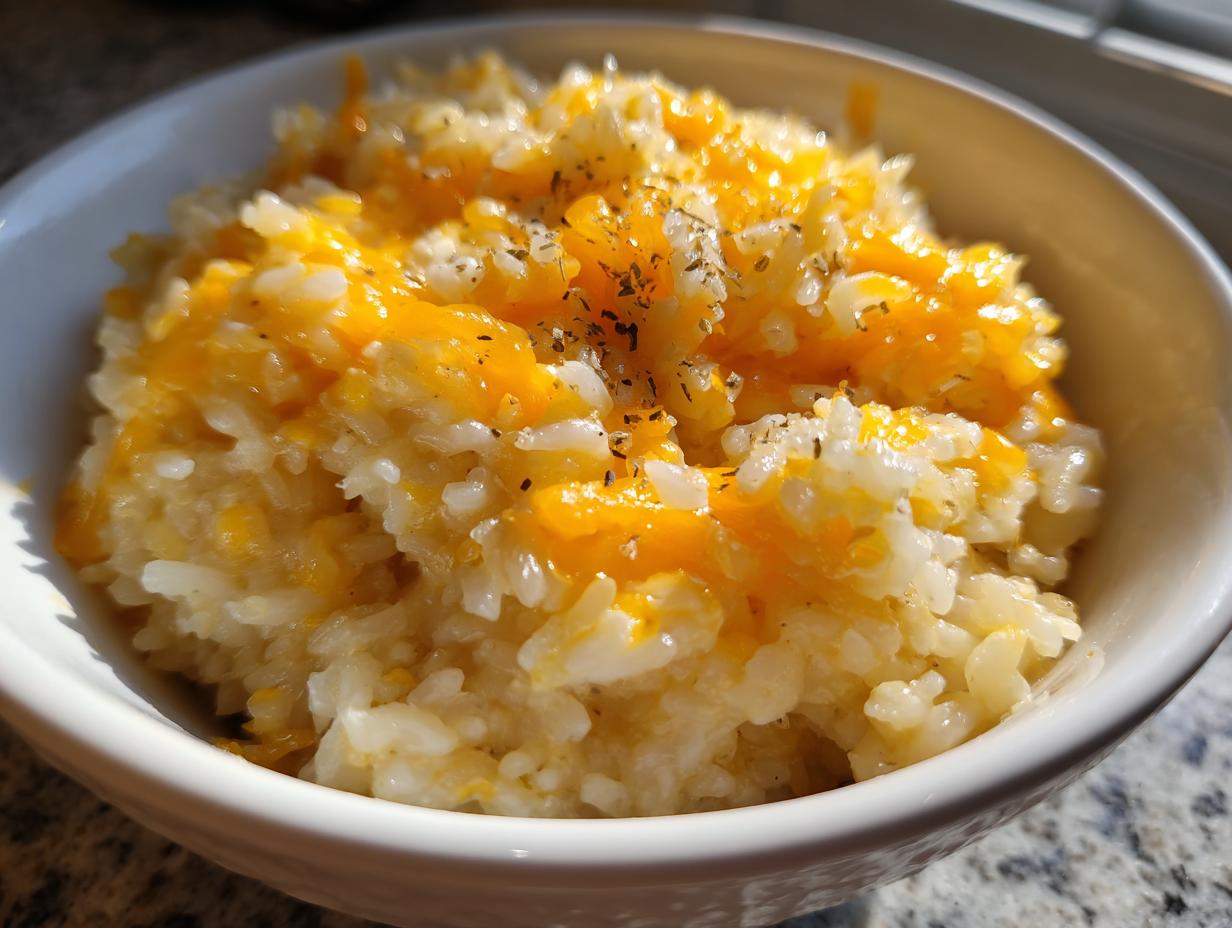
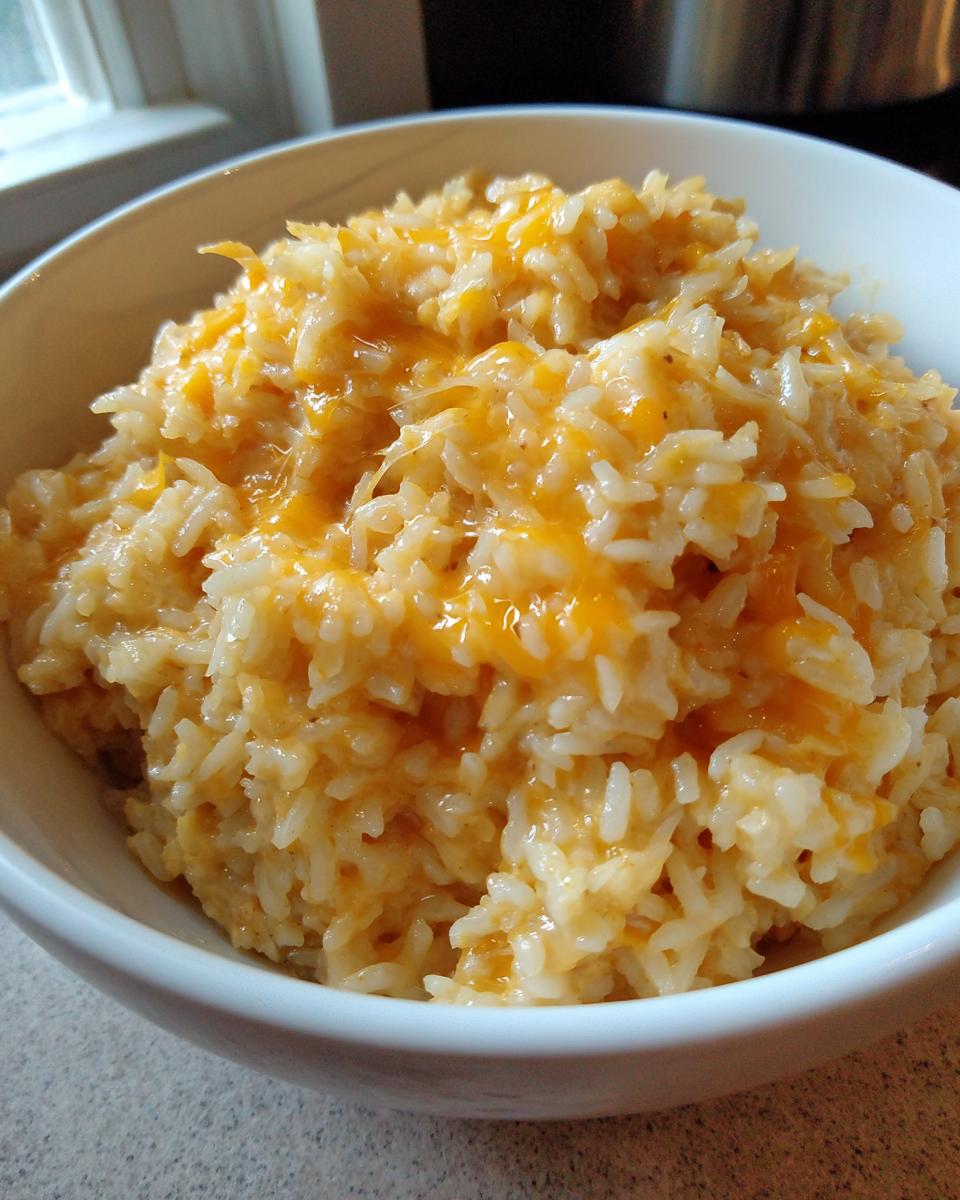
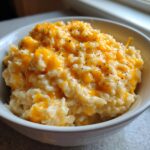
When life gets busy, and you just need that warm, hug-in-a-bowl kind of meal, nothing beats comfort food. For me, that means digging into something rich, savory, and unbelievably simple. Forget those heavy, baked dishes that take hours! I want gooey cheese goodness right now. That’s exactly why I perfected this incredibly quick stovetop cheesy rice recipe. Seriously, this has become my go-to quick side dish when I need to nourish my family without spending the entire evening tethered to the stove. It’s easy, it’s creamy, and you’ve got a perfect bowl of cheesy rice ready in under 30 minutes. Welcome back to the joy of simple cooking! If you want to read more about my approach to bringing that warmth back into modern life, check out my philosophy on simple, nourishing food.
- Why This Creamy Stovetop Cheesy Rice Recipe Works (Best Cheesy Rice Recipe)
- Ingredients for Your Easy Cheesy Rice Recipe
- How to Make Stovetop Cheesy Rice Step-by-Step
- Tips for Success with Homemade Cheesy Rice
- Serving Suggestions for Your Comfort Food Rice
- Storage and Reheating Instructions for Cheesy Rice Leftovers
- Frequently Asked Questions About This Cheesy Rice Recipe
- Nutritional Estimate for Cheddar Parmesan Rice
- Share Your Experience Making This Cheesy Rice
Why This Creamy Stovetop Cheesy Rice Recipe Works (Best Cheesy Rice Recipe)
I know there are a million ways to make rice, and honestly, a lot of casserole-style cheesy rice recipes are delicious, but they demand time, usually involving an oven Preheat cycle and a dirty baking dish. Not what I need on a Tuesday! This stovetop method is my answer for a truly comforting rice side dish. It delivers that incredible, melty texture you crave, all cooked right in one medium saucepan. The secret to the creaminess lies in toasting the rice first, which helps maintain structure, and then allowing it to steam perfectly in the broth.
It makes for the Best Cheesy Rice Recipe because you control the heat and the moisture every step of the way. We aren’t relying on ambient oven heat; we are coaxing the flavor out directly on the burner. This technique is what guarantees a creamy rice side dish without turning into a cement block later in the evening. Trust me, once you nail this simple stovetop technique, you won’t look back!
Quick Side Dishes with Rice in Under 30 Minutes
When I say quick, I mean it! The total time from pulling out the butter to serving a piping hot bowl of this cheesy rice is just about 25 minutes. That’s faster than most frozen meals take to heat through. Because we aren’t baking, you skip the 15-minute preheat time entirely. This makes it the perfect emergency side dish when you realize you forgot to plan something alongside that weeknight chicken breast or steak dinner. It really is the fastest way to elevate simple grains!
Ingredients for Your Easy Cheesy Rice Recipe
Pulling this together is shockingly easy because we rely on pantry staples and cheese! I always say, good ingredients make good food, even when it’s simple. For this dish, focus on quality cheese; it melts so much better and tastes incredible. You’ll need standard long-grain white rice, some liquid, and those two key cheeses. Keep everything measured out before you start heating the pan—it moves fast once the garlic hits the butter, and you don’t want to scramble!
- 1 tablespoon butter
- 2 cloves garlic, minced
- 1 cup long-grain white rice, uncooked
- 2 cups chicken broth
- 1/2 teaspoon salt
- 1/4 teaspoon black pepper
- 1/2 cup milk or half-and-half
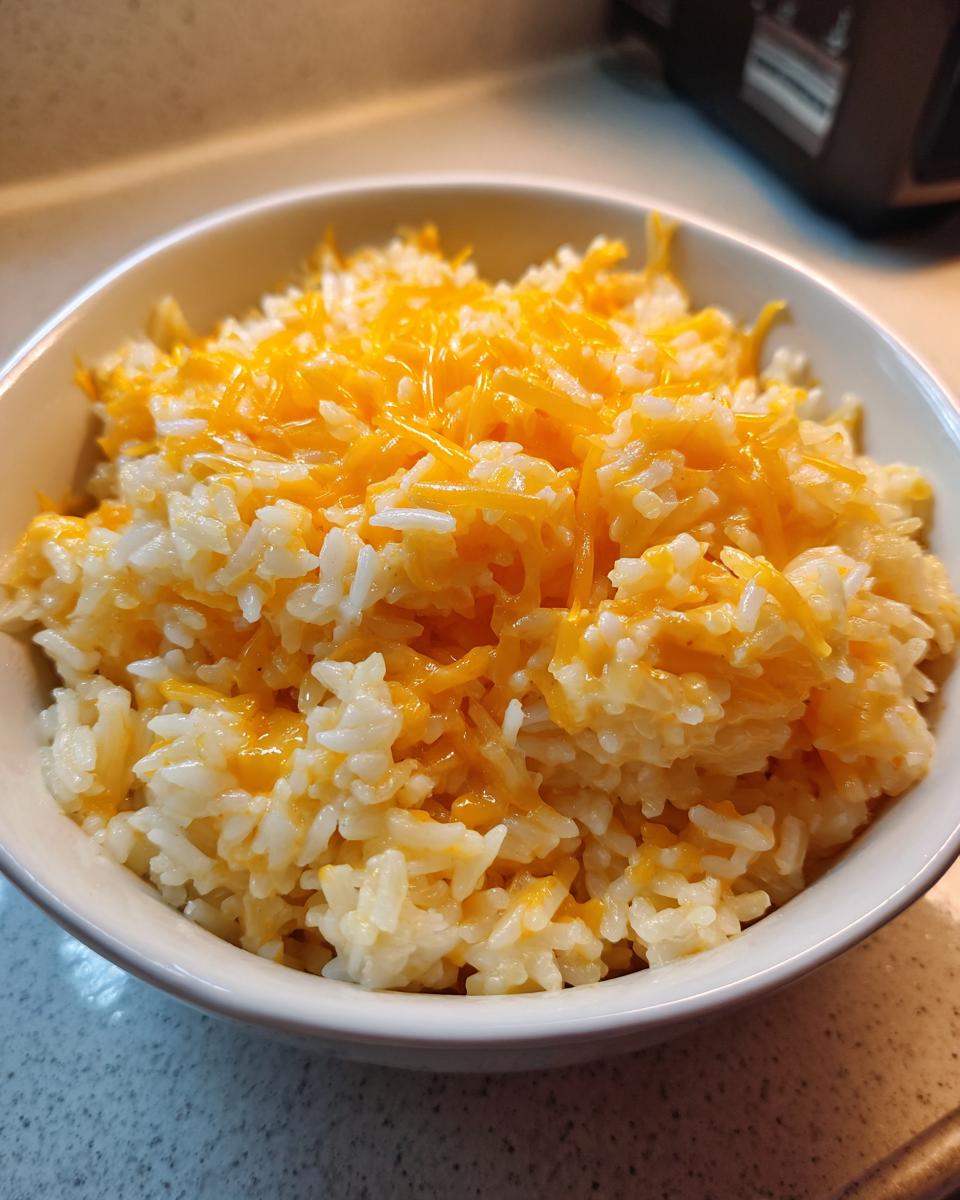
- 1 cup sharp cheddar cheese, shredded
- 1/2 cup Parmesan cheese, grated
Ingredient Notes and Substitutions for Perfect Cheesy Rice
Okay, let’s talk about that creaminess factor for a moment. If you want the absolute richest version of this cheesy rice, swap the 1/2 cup of milk for 1/4 cup of cream cheese—just toss that cube in when you add the shredded cheddar in the final step. Oh my goodness, it makes it decadent! Also, please use sharp cheddar; mild cheddar just doesn’t deliver that necessary punch of flavor against the starch.
For the liquid, chicken broth is what I use 99% of the time because it adds so much depth of flavor compared to plain water. If you’re keeping this vegetarian, just substitute vegetable broth. Don’t worry about using anything fancy; any good quality, low-sodium broth will work wonders here!
How to Make Stovetop Cheesy Rice Step-by-Step
This is where the magic happens! Because we are keeping this on the stovetop, you need to be present for the process, but it’s straightforward. Think of this as a slightly elevated stovetop pilaf method that ends with pure cheesy bliss. The trick is managing the heat and resisting the urge to peek when the rice is steaming! Follow these steps, and you’ll easily create the most satisfying cheesy rice side dish ever.
First, get your aromatics going. Melt that butter in a medium saucepan—not too high, remember we want gentle cooking here. Then, toss in the garlic, but only for a few seconds! You want it fragrant, not browned. Brown garlic tastes bitter, and we are aiming for savory and sweet, not angry and burnt. Next, toast your raw rice grains gently in that garlic butter for a minute or two. This little step adds a wonderful nutty depth that water-boiled rice just misses out on. It’s worth the extra sixty seconds, trust me!
Once toasted, add your broth, salt, and pepper. Bring it to a full rolling boil, then immediately drop the heat way down to low, put the lid on tight, and walk away for 15 minutes. Do not lift that lid! That trapped steam is what cooks the rice perfectly. After 15 minutes, take the pan completely off the heat source. Stir in your milk or half-and-half first; this cools the mixture down just enough to accept the cheese without scorching it.
Toasting the Rice and Garlic for the Best Cheesy Rice Flavor
I can’t stress the toasting enough. When those rice grains get coated in flavored fat and heat up slightly, they develop a deeper, almost nutty flavor before they even absorb any liquid. It’s a foundational step for the Best Cheesy Rice Flavor. When you add the garlic, use low-medium heat and just cook it for 30 seconds until you can smell it—that’s your cue! If it browns, scrape it out and start that small step over; bitterness spoils the whole batch of cheesy rice.
Achieving Creaminess: The Final Cheese Melt for Your Cheesy Rice
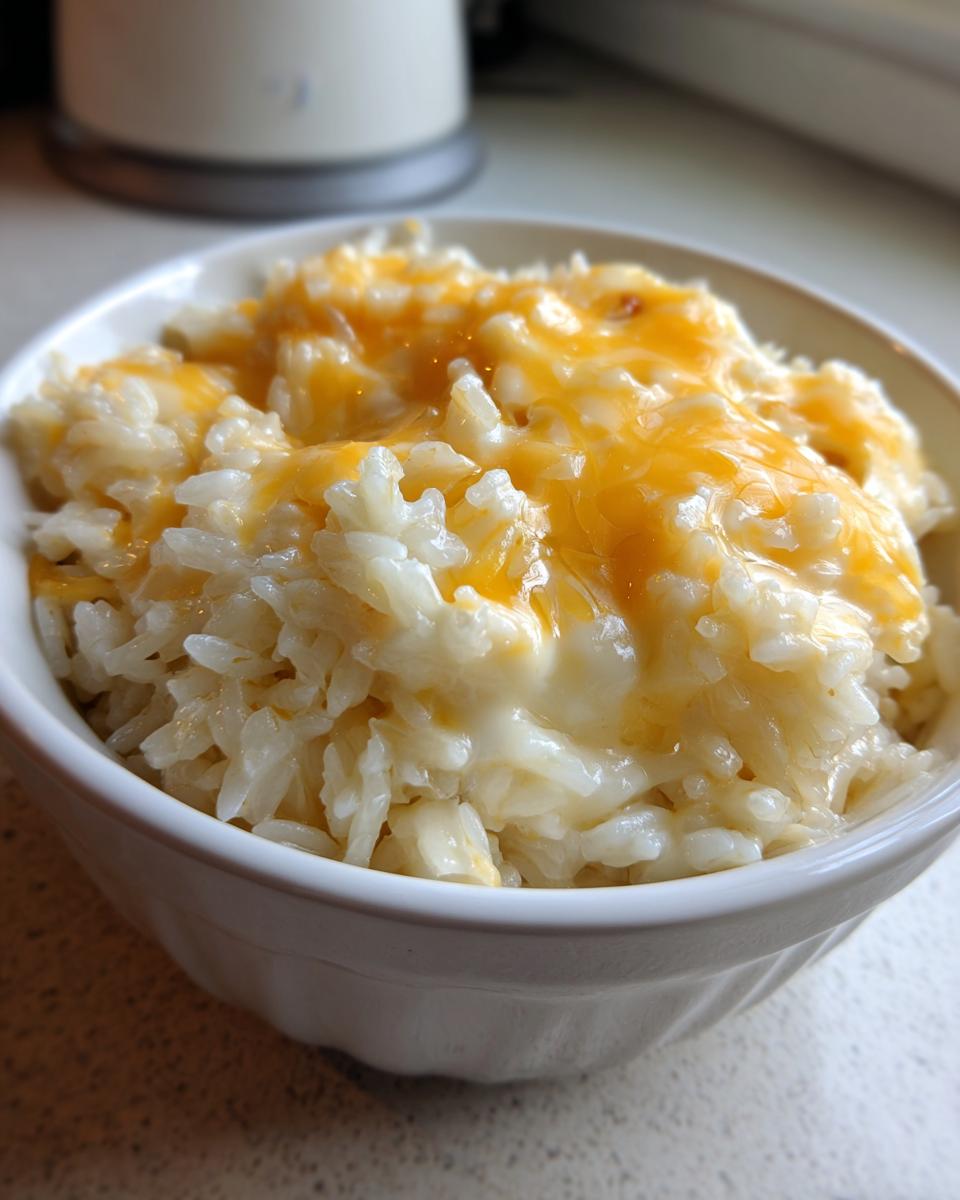
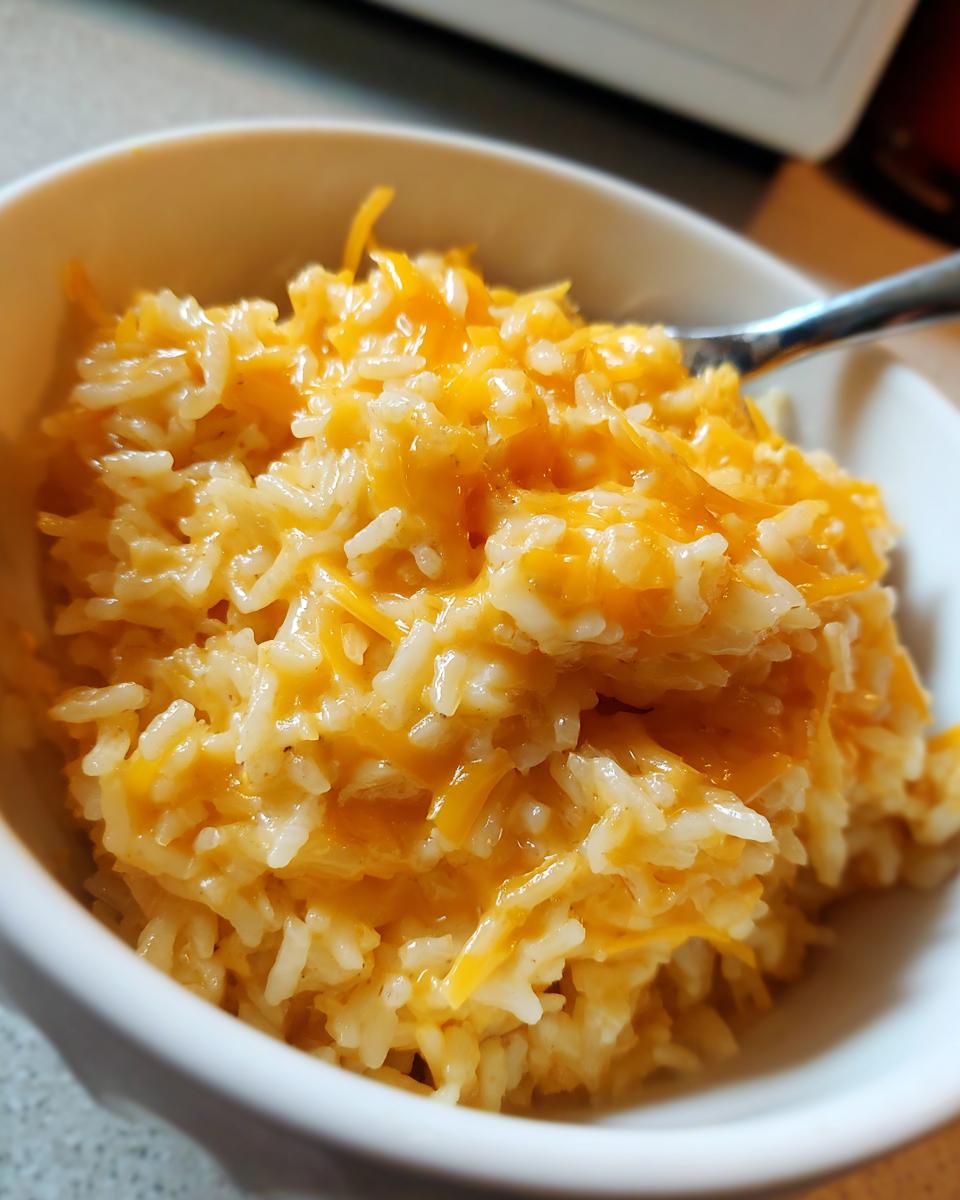
The final melting of the cheese must happen OFF the heat. If you try melting the cheddar and Parmesan while the pan is still bubbling hot, the milk solids separate, and you end up with greasy, stringy rice instead of smooth, velvety goodness. After removing the pan from the burner and stirring in the half-and-half, gently fold in both cheeses. Stir slowly until everything is perfectly melted and incorporated throughout your cheesy rice. This gentle coaxing guarantees silkiness!
If you want to see another incredible quick risotto-style side using the stovetop, check out how others are making their version of cheesy rice!
Tips for Success with Homemade Cheesy Rice
Even though this recipe is wonderfully straightforward, there are a couple of tiny things I’ve learned over the years that keep this from going sideways. My biggest tip relates to the cheese—never, ever use pre-shredded cheese if you can avoid it! Those bags have anti-caking agents added, and those agents actually stop the cheese from melting smoothly into your rice. It results in clumps, and we absolutely do not want clumps in our cheesy rice.
If your rice seems a little dry after the initial 15-minute simmer, don’t panic and add more broth while it’s still covered. Instead, remove it from the heat and stir in an extra splash of milk before adding the cheese. That extra liquid helps everything emulsify beautifully right at the end. Also, use a heavy-bottomed pan. Thin pans scorch the garlic and the bottom layer of rice easily, which is the last thing we want when aiming for this perfect, creamy rice side dish.
Serving Suggestions for Your Comfort Food Rice
This dish is truly the workhorse of my weeknight menu! While it shines as a phenomenal side, sometimes I get lazy, and honestly, who needs anything else? This becomes a wonderful main course. If you have little ones, they absolutely devour this as a Kid Friendly Cheesy Rice; it’s simple, savory, and completely non-threatening in flavor profile.
For pairing, it takes on whatever protein you throw at it. It’s spectacular alongside a simple pan-seared chicken breast or a flavorful steak. Seriously, the richness of this Comfort Food Rice cuts through any strong meat flavor beautifully. You can also bulk it up by stirring in some steamed broccoli or peas right at the end with the cheese for a full meal! Check out another way people are serving up their creamy rice side dishes!
Storage and Reheating Instructions for Cheesy Rice Leftovers
Oh, leftovers! Sometimes I think this creamy dish is even better the next day, but you have to treat it right. When storing your cheesy rice, the container is important. Make sure you let it cool down slightly, but don’t leave it sitting out for hours. Pop it into an airtight container once it’s merely warm—this helps prevent too much moisture loss overnight. It keeps well in the fridge for about three days, tops.
Reheating requires a little water magic! If you just microwave it straight from the fridge, it will seize up and get a bit sticky. Before heating, stir in about a teaspoon of milk or broth per cup of leftovers. That little bit of extra liquid gets absorbed, smoothing out the texture and preventing that oily separation. Heat gently, stir often, and you’re back to lovely comfort food in minutes!
Frequently Asked Questions About This Cheesy Rice Recipe
I always get so many great questions when people try this recipe for the first time! It’s a simple framework, but small adjustments can make a big difference. Here are a few things I hear most often because everyone wants that perfect cheesy rice result, whether it’s for dinner or lunch. Remember, if you have concerns about data safety, I’ve laid out all the details on my Privacy Policy page!
Can I use brown rice instead of white rice?
You certainly can try! But you need to adjust your cooking time significantly. Brown rice takes much longer to absorb liquid and soften up—usually 40 to 45 minutes simmered, not 15. You might need to use slightly more broth, too. Since this recipe is built around being a 30 Minute Rice Side, I really recommend sticking to long-grain white rice for the quick cooking time outlined here.
Can I turn this into a one-pan cheesy rice casserole?
Yes, absolutely! You can definitely adapt this into a Cheesy Rice Casserole Style dish. After you’ve melted the cheese in step 6, just transfer the whole mixture into a small, greased baking dish. Pop it under a preheated broiler for about 3 to 5 minutes, just until the cheese on top starts to bubble and brown slightly. That’s how you get that lovely baked crust on top!
What cheese works best if I don’t have cheddar and Parmesan?
The sharp cheddar gives the flavor punch, and the Parmesan gives that salty, nutty depth. If you’re stuck, use a good quality Monterey Jack or Gouda for creaminess. Avoid mozzarella because it gets too stringy and doesn’t offer much flavor. For the very Best Cheesy Rice Recipe, if you have Gruyère, use a little bit mixed in with the cheddar—it melts like a dream!
Is this recipe better if I use pre-cooked rice?
If time is your absolute enemy, yes, you can use leftover rice. In that case, skip steps 1 through 4 entirely. Just gently heat your chicken broth in the pan, stir in the milk, and then add your cold rice, garlic butter, and seasonings. Heat gently until warmed through (about 5 minutes), then proceed to step 5 to melt in the cheese. It’s a great way to make Quick Side Dishes with Rice, though you lose the depth from toasting the raw grains.
Nutritional Estimate for Cheddar Parmesan Rice
As much as I love keeping things simple and delicious here at Misty Plate, I know some of you are tracking macros or are just curious about what’s going into that comforting bowl. Please remember this is just an estimate! Nutrition can shift based on the exact brands of broth, milk, and the sharpness of your cheese. These numbers reflect the recipe as written, aiming for four good servings.
We are looking at a pretty satisfying side dish here. It packs a nice punch of fat from the cheeses, which keeps things feeling rich and satisfying—that’s why it’s such great comfort food, right? But the carbs come primarily from the rice, which is what we expect.
Here’s the breakdown based on one serving (approximately 1 cup cooked):
- Calories: 380
- Fat: 18g (with 10g Saturated Fat)
- Carbohydrates: 40g (Fiber 1g)
- Protein: 15g
- Sodium: 650mg (This can change wildly depending on your broth choice!)
Since we used broth, the sodium is definitely something to watch if you’re on a restricted diet. You can easily cut that down by using low-sodium broth or even half water/half broth to keep that savory flavor without the high salt content.
Share Your Experience Making This Cheesy Rice
I truly hope this quick stovetop side dish brings you as much comfort as it brings me! If you loved this cheesy rice, please take a moment to leave a quick rating (five stars if it earned them!) and drop a comment below. I love hearing how you customized it—did you add bacon? Extra garlic? I’d be thrilled if you shared pictures on social media too! If you want to see what others are doing, check out what’s cooking elsewhere. Don’t forget to review my Terms of Use before jumping back into the kitchen!
PrintQuick Stovetop Cheesy Rice with Sharp Cheddar
Make this easy, creamy cheesy rice side dish on the stovetop in under 30 minutes. It uses simple ingredients like sharp cheddar and garlic for a comforting flavor.
- Prep Time: 5 min
- Cook Time: 20 min
- Total Time: 25 min
- Yield: 4 servings 1x
- Category: Side Dish
- Method: Stovetop
- Cuisine: American
- Diet: Vegetarian
Ingredients
- 1 tablespoon butter
- 2 cloves garlic, minced
- 1 cup long-grain white rice, uncooked
- 2 cups chicken broth
- 1/2 teaspoon salt
- 1/4 teaspoon black pepper
- 1/2 cup milk or half-and-half
- 1 cup sharp cheddar cheese, shredded
- 1/2 cup Parmesan cheese, grated
Instructions
- Melt the butter in a medium saucepan over medium heat. Add the minced garlic and cook for 30 seconds until fragrant. Do not let the garlic brown.
- Add the uncooked rice to the saucepan and toast for 1 to 2 minutes, stirring constantly until the edges of the grains look slightly translucent.
- Pour in the chicken broth, salt, and pepper. Bring the mixture to a boil.
- Once boiling, reduce the heat to low, cover the saucepan, and simmer for 15 minutes, or until the liquid is absorbed and the rice is tender. Do not lift the lid during this time.
- Remove the saucepan from the heat. Stir in the milk or half-and-half.
- Add the shredded cheddar cheese and grated Parmesan cheese. Stir gently until the cheese is fully melted and the rice is creamy.
- Serve this easy cheesy rice immediately as a comforting side dish.
Notes
- For extra richness, substitute the milk with 1/4 cup of cream cheese, adding it with the shredded cheese.
- You can use pre-cooked rice to speed up the process; skip steps 1 through 4 and proceed to step 5, heating the broth mixture first.
- This cheesy rice pairs well with grilled chicken or steak for a complete dinner.
Nutrition
- Serving Size: 1 cup cooked
- Calories: 380
- Sugar: 2
- Sodium: 650
- Fat: 18
- Saturated Fat: 10
- Unsaturated Fat: 8
- Trans Fat: 0.5
- Carbohydrates: 40
- Fiber: 1
- Protein: 15
- Cholesterol: 45