
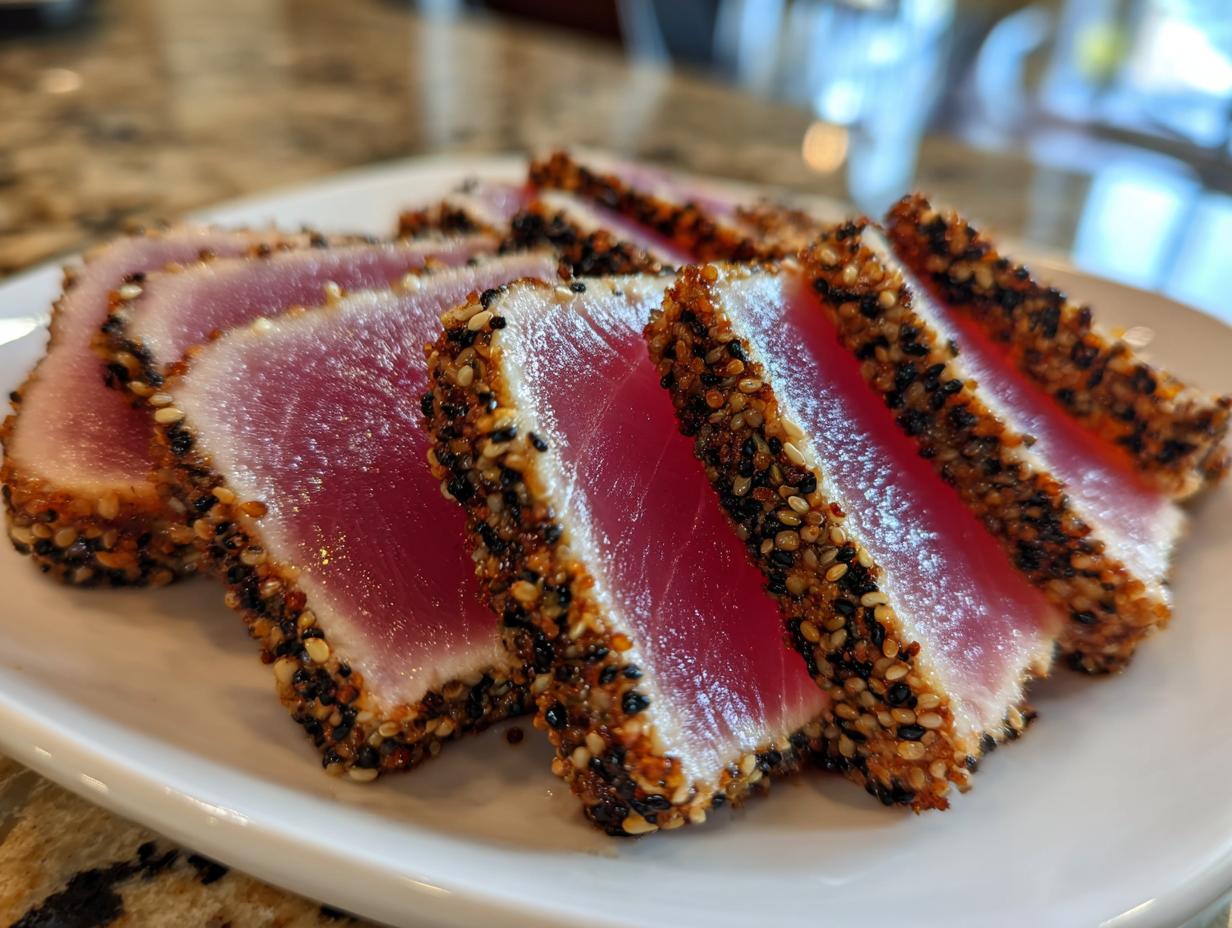
Sometimes, when life gets too frantic—and believe me, I know those days well—the last thing you want is a complicated dinner. You crave something elegant, something that feels like a treat, but that takes less time than deciding what to watch next. That’s why I fell head-over-heels for perfectly **Seared Ahi Tuna**. It truly is the definition of a quick yet gourmet meal.
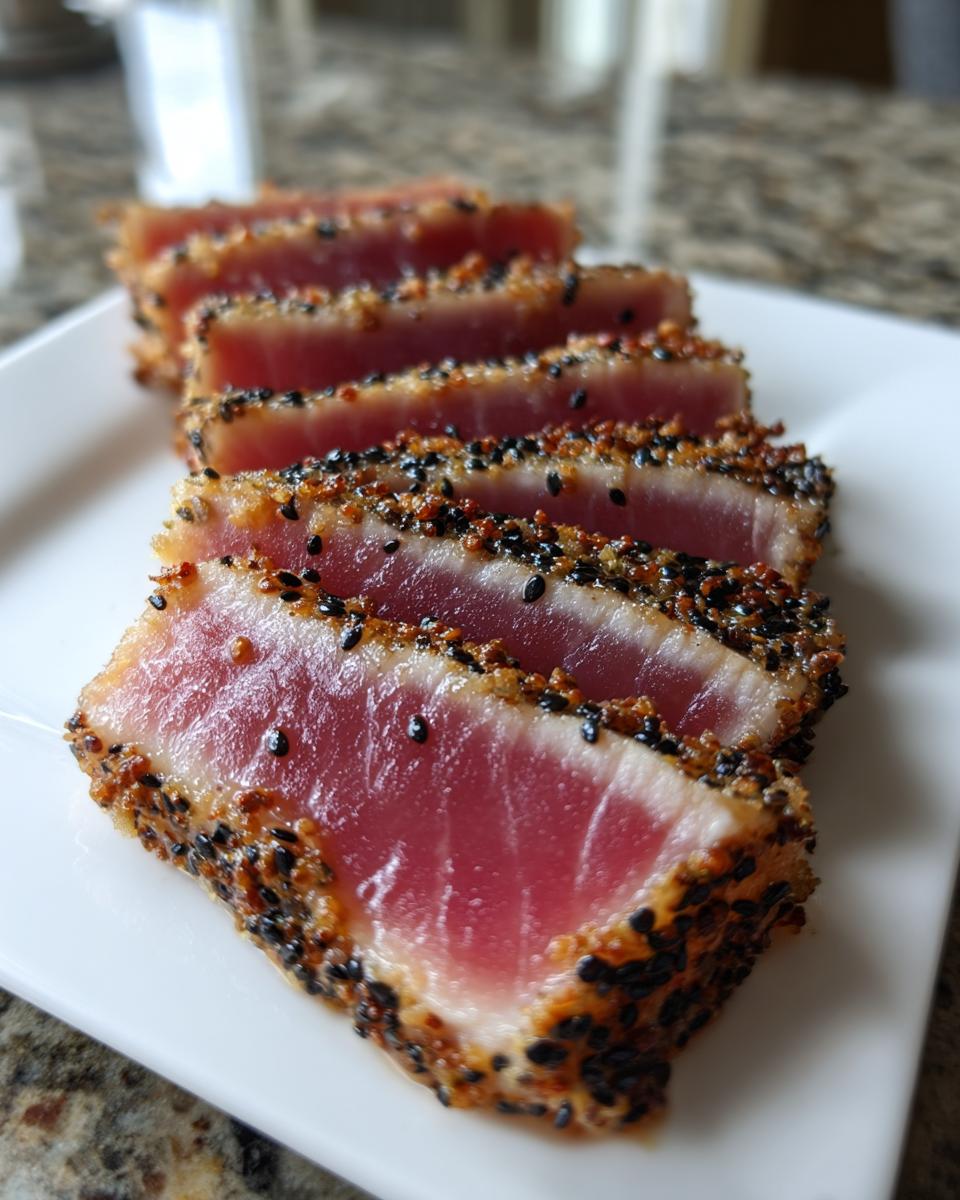
This recipe delivers that gorgeous, cool, raw center encased in a warm, nutty, savory crust. It’s simple, but nailing that sear takes practice. I spent weeks testing the heat levels and the marinade amounts right here in my own kitchen, making sure this guide gives you that restaurant-quality result every single time. It brings back that grounding feeling I missed when I was caught up in the city hustle. You don’t need professional skills; you just need fresh fish and high heat!
- Why You Will Make This Perfect Seared Ahi Tuna Recipe Again and Again
- Essential Ingredients for Seared Ahi Tuna Steaks
- Equipment Needed for Mastering the Seared Ahi Tuna Technique
- Step-by-Step Guide to Seared Ahi Tuna
- Tips for Success with Your Seared Ahi Tuna
- Serving Suggestions for a Healthy Dinner
- Storage and Reheating Instructions for Seared Ahi Tuna
- Frequently Asked Questions About This Quick Seafood Recipe
- Sharing Your Seared Ahi Tuna Creations
Why You Will Make This Perfect Seared Ahi Tuna Recipe Again and Again
When I was finding my way back to cooking, I needed recipes that didn’t demand hours of my evening. This ahi tuna is the perfect weeknight solution, but it tastes like something you’d pay way too much for at a fancy spot. Here’s what makes it a staple for me:
- It’s Shockingly Fast: Seriously, we’re talking minutes. This is the ultimate quick seafood recipe when you need something satisfying without the wait.
- True Gourmet Feel: Even though it’s made in my usual cast iron skillet, the sesame crust and perfectly rare interior scream gourmet tuna. It always impresses guests!
- A Healthy Powerhouse: This fits right into any plan for a healthy dinner. It’s rich in protein and omega-3s, and the marinade is super light.
- Minimal Cleanup: Because you’re searing so quickly on high heat, the actual cooking time is under three minutes. Less time scrubbing pots means more time enjoying your meal.
- Customizable Flavor: While the ginger-garlic marinade is classic Asian, you can easily swap the soy sauce for coconut aminos if you’re watching sodium, or add a dash of lime at the end.
- Perfect for Meal Prep (Almost!): While you shouldn’t reheat leftovers, the prep work (patting dry, mixing the glaze) takes just ten minutes, so it’s ready to go when you are.
Essential Ingredients for Seared Ahi Tuna Steaks
Look, you can’t cheat high heat, and you certainly can’t cheat quality when it comes to raw fish. Since this is such a quick-cooking recipe, every single item in this list matters a lot. If you want that incredible, melt-in-your-mouth texture that says gourmet tuna, you need to prioritize fresh, impactful flavors. We aren’t drowning this beautiful fish in sauce; we are just kissing it with flavor before searing!
For the actual fish portion, we’re sticking to just two 6-ounce steaks. Make sure they are cut to a decent thickness—about an inch thick is perfect. If they are too thin, they will overcook before you even get a crust on them. For the marinade, keep it simple: we rely on the aromatic sharpness of fresh ginger and garlic to balance the richness of the **yellowfin tuna**.
Selecting the Best Sushi Grade Tuna
This is my number one non-negotiable point. When we talk about the **Seared Ahi Tuna** where the center is still raw, you must insist on **sushi grade tuna**. What does that really mean? It implies that the fish was handled correctly from the moment it was caught to minimize any risk, and ideally, it was flash-frozen right away to eliminate parasites. Always ask your fishmonger specifically if it’s safe to consume raw. If they look hesitant or just say “it’s fresh,” keep moving! We need that reassurance of quality for this style of preparation.
Equipment Needed for Mastering the Seared Ahi Tuna Technique
When you’re working with high heat and delicate fish like **yellowfin tuna**, having the right tools stops the situation from becoming a sticky, fishy nightmare. Trust me, I learned the hard way that trying to sear this beautiful catch in a flimsy non-stick pan results in sadness. You need serious material that holds onto heat!
Here’s what I always pull out for this **quick seafood recipe**:
- A Heavy-Bottomed Skillet: This is the star. I reach for my trusty cast iron skillet every time. It gets screaming hot and, more importantly, it *stays* screaming hot when the cold tuna hits the surface. That consistency is what gives you that instant crust development we are aiming for in this **Asian tuna recipe**.
- Tongs: You need something sturdy to flip those steaks without piercing them and letting all those yummy juices escape. Tongs give you control.
- Paper Towels: Seriously, don’t underestimate this! You need to pat those steaks *bone dry* before seasoning. Moisture is the enemy of a good sear, and paper towels are our best friend here.
- Shallow Plate or Dish: For spreading out the sesame seeds. This makes coating the tuna quick and even, which is essential for that gorgeous crust appearance you see in a **gourmet tuna** plate.
That’s it! No fancy blowtorches necessary for this home-cook version. Just good tools and fierce heat.
Step-by-Step Guide to Seared Ahi Tuna
Okay, let’s get down to business. This isn’t complicated, but you have to follow the sequence, especially regarding moisture and temperature. As I found when I was rediscovering simple cooking in my busy life, the secret to a successful transformation isn’t in the ingredient list; it’s in the *method*. And for a great sear, that means high, high heat!
Before we even think about turning on the stove, we need to prepare the fish. Remember, moisture slows down searing and actually encourages steaming, which we absolutely do not want on a beautiful piece of **sushi grade tuna**. Get those paper towels ready and blot those steaks until they feel almost fuzzy dry. I know it feels redundant, but this step is what separates a good crust from a sad, lukewarm exterior. For more insights into the philosophy behind our tested methods, you can always check out our story here.
Preparing the Asian Tuna Recipe Marinade and Crust
When mixing the marinade, notice how light it is. We’re using sesame oil for flavor, then soy sauce, a tiny bit of fresh ginger, and garlic. That’s it! We aren’t trying to soak the **yellowfin tuna**; we just want a thin, flavorful slick coating everything. If you use too much liquid, that marinade will boil in the pan before the crust has a chance to form. Brush it on gently and evenly over all surfaces of the steaks.
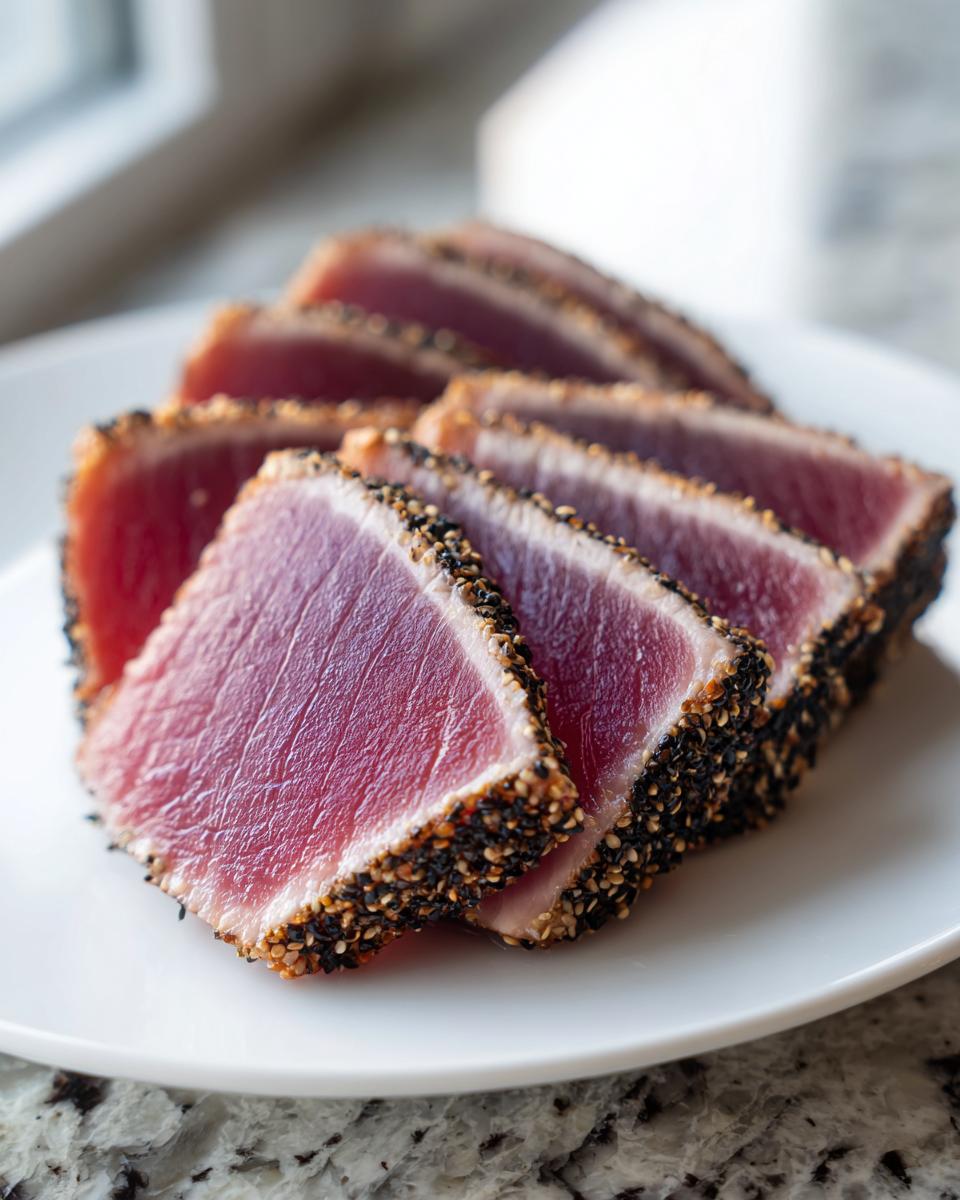
Next up is the crust. Set up a shallow plate with those gorgeous black and white sesame seeds. Take your slicked steak and gently press it into the seeds. You want a full, even coating, pressing firmly so the seeds adhere beautifully to the fish. Don’t just sprinkle them on top; really coat those sides. This crust is what’s going to give us that fantastic texture contrast when we slice into that cool center.
Achieving the Perfect Sear on Yellowfin Tuna
Here’s where you need conviction! Put your heavy skillet—cast iron is my favorite—over high heat. This pan needs to get scorching hot. I mean it—you want it visibly shimmering, almost smoking lightly, before that fish touches the metal. If the pan isn’t hot enough, the tuna will absorb the oil and start grey-cooking instead of searing. No good!
Place the coated steaks into that skillet. Remember, the skillet is dry (the oil is in the marinade). Sear for exactly 60 to 90 seconds per side. I watch the edges change color slightly, usually about a minute, then I flip. Ninety seconds on the second side usually leaves me with that perfect rare center—cool, ruby red, and tender. As soon as that time is up, get that beautiful **Seared Ahi Tuna** OUT of the pan immediately! If you leave it even 30 seconds too long, you cross the line into medium territory, and we lose the magic of this **quick seafood recipe**.
Tips for Success with Your Seared Ahi Tuna
I’ve worked hard to test this recipe until I could do it on autopilot, even on a crazy Tuesday night. But every once in a while, something goes sideways, right? Usually, it’s because one tiny step got skipped. Don’t worry if your first sear isn’t textbook perfect; learning how the fish reacts to your kitchen’s heat is part of the joy of cooking this **Seared Ahi Tuna**!
The biggest issue I see people run into is overcooking, which turns that gorgeous, silky **yellowfin tuna** into something closer to canned fish—and we want zero part of that! The solution isn’t adding more oil, it’s usually about controlling the heat and timing. If your crust isn’t coloring up fast enough, your pan wasn’t hot enough to begin with. If your fish is graying out halfway through the 90 seconds, your steaks might be too thin or you tried to cook two batches at once. Remember, high heat needs space, so don’t overcrowd your skillet!
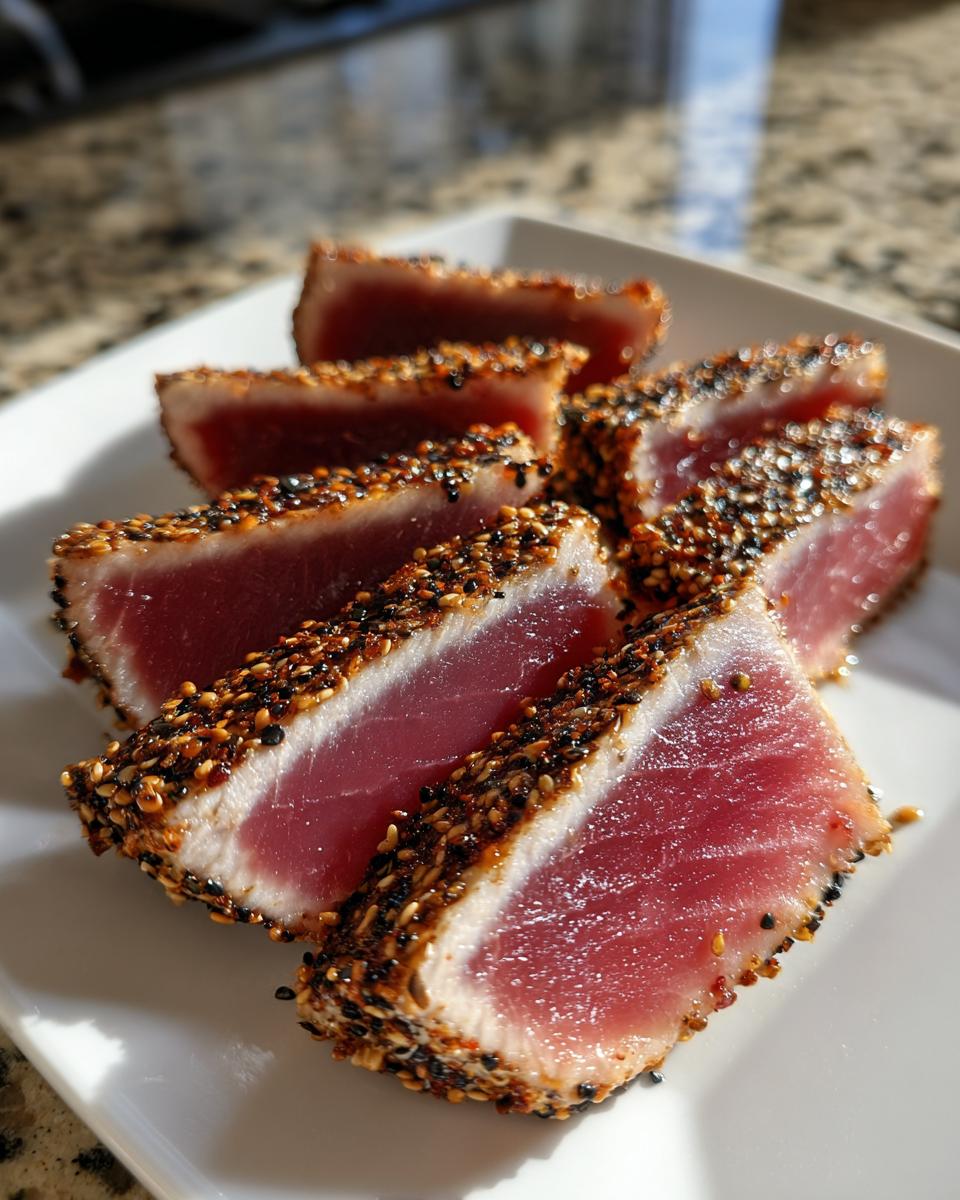
Slicing Techniques for Gourmet Tuna Presentation
You’ve done the hard work of searing, and now you have to resist the urge to cut into it right away! I know, it smells amazing, but this step is non-negotiable for tenderness. Let those steaks rest for a good five minutes on a clean cutting board. This allows the residual heat to even out and keeps the juices right where they belong.
When you finally get ready to slice, make sure your knife is sharp—a dull blade will mash those delicate sesame seeds right off the side. And the direction matters hugely for achieving that **gourmet tuna** mouthfeel. You need to slice thinly, and you absolutely must slice against the grain. If you look closely at the steak, you’ll see the muscle fibers running one direction. Slice perpendicular to those lines. This breaks up those fibers, making every single slice unbelievably tender. It’s the difference between chewing a beautiful bite and pulling on a piece of fish!
Serving Suggestions for a Healthy Dinner
This perfectly seared **Seared Ahi Tuna** is so versatile, and because it’s naturally light and packed with protein, it fits beautifully into whatever healthy meal plan you’re currently following. It feels luxurious, but the ingredients are truly simple, which aligns perfectly with my philosophy here at Misty Plate—delicious food shouldn’t make you worry about your privacy or what’s in it!
When I serve this at home, I always aim for something that lets the flavor of the sesame-crusted tuna really shine through. It’s not a dish that needs heavy sides competing with it. If you’re stacking plates for leftovers later, just remember to keep the sauce separate, as the texture changes fast once sliced.
Here are my go-to ways to turn this **quick seafood recipe** into a complete, **healthy dinner**:
- Classic Bed of Greens: My absolute favorite is serving the thinly sliced tuna over a bed of tender mixed greens—think butter lettuce or delicate spring mix. Dress the greens very simply with rice vinegar, a tiny splash of sesame oil, and maybe a few slivers of cucumber or shredded carrot. Keep the greens’ dressing light so it doesn’t overpower the savory crust.
- Light Ginger-Soy Bowl: For something heartier, serve the tuna next to a small scoop of lightly seasoned brown or sushi rice. I drizzle just a tiny bit of low-sodium soy sauce or tamari over the rice and fish combo. A sprinkle of sliced scallions on top brings a welcome little bite.
- Avocado Balance: Because the tuna is so lean, pairing it with healthy fats is a great idea. Thin slices of fresh avocado arranged around the plate not only look fantastic but add a creamy texture contrast to the seared crust.
- Simple Wasabi Kick: If you like heat, don’t bake that heat right into the fish. Instead, serve a tiny dab of fresh wasabi paste on the side, perhaps with some pickled sushi ginger. People can add exactly as much zing as they want when they take a bite.
No matter how you plate it, remember that this dish is best enjoyed right away, allowing you to connect with that simple, grounding joy of a perfectly cooked meal—check out our policy details if you have any questions about how we use your information!
Storage and Reheating Instructions for Seared Ahi Tuna
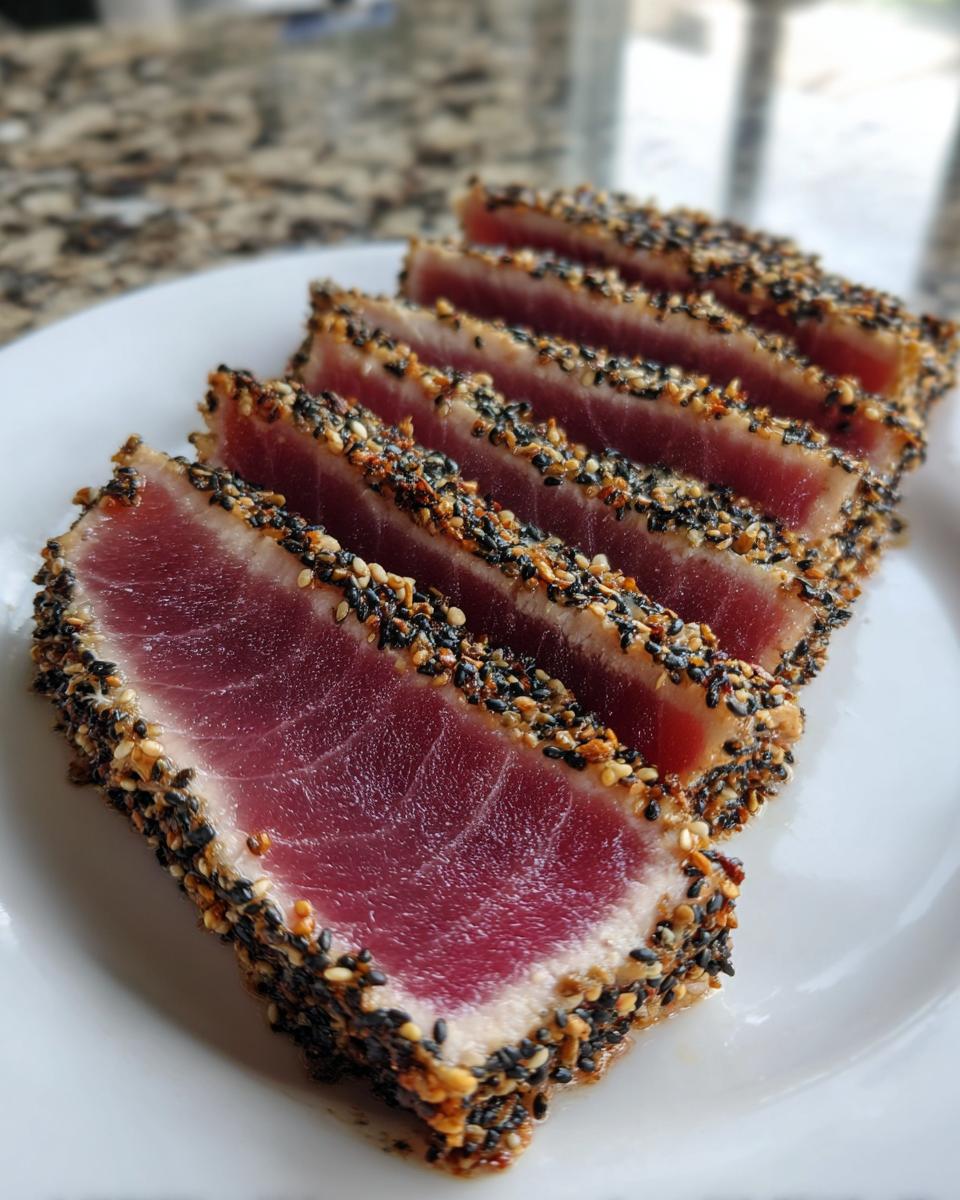
Okay, let’s be completely honest here. This **Seared Ahi Tuna** is a dish that truly enjoys being eaten the moment it’s done resting. That contrast between the hot, crisp sesame crust and the cool, tender **yellowfin tuna** center—that’s the magic moment, and it’s fleeting!
If you happen to have leftovers (which I often do, because my husband sometimes gets distracted before dinner!), it’s important to know how to handle them. Because we are keeping this a **healthy dinner** option and using high-quality, lightly cooked fish, refrigeration is the only way to store it safely. Wrap any sliced pieces tightly in plastic wrap or place them in a sealed airtight container right away.
Do not try to reheat this! If you try to put already seared tuna back into a pan or microwave it, you’ll just end up cooking that center all the way through. It becomes tough, dry, and loses that beautiful texture we worked so hard to achieve with those precise 90-second searing times. It’s simply not worth it.
If you must eat leftovers, treat the cold slices like you would sashimi. Pop the container out of the fridge about 15 minutes before you plan to eat it, just to let it come slightly *off* the chill, but eat it cold. This works best if you didn’t slice it immediately after resting, so the crust might be a little softer, but it’s far better than cooking it again.
Frequently Asked Questions About This Quick Seafood Recipe
Can I use frozen sushi grade tuna for this recipe?
Oh, I really advise against starting with frozen tuna for this particular dish. Since the whole point is that beautiful, raw, tender center—your **sushi grade tuna** needs to be handled with extreme care when thawing. If you must use frozen, you need to thaw it slowly in the refrigerator overnight, never at room temperature. Make sure you are using a reputable source, and even then, I worry about the texture after thawing versus starting with fresh for this style of quick sear. It’s easier to get that perfect sear when you start with firm, fresh steaks.
What if I prefer my tuna cooked medium instead of rare?
That’s totally fine! We all have different preferences, and that’s what this kitchen is about—making what you love. If you prefer a deeper cook, just add another small increment of time on the heat. Instead of 60 to 90 seconds per side at high heat, try going for a full minute and 30 seconds on the first side, and then a solid two minutes on the second side. Always check the internal color, though! You want the edges cooked through but the very center still showing a touch of pink to avoid that dry, chewy texture. It’s a delicate balance for this **Asian tuna recipe**.
What oil should I use if I cannot use sesame oil in the marinade?
I totally get it—sometimes sesame oil is overpowering, or maybe we just ran out! Since the marinade is designed to be light and aromatic, you want a neutral oil with a high smoke point as the base. I often substitute the sesame oil in the marinade with grapeseed oil or avocado oil. Grapeseed oil is practically flavorless, so it lets the ginger and garlic really shine through. Keep in mind that if you skip the sesame oil entirely, you lose a tiny bit of that classic asian flavor, so maybe add a few extra toasted sesame seeds to your crust mixture if you’re making that swap!
My crust keeps falling off when I slice the Seared Ahi Tuna. What gives?
That’s usually one of two things, and it’s something I struggled with too when perfecting this quick seafood recipe. First, did you press the seeds firmly enough? Just rolling the steak in the seeds isn’t enough; you need to physically press them into the marinade slick. Second, and this is crucial: Did you let the tuna rest for those full five minutes? If you slice it too soon, the steak is still taut, and moving the knife right through it can knock the crust right off. Patience is key for that beautiful presentation!
Sharing Your Seared Ahi Tuna Creations
I sincerely hope making this **Seared Ahi Tuna** brought a little moment of calm and deliciousness back into your busy week. For me, seeing a dish like this come together perfectly—fast and flavorful—is exactly what Misty Plate is all about: stripping away the stress and focusing on the joy of a good meal.
Now that you’ve cut into that gorgeous, still-cool center and experienced that crisp sesame shell, I would absolutely love to hear about it! Did your skillet get hot enough? Did you manage to get that perfect 90-second sear on both sides of your **yellowfin tuna**? That’s the true test of mastering this **quick seafood recipe**.
Please, take a moment to leave a rating for this **Asian tuna recipe** below—five stars if it made your week instantly better, or let me know what challenges you ran into so we can troubleshoot together in the comments. We build this kitchen community together, so if you have any questions about substitutions or presentation styles, drop them below!
And hey, if you snapped a picture of that beautiful, thinly sliced presentation, share it on social media and tag us! Seeing your creations truly makes all the testing worth it. Every time you cook from this site, you agree to our terms of use, and we appreciate you trusting us with your dinner plans.
PrintPerfectly Seared Ahi Tuna Steaks

Learn how to sear sushi grade yellowfin tuna perfectly for a quick, healthy dinner with an Asian-inspired flavor.
- Prep Time: 10 min
- Cook Time: 3 min
- Total Time: 18 min
- Yield: 2 servings 1x
- Category: Dinner
- Method: Pan-Searing
- Cuisine: Asian
- Diet: Low Fat
Ingredients
- 2 (6 ounce) sushi grade ahi tuna steaks
- 1 tablespoon sesame oil
- 1 tablespoon soy sauce or tamari
- 1 teaspoon grated fresh ginger
- 1 clove garlic, minced
- 1/2 teaspoon black pepper
- 1/4 cup sesame seeds (mixed black and white)
Instructions
- Pat the ahi tuna steaks completely dry using paper towels. This is key for a good sear.
- In a small bowl, whisk together the sesame oil, soy sauce, ginger, and garlic. Brush this mixture evenly over all sides of the tuna steaks.
- Place the sesame seeds on a shallow plate. Press each side of the tuna steaks into the seeds until they are fully coated.
- Heat a heavy-bottomed skillet, such as cast iron, over high heat until it is very hot, almost smoking.
- Place the coated tuna steaks in the hot, dry skillet. Sear for 60 to 90 seconds per side for rare to medium-rare. Do not overcook.
- Remove the tuna from the pan immediately. Let the steaks rest on a cutting board for 5 minutes before slicing thinly against the grain.
- Serve immediately as a quick seafood recipe.
Notes
- For a gourmet tuna presentation, serve the sliced tuna over a bed of mixed greens or with a side of wasabi and pickled ginger.
- Adjust the searing time based on your preference; 60 seconds per side yields a very rare center, which is traditional for this dish.
Nutrition
- Serving Size: 1 steak
- Calories: 280
- Sugar: 1
- Sodium: 350
- Fat: 14
- Saturated Fat: 2
- Unsaturated Fat: 12
- Trans Fat: 0
- Carbohydrates: 5
- Fiber: 1
- Protein: 34
- Cholesterol: 75