
If you’re anything like me, when those first chilly breezes hit, my mind immediately jumps to the most decadent fall desserts imaginable. Forget choosing sides—why settle for a slice of pie OR a creamy slice of cheesecake when you can have both? That’s how we ended up creating the ultimate dessert mashup: the Salted Caramel Apple Pie Cheesecake. When I started Misty Plate, my goal was always to bring back that connection to simple, loving food, and this showstopper proves you don’t need to be a pastry chef to create something truly memorable for your table. This recipe delivers all that seasonal warmth and creamy indulgence! You can find more inspiration for incredible finishers like this in our dessert recipes collection.
- Why This Salted Caramel Apple Pie Cheesecake is the Ultimate Dessert Mashup
- Ingredients for the Best Apple Pie Cheesecake
- How to Prepare the Salted Caramel Apple Pie Cheesecake
- Tips for Success Making Your Apple Pie Cheesecake Recipe
- Variations for Your Apple Dessert Recipes
- Serving Suggestions for This Holiday Cheesecake Recipe
- Storage and Reheating Instructions for Apple Pie Cheesecake
- Frequently Asked Questions About Apple Pie Cheesecake
- Share Your Apple Pie Cheesecake Experience
Why This Salted Caramel Apple Pie Cheesecake is the Ultimate Dessert Mashup
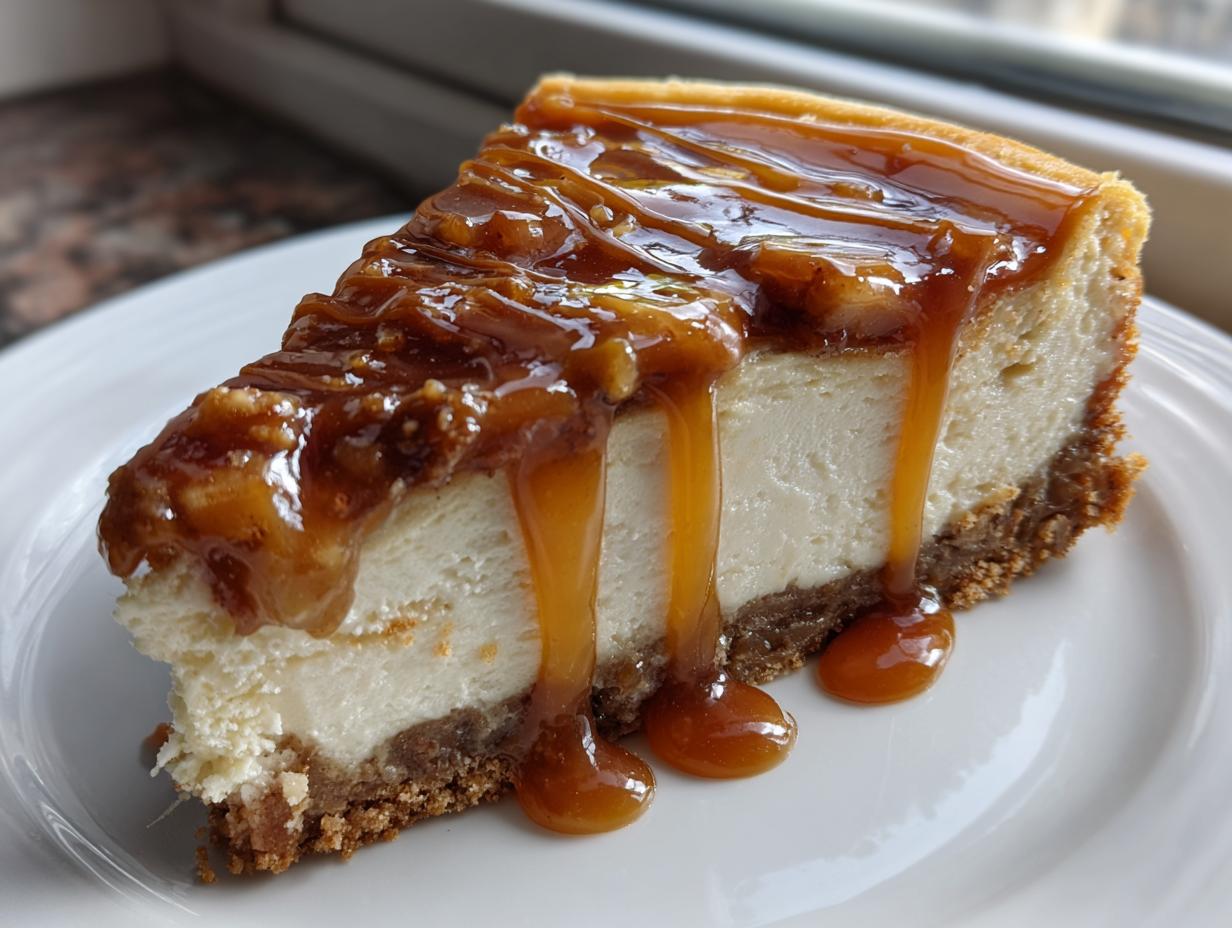
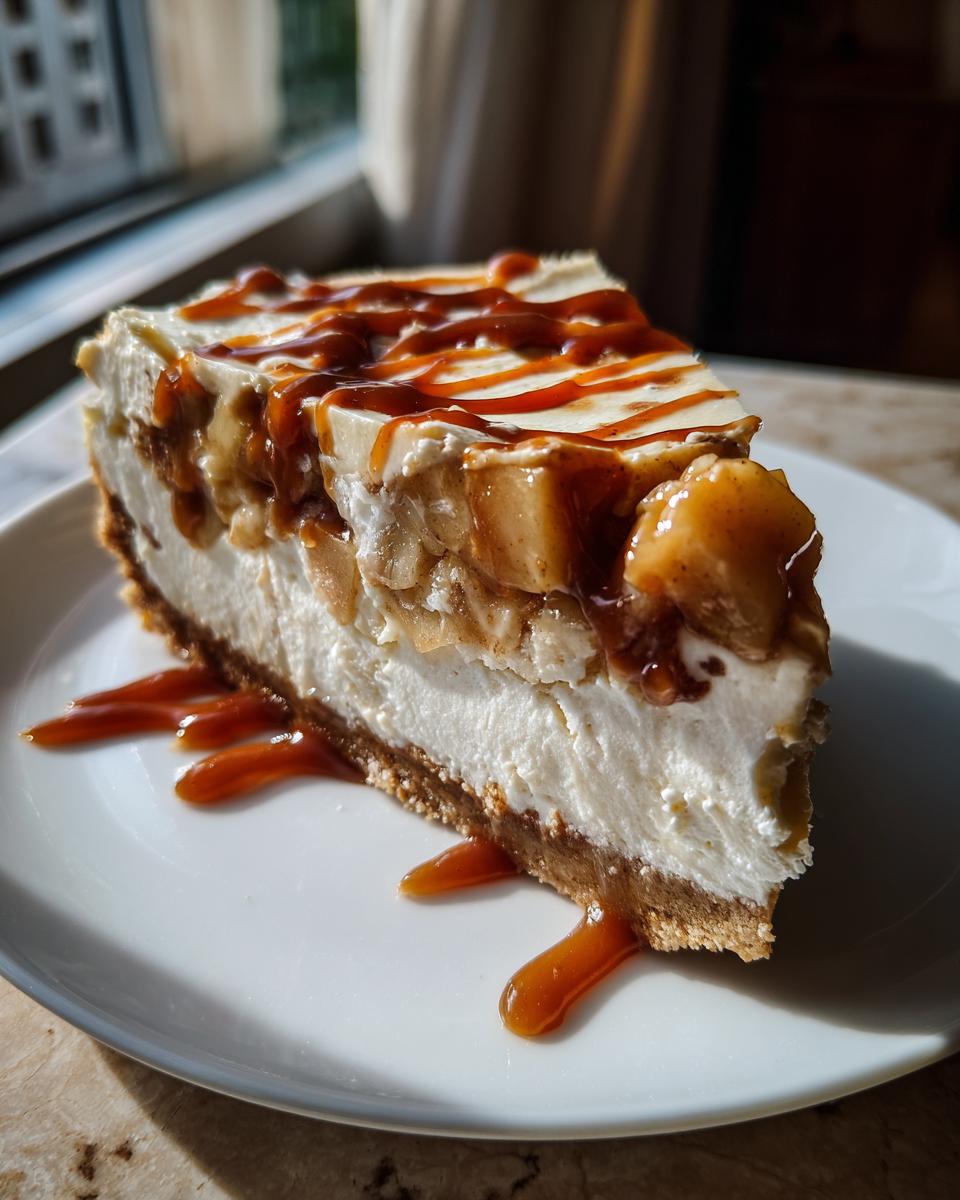
Seriously, this isn’t just a dessert; it’s an event. We’re taking everything you love about a traditional, spiced apple pie—that warm, cinnamon-laced fruit filling—and folding it into the richest, smoothest cheesecake you’ve ever dreamed of making. It’s the definition of an Ultimate Dessert Mashup!
It’s built to be a Showstopper Fall Dessert, perfect for layering up your holiday table. You get three incredible textures in every bite, which is why it’s rapidly becoming my favorite for Thanksgiving gatherings. It really pairs wonderfully with something seasonal, like my Apple Cider Moscow Mule!
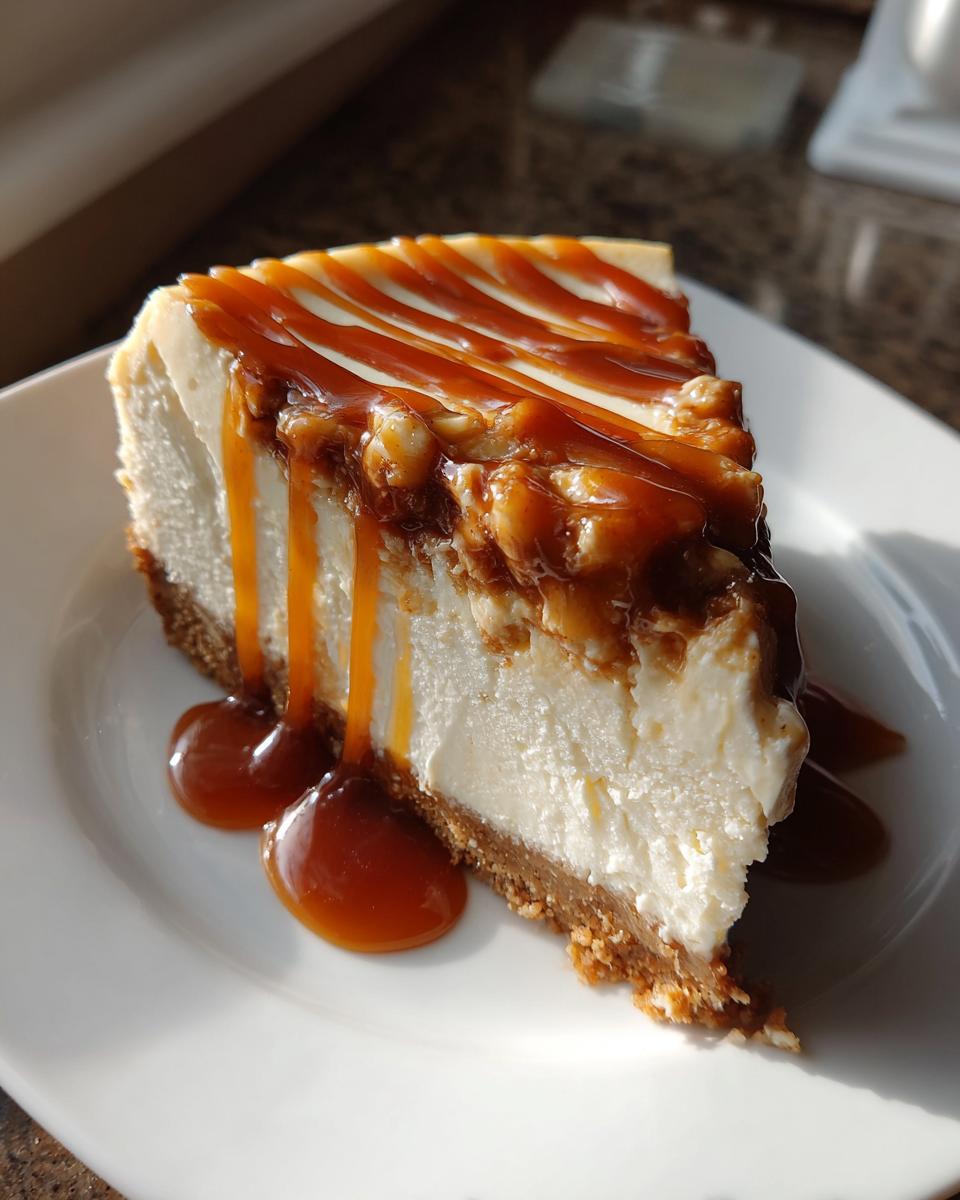
- The satisfying crunch of the buttery graham cracker base.
- The unbelievably silky, Decadent Baked Cheesecake layer.
- That sweet and tangy spiced apple filling, crowned with gooey caramel.
It just tastes like autumn perfection, friends. You absolutely have to try it.
Ingredients for the Best Apple Pie Cheesecake
Okay, let’s talk ingredients! I call this the “Best Apple Pie Cheesecake” because every single component matters here. When you’re combining two classics, you can’t skimp. You’ll see everything is laid out clearly below, broken down by what part of the dessert it belongs to. This clarity is how we avoid stress, trust me! Remember, the cream cheese has to be room temperature—it’s non-negotiable for that super smooth texture we’re aiming for. If you want to practice your butter skills first, check out my honey butter recipe!
For the Graham Cracker Crust Dessert
- 1 1/2 cups graham cracker crumbs
- 1/4 cup granulated sugar
- 6 tablespoons unsalted butter, melted
This base needs to be perfectly packed for your Graham Cracker Crust Dessert foundation. Don’t be shy when pressing it down into that springform pan!
For the Homemade Apple Filling
- 3 large Granny Smith apples, peeled and diced
- 1/2 cup packed light brown sugar
- 1 teaspoon ground cinnamon
- 1/4 teaspoon ground nutmeg
- 1 tablespoon lemon juice
- 1 tablespoon cornstarch
- 1/4 cup water
We need those tart Granny Smiths to balance the sugar, and the cinnamon and nutmeg are what give us that authentic pie flavor in our Homemade Apple Filling.
For the Creamy Cheesecake Layer
- 3 (8 ounce) packages cream cheese, softened
- 1 1/2 cups granulated sugar
- 1 teaspoon vanilla extract
- 1/4 teaspoon salt
- 3 large eggs
This is the heart of the dessert! Make sure your cream cheese is truly soft so you get a perfectly smooth batter without any lumps interfering with that signature Creamy Cheesecake Layer.
For the Salted Caramel Topping
- 1/2 cup salted caramel sauce
- 1/4 cup chopped pecans (optional)
This final touch is what elevates this to the Salted Caramel Drizzle Cheesecake masterpiece we promised. If you skip the pecans, you can use an oat crumble instead—I mention that trick later on!
How to Prepare the Salted Caramel Apple Pie Cheesecake
Alright, this is where the magic happens! We’re turning all those gorgeous ingredients into the ultimate baked treat. Since this is a Decadent Baked Cheesecake, we need to follow a few rules, especially regarding temperature and water baths! Don’t let those steps scare you; they are what keep this dessert perfectly creamy. I promise, following these steps, especially the cooling part, is the key to avoiding that dreaded surface crack.
Building the Crust and Apple Filling
First things first, get your oven preheating to 350°F (175°C). Wrap that springform pan really well with heavy foil—we don’t want any leaks! Mix your crust ingredients—crumbs, sugar, melted butter—and press it down firmly into the bottom, then bake it for just 10 minutes. While that’s happening, start your filling in a saucepan. Cook the diced apples, brown sugar, and spices until they soften up a bit, about 8 minutes. Next, whisk that cornstarch and water together to make a slurry, pour it in, and cook until it thickens up instantly. Pull that off the heat and let it sit for 10 minutes to cool down before we layer.
Mixing the Cheesecake Batter (Avoid Overmixing)
In a big bowl, beat your softened cream cheese with the sugar, vanilla, and salt until it’s looking silky smooth. Now, here’s my biggest tip for success: add the eggs in one at a time! Beat each one in just until you see it disappear into the batter, and then STOP mixing. If you overbeat those eggs, you introduce too much air, and that’s often what causes cracks when it bakes. We want luxurious creaminess, not air bubbles!
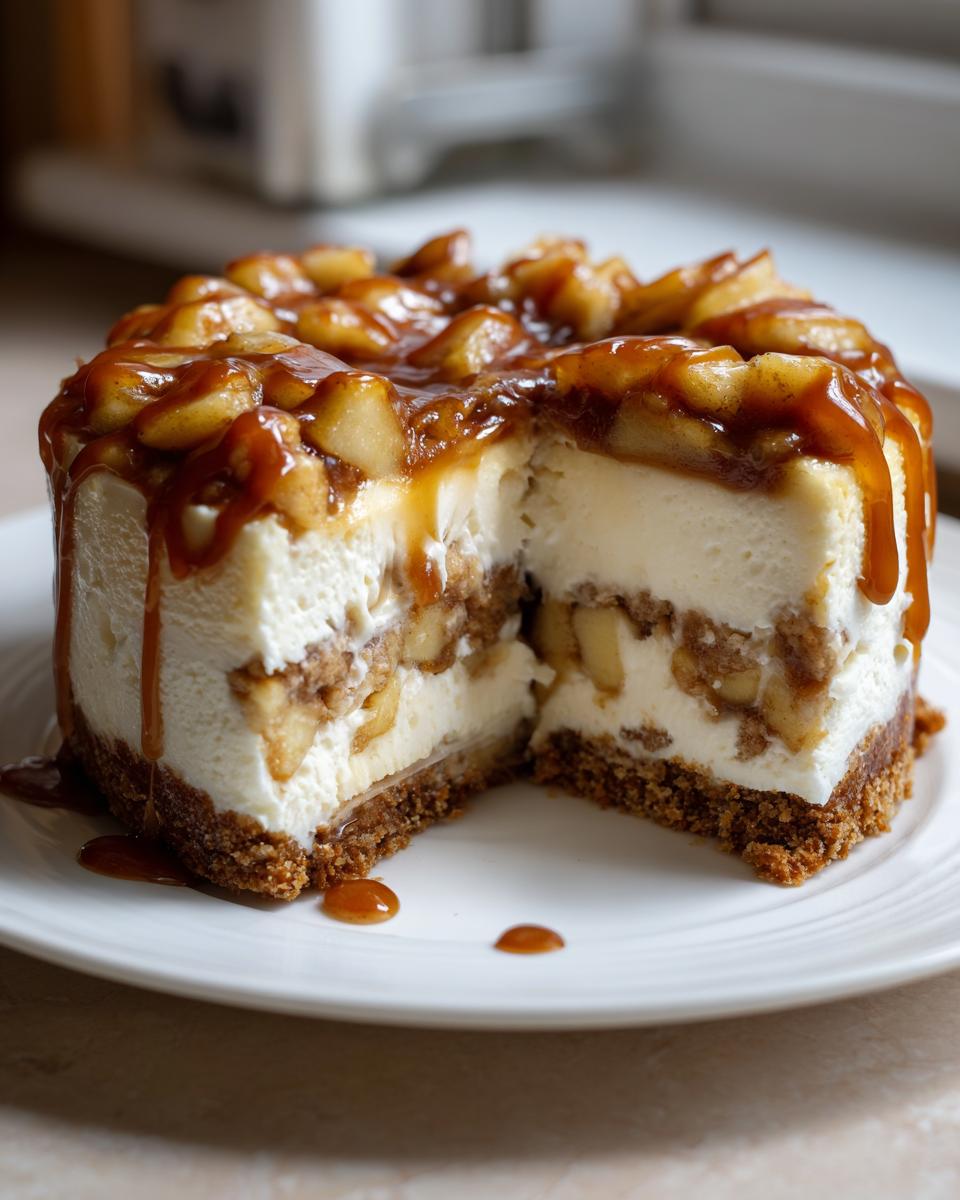
Assembling and Baking Your Apple Pie Cheesecake
Time to layer! Pour half the cheesecake batter over that cooled crust. Then, gently spoon half of your cooled apple filling on top. Repeat that process with the remaining batter and filling. Next, set your foil-wrapped pan into a larger roasting pan. Carefully pour hot water into the large pan until it comes halfway up the side of your cheesecake pan—that’s your water bath! Bake it for 60 to 75 minutes. When it looks set around the edges but still has a tiny wiggle in the center, turn the oven OFF. Crack the door open slightly and let it cool gradually inside for a full hour. This slow cool-down is crucial for that gorgeous creamy cheesecake dessert texture. After that hour, remove it, let it chill for six hours minimum, and then drizzle that caramel on top!
Tips for Success Making Your Apple Pie Cheesecake Recipe
I want you to have the same incredible, crack-free result I always get, so let’s talk about the little secrets I pulled straight from the recipe card itself. Baking a cheesecake that also has fruit layers, like our beautiful Apple Pie Cheesecake Recipe, requires a little extra TLC, but follow these guidelines and you’ll be fine!
The absolute number one thing I learned is that patience pays off big time, especially with dairy. For the creamiest texture possible, you need to let that cream cheese sit out. I mean, *really* sit out. It needs to be completely softened to room temperature before you even think about turning on the mixer. If it’s cold, you’ll end up with tiny cream cheese lumps, and that ruins the luxurious mouthfeel we are chasing!
When you get to the baking stage, please, please use that water bath I mentioned in the instructions. It sounds fussy, but it provides gentle, steamy heat everywhere instead of direct, harsh heat. This is your insurance policy against ugly cracks when baking your Decadent Baked Cheesecake. The gentle steam keeps the batter hydrated and prevents the edges from setting too fast, which is what causes shrinkage and cracking.
My source note reminded me that cutting cooling time short is the second biggest mistake people make! Once the bake time is up, resist the urge to pull it out immediately. Gradual cooling is everything. Turning the oven off and leaving it door cracked for an hour lets that cheesecake adjust slowly to the cooler kitchen air. If you shock it, it shrinks fast, and *crack*! After that hour, you can take it out, but then the real waiting game begins—chilling for at least 6 hours, or ideally overnight. That minimum chill time is what allows the structure to fully set up, so when you finally drizzle that caramel on top, it holds its shape perfectly. It’s worth the wait for that perfect slice!
If you’re ever planning a big savory spread beforehand, you might need some quick side ideas, which you can find inspiration for in my crispy homemade potato chips recipe!
Variations for Your Apple Dessert Recipes
I just love how versatile this concept is! While this specific recipe is my gold standard for a Decadent Baked Cheesecake, I know sometimes you need something faster, or maybe you’re just feeling adventurous. Don’t worry, you can totally twist this base to fit whatever craving you have. It’s all about transforming those apple flavors!
If you’re looking for an immediate, no-fuss dessert, adapting this into a No Bake Apple Pie Cheesecake is totally achievable. Since this version relies on eggs and baking for structure, for a no-bake option, you’d skip the oven steps entirely! You would need to stabilize your cream cheese using something like two packets of unflavored gelatin dissolved in a little hot water, or boost it up with stabilized whipped topping mixed right into the batter. Then, just chill it until firm. It won’t have the same density as the baked version, but it’s incredibly refreshing for a summer evening!
Feeling frisky with spices? Go for it! I keep stressing cinnamon and nutmeg because they scream “pie,” but feel free to toss in a tiny pinch of cardamom or even some allspice when you’re cooking down the apples. It adds such a warm, complex depth. And speaking of swapping ingredients, remember those pecans I mentioned as optional for the topping? If you prefer a bit more texture over the nuttiness—or if you just don’t have pecans on hand—you can absolutely substitute that with a simple apple crisp topping!
You can mix up some flour, brown sugar, cold butter, and maybe some oats, crumble it gently over the very top layer of apple filling *before* you start your water bath, and bake it that way. It gives you that wonderful crunchy element reminiscent of a great pie crust or crumble right on top of your cheesecake. It’s another fantastic way to dress up your Apple Dessert Recipes for company. If you enjoy these sorts of fruit-and-spice combos, you might also want to try my apple fritter bread recipe for an easy weekend bake!
Serving Suggestions for This Holiday Cheesecake Recipe
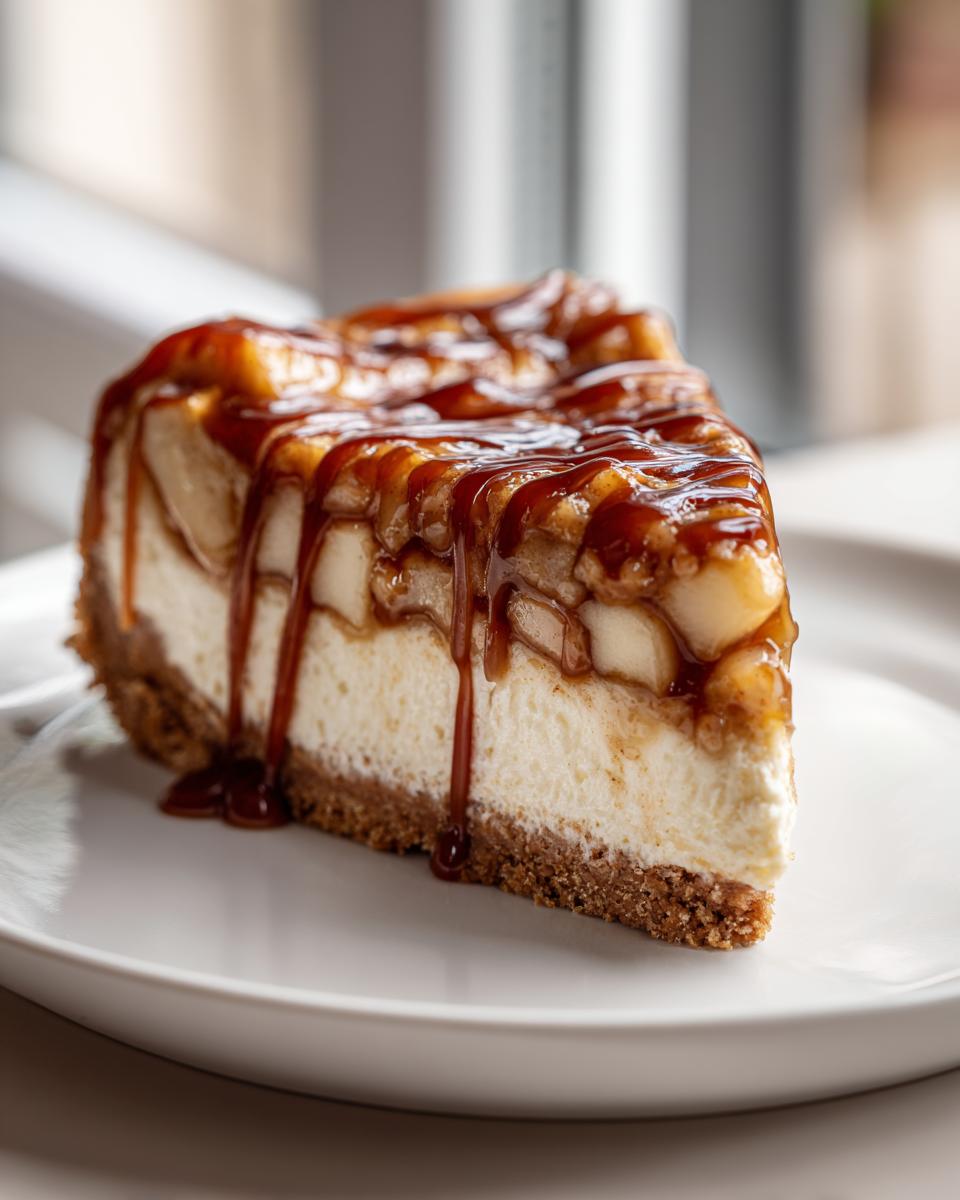
When you finally pull this spectacular Salted Caramel Apple Pie Cheesecake out of the fridge, the presentation has to match the anticipation, right? Since this is definitely one of my go-to Holiday Cheesecake Recipes, I always think about what goes best alongside it on the plate.
The richness of the cream cheese and the deep spice from the apple filling mean you want something that can stand up to those flavors without being too sweet itself. My personal rule for serving creamy desserts is to let them sit for about 20 to 30 minutes out of the fridge first. Serving it slightly chilled, not ice-cold, really lets that creamy texture shine through and releases all those beautiful caramel and cinnamon aromas. It’s just heavenly!
For the ultimate cozy finish, especially when serving this as a centerpiece for your Thanksgiving Cheesecake spread, I love pairing a thin slice with a piping hot cup of good, strong coffee. The slight bitterness of the coffee truly cuts through the richness of the filling perfectly. If you’re looking for something a little different to serve alongside your brunch or dessert spread, you simply have to check out my recipe for best classic French toast recipe—it’s a fantastic contrast in sweetness!
You could also serve a small dollop of unsweetened whipped cream on the side, just to cool down the palate between bites of that decadent caramel. Honestly though? Once you get that caramel drizzle just right, this beauty really doesn’t need much else!
Storage and Reheating Instructions for Apple Pie Cheesecake
So, you somehow managed to have leftovers of this incredible Apple Pie Cheesecake? Congratulations! That means you executed this recipe perfectly, and now we need to make sure we treat those precious slices right. Cheesecake, especially one layered with fruit like ours, needs careful handling to keep that texture perfect.
First things first: You must chill it completely before you even think about wrapping it up. I mentioned in the instructions that chilling for at least six hours is necessary, but honestly, overnight chilling is always the best path forward. That extra time allows the cheesecake layer to fully firm up around the spiced apples, ensuring those clean, gorgeous slices when you get ready to serve.
Once it’s completely set, you need to store it in the refrigerator, well-covered. You can use plastic wrap, but you have to be careful not to let it touch the surface, or you might smear that beautiful salted caramel drizzle. I usually use a light layer of plastic wrap and then cover the whole pan or plate with aluminum foil. It will keep wonderfully well in the fridge for about four to five days.
Now, about reheating? Please, don’t even try! This is not a casserole; it’s a delicate, cool dessert. Reheating a baked cheesecake usually results in a texture disaster—it gets watery and loses its structure. If you want to serve it, the absolute best way is to pull the slice out of the fridge about 30 minutes before you plan on eating it. Letting it sit on the counter allows it to warm slightly toward room temperature, which softens the cheesecake just enough to make it taste decadent without losing its shape. It tastes amazing served cold, too, especially if you’re pairing it with something warm like a cup of my famous beef barley soup for a surprisingly autumnal contrast!
Frequently Asked Questions About Apple Pie Cheesecake
I know you all have questions because bringing together two legendary desserts into one Apple Pie Cheesecake can seem like a big undertaking! Don’t stress, though. Most of the concerns I hear are about making sure that texture is just right, or figuring out quick swaps. I’ve pulled together the most common ones I get asked around the dinner table.
Can I make this an Easy Apple Pie Cheesecake without baking?
That’s a fantastic question if you’re dreaming about a No Bake Apple Pie Cheesecake! This specific Salted Caramel version relies on those eggs and the gentle heat of the oven to achieve that dense, signature baked texture. If you absolutely need no-bake, you’ll need to adjust the filling significantly. Instead of eggs, you’d whip up your cream cheese layer with heavy cream and usually a stabilizer like gelatin, or even a stabilized whipped topping mixed in. It results in a lighter, mousse-like texture, which is delicious, but it won’t have that creamy, rich feel of this baked version. It’s a different experience altogether, but totally doable!
What is the best way to prevent my cheesecake from cracking?
Oh, the dreaded crack! This is the number one fear for any baker tackling a Creamy Cheesecake Dessert, and honestly, I understand why! You’ve done all that work, and then *whomp*—a fissure appears. The two most important things we talked about are the non-negotiables here, and they directly relate to temperature and stress. First, the water bath is key; it keeps the heat around the edges gentle and even. Second, the cooling process! Never pull a cheesecake straight from a hot oven to a cool counter. You must turn the oven off, crack the door, and let it sit in that residual heat for at least an hour. This slow transition prevents the top layer from shrinking too fast. Follow those two steps, and your surface will stay smooth as glass!
Can I substitute the graham cracker crust for an Apple Crisp Topping Dessert base?
I love the way you’re thinking about incorporating textures! If you’re looking to lean more into that pie element, absolutely you can play with the base. You certainly can’t just swap it in place of the crust as-is, because the crust needs to hold the batter. However, remember when I mentioned using an oat crumble topping instead of pecans? You can take those topping ingredients (flour, brown sugar, butter) and press them more firmly into the bottom of your pan where the graham crackers usually go. That creates a denser, crumblier, almost shortbread-like base right from the start!
Alternatively, if you are still set on using the graham cracker crust, just make a double batch of that apple crisp topping and sprinkle it generously over the top layer of apple filling right before you put it into the water bath. You’ll get that wonderful textural crunch throughout! If you want more ideas for weeknight sweets that are easier than this showstopper, check out my weeknight dinner ideas page—we always talk about dessert inspiration there too!
Share Your Apple Pie Cheesecake Experience
Now that you’ve made this magnificent Salted Caramel Apple Pie Cheesecake, I just can’t wait to hear what you think! Creating these recipes is all about sharing that joy and finding connection around food, and your feedback tells me if I got it right for your kitchen.
Did you try this recipe this week, or are you saving it for a special holiday centerpiece? Please come back and leave me a star rating—it helps other home cooks know this recipe is worth their time. I’m genuinely curious: when you served your slice, did you stick with the gooey salted caramel drizzle, or did you opt for the simpler powdered sugar dusting? Let me know in the comments below!
And if you took a picture of your stunning creation—because honestly, this dessert *demands* a photo—please tag me on social media! Seeing your gorgeous bakes makes my whole week. It reminds me why I stepped away from city life to share these simple, beautiful moments captured on a plate. If you ever have questions about substitutions or need help troubleshooting a future bake, don’t hesitate to reach out through my contact page. Happy baking, friends!
PrintSalted Caramel Apple Pie Cheesecake

Create a showstopper dessert by combining creamy cheesecake, spiced apple filling, and a buttery crumble topping, finished with salted caramel.
- Prep Time: 30 min
- Cook Time: 75 min
- Total Time: 125 min
- Yield: 12 servings 1x
- Category: Dessert
- Method: Baking
- Cuisine: American
- Diet: Vegetarian
Ingredients
- For the Crust: 1 1/2 cups graham cracker crumbs
- 1/4 cup granulated sugar
- 6 tablespoons unsalted butter, melted
- For the Apple Filling: 3 large Granny Smith apples, peeled and diced
- 1/2 cup packed light brown sugar
- 1 teaspoon ground cinnamon
- 1/4 teaspoon ground nutmeg
- 1 tablespoon lemon juice
- 1 tablespoon cornstarch
- 1/4 cup water
- For the Cheesecake Layer: 3 (8 ounce) packages cream cheese, softened
- 1 1/2 cups granulated sugar
- 1 teaspoon vanilla extract
- 1/4 teaspoon salt
- 3 large eggs
- For the Topping: 1/2 cup salted caramel sauce
- 1/4 cup chopped pecans (optional)
Instructions
- Preheat your oven to 350°F (175°C). Wrap the outside of a 9-inch springform pan tightly with heavy-duty aluminum foil.
- Prepare the crust: Mix graham cracker crumbs, 1/4 cup sugar, and melted butter until combined. Press the mixture firmly into the bottom of the prepared springform pan. Bake for 10 minutes. Set aside to cool slightly.
- Make the apple filling: In a medium saucepan, combine diced apples, brown sugar, cinnamon, nutmeg, and lemon juice. Cook over medium heat, stirring occasionally, until apples soften slightly, about 8 minutes.
- In a small bowl, whisk cornstarch and water until smooth. Pour the mixture into the apples and cook, stirring constantly, until the sauce thickens, about 1 minute. Remove from heat and let cool for 10 minutes.
- Prepare the cheesecake batter: In a large bowl, beat the softened cream cheese, 1 1/2 cups sugar, vanilla extract, and salt until smooth. Beat in the eggs one at a time, mixing just until combined after each addition. Do not overmix.
- Assemble the dessert: Pour half of the cheesecake batter over the cooled crust. Spoon half of the cooled apple filling evenly over the batter. Pour the remaining cheesecake batter over the apples. Top with the remaining apple filling.
- Bake the cheesecake in a water bath: Place the foil-wrapped springform pan into a larger roasting pan. Carefully pour hot water into the roasting pan until it reaches halfway up the sides of the springform pan.
- Bake for 60 to 75 minutes, or until the edges are set but the center still has a slight jiggle.
- Turn off the oven, crack the door open slightly, and let the cheesecake cool inside the oven for 1 hour. This prevents cracking.
- Remove the cheesecake from the water bath and foil. Cool completely on a wire rack, then chill in the refrigerator for at least 6 hours, or preferably overnight.
- Before serving, drizzle generously with salted caramel sauce and sprinkle with chopped pecans, if using. Release the sides of the springform pan carefully.
Notes
- For the creamiest texture, ensure your cream cheese is fully softened to room temperature before mixing.
- If you skip the water bath, watch the cheesecake closely to prevent the top from browning too quickly.
- You can substitute the apple crisp topping ingredients (oats, flour, butter, brown sugar) for the pecans if you prefer a crumble texture instead of nuts.
Nutrition
- Serving Size: 1 slice
- Calories: 480
- Sugar: 45g
- Sodium: 350mg
- Fat: 30g
- Saturated Fat: 18g
- Unsaturated Fat: 12g
- Trans Fat: 0.5g
- Carbohydrates: 48g
- Fiber: 1g
- Protein: 7g
- Cholesterol: 110mg