
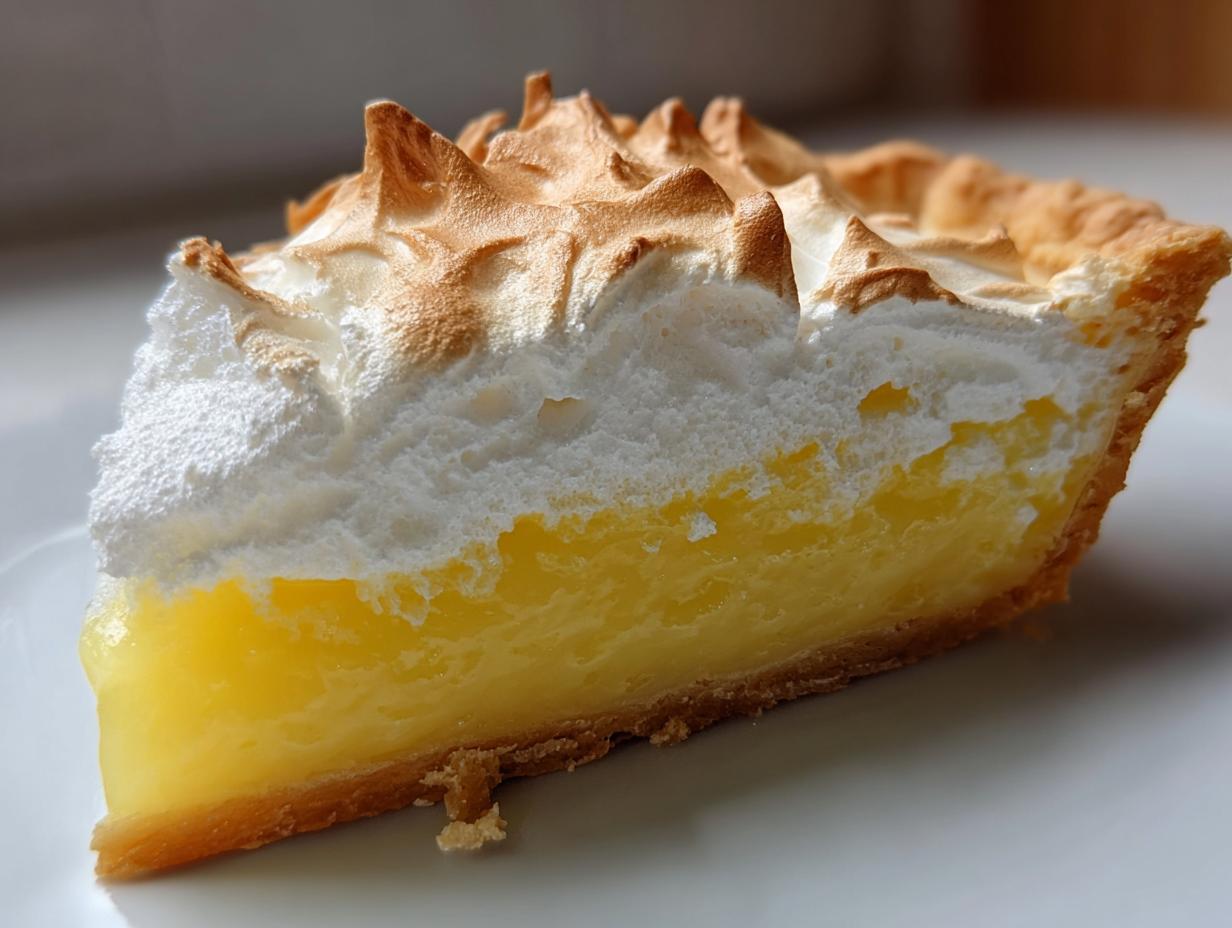
There’s nothing quite like that bright, sharp shock of citrus on a warm day, is there? As I’ve found my way back to my kitchen sanctuary, I’ve realized that some desserts just feel essential—and for me, that’s a perfect **lemon pie**. Forget the fussy, overly sweet things; we’re going back to the classic, unbeatable Lemon Meringue Pie.
This isn’t just any recipe; this is the result of wanting true, accessible excellence, just like my grandmother taught me. We’re focusing on two things here: getting that filling unbelievably silky and tangy, and making sure that meringue topping stays tall, glossy, and stable. If you’re looking for a truly authentic, refreshing citrus dessert that tastes like sunshine, you’ve found your go-to recipe. You can find more of my favorite classic desserts over at my dessert recipes hub when you’re done with this one!
- Why This Classic Lemon Pie Recipe Stands Apart
- Ingredients for Your Silky Lemon Pie Recipe
- How to Prepare the Ultimate Lemon Pie Filling
- Assembling and Baking the Classic Lemon Meringue Pie
- Cooling and Setting the Lemon Pie Correctly
- Ingredient Notes and Simple Lemon Pie Substitutions
- Tips for Success with Your Refreshing Citrus Dessert
- Storage and Make Ahead Lemon Pie Instructions
- Frequently Asked Questions About Making Lemon Pie
Why This Classic Lemon Pie Recipe Stands Apart
I know there are a million lemon pies out there—the no-bake ones, the supreme ones, even some inspired by Joanna Gaines—but this recipe is the one that sticks around because it just *works*. It’s all about achieving that perfect moment where tangy meets sweet.
- The Filling: It sets up beautifully, becoming unbelievably silky without any graininess.
- The Flavor: It’s packed with that clean, bright zest that wakes up your mouth.
- The Topping: We focus hard on a stable meringue that browns perfectly.
This combination makes for the ultimate **lemon pie** experience every single time.
Achieving the Perfect Zesty Lemon Pie Recipe Balance
The secret here, truly, is ditching anything bottled. If you want that signature, bracing tang, you absolutely must use fresh lemon juice and freshly grated zest. Honestly, I go heavy on the zest—that’s where all the high-toned, aromatic flavor lives! This ensures you get an authentic **lemon pie** experience that cuts right through the richness of the crust and meringue. It should make your eyes pucker just a bit; if it doesn’t, add another squeeze of juice!
Ingredients for Your Silky Lemon Pie Recipe
Gathering your ingredients is half the battle won, right? For this classic lemon pie, we need components for the crust, the filling, and that fluffy topping. Don’t sweat the crust if you’re busy; grabbing a good pre-made shell is totally fine, or you can check out my recipe for a truly buttery pie crust recipes if you have an extra twenty minutes!
- 1 pre-made 9-inch pie crust (or homemade buttery pie crust)
- 1 1/2 cups granulated sugar
- 1/4 cup cornstarch
- 1/4 teaspoon salt
- 1 1/2 cups cold water
- 3 large egg yolks, lightly beaten
- 1/2 cup fresh lemon juice (for that zesty flavor)
- 1 tablespoon lemon zest
- 2 tablespoons butter
- 3 large egg whites, at room temperature
- 1/4 teaspoon cream of tartar
- 6 tablespoons granulated sugar (for meringue)
How to Prepare the Ultimate Lemon Pie Filling
This is where most people get nervous, but honestly, making the cooked lemon pie filling is all about careful temperature management. First, whisk your sugar, cornstarch, and salt together in a saucepan, then slowly add the cold water while whisking until it’s silky smooth. Cook that over medium heat, stirring constantly, until it starts to bubble and gets thick—but pull it off the heat right before it really boils!
Now, the tempering step—don’t skip this! You need to gently introduce the heat to those beautiful egg yolks so they don’t scramble. Take about one cup of that hot sugar mixture and slowly drizzle it into your beaten yolks while whisking like crazy. Once those yolks are warmed up, pour that tempered mixture right back into the saucepan. Cook it gently again until it thickens up beautifully; you’re looking for a heavy, slow coating on the back of a spoon. Do not let this re-boil, or you’ll end up with sweet scrambled eggs instead of a luxurious **lemon pie** filling!
Tips for Perfect Homemade Lemon Curd Pie Base
Once you take the saucepan off the heat for the final time—after you’ve stirred in that lemon juice and butter—that is the precise moment to add your reserved lemon zest. If you add it too early, the zest loses some of its high, beautiful punch! Melting in the butter right at the end is non-negotiable; it gives the filling that final layer of richness and helps achieve that smooth, almost custardy mouthfeel we want. Trust me, that little bit of fat makes all the difference in achieving a glossy, superior curd.
Assembling and Baking the Classic Lemon Meringue Pie
Okay, we have our beautiful, zesty lemon filling, and crucially, our crust needs to be completely cool before we do anything else. If you pour hot filling into a lukewarm crust, you are inviting sogginess, and we just can’t have that!
Now for the meringue! This requires a very clean, grease-free bowl—seriously, wipe it down with a little vinegar if you’re worried! Get those egg whites to room temperature; it helps them whip up huge. Start beating them until they get foamy, then slowly sprinkle in that 6 tablespoons of sugar along with the cream of tartar. That little bit of acid helps them hold their structure perfectly. You want stiff, glossy peaks—they should stand straight up when you lift the mixer.
Once it’s ready, spread that beautiful meringue all over the hot filling. You need to make sure the meringue actually touches the edges of the crust all the way around. This seals everything in and sets us up for the final bake. If you want more pointers on making sure this classic lemon meringue classic pie recipe is perfect, check out my detailed guide! This step is vital for a top-tier **lemon pie**!
Baking the Meringue on Your Lemon Pie
We aren’t cooking the filling here; we are just browning that cloud of meringue! Pop the pie into a 350°F oven. You only need about 12 to 15 minutes, watching it closely so it doesn’t burn—we’re looking for a pretty, light golden kiss on those peaks. If you’ve sealed the meringue right to the edge of the crust, you’ve done the most important thing to stop it from shrinking or weeping later on. After that short bake, you are almost done!
Cooling and Setting the Lemon Pie Correctly
I always chuckle when I see people rush this part. They’ve spent all this time creating a silky lemon pie recipe, and then they want to cut into it five minutes after it comes out of the oven! Oh, honey, no. Patience in the cooling stage is just as important as perfectly tempering those eggs.
This pie needs time to firm up. I mean it—at least three full hours on a wire rack before you even *think* about slicing it. This slow cooling process is what allows the starches and the eggs to lock everything into that gorgeous, smooth, sliceable texture we worked for. If you cut it early, you’ll get a soupy mess, and that beautiful filling will collapse on you.
The structure of this filling isn’t magically firm while it’s hot; it gains its strength as it relaxes and cools down completely. Think of it like setting concrete! So, pop it on the rack, keep it away from anything hot, and let science do its job. It’s the final, quiet step that guarantees that satisfying clean slice.
Ingredient Notes and Simple Lemon Pie Substitutions
I always get questions about substitutions, especially when people are planning this for a crowd or trying to put a quick dessert together. While this is built around a classic, baked crust, I totally get the appeal of an easy lemon pie no bake vibe!
If you’re short on time or hate fiddling with crusts, feel free to swap in a pre-made graham cracker crust made with melted butter. That buttery crust flavor works beautifully with the citrus. Just make sure it’s fully cooled if you’re pouring in the hot filling for this version.
For those of you who grow or buy specialty citrus, Meyer lemons are wonderful here. They are slightly sweeter and less tart than regular lemons, so if you switch, you might want to bump up the amount of zest or add an extra teaspoon of that lemon juice to keep that signature tang we’re after.
Tips for Success with Your Refreshing Citrus Dessert
You followed the steps, but let’s talk about smoothing out the last few fussy details that separate a good dessert from the absolute best **lemon pie** you’ve ever made. When you’re dealing with eggs and starch, a few small habits make a massive difference in the final presentation!
First, let’s tackle the dreaded soggy bottom. This happens when moisture from the filling seeps into the crust. I avoid this by baking my crust alone until it’s truly golden brown, letting it cool completely, and then I actually brush the inside base with a thin layer of leftover, whisked egg white right before pouring in the hot lemon filling. It creates a tiny, waterproof seal. No soggy crusts here!
Second, preventing meringue weeping! This is all about temperature stability. Make sure, when you put the hot filling into the crust, that it is *hot*. Then, you need to pile your meringue on so that it touches the very edge of the crust all the way around. If there’s a gap between the meringue and the baked crust, that filling shrinks as it cools, and the meringue separates from the edges and weeps weird little puddles. Seal it tight!
Third item for the authority file: when stirring the filling on the stove, use a whisk, but also make sure you scrape the bottom and corners of the pan frequently. If you see any white specks start to form, those are starch clumps beginning to burn or scorch. Keep it moving until it’s perfectly smooth and clear before tempering those yolks.
If you want to see another fantastic, bright-flavored citrus option that really captures that sunny joy, you have to check out the Arizona Sunshine Lemon Pie recipe. It’s vibrant and absolutely sings for a spring gathering! Speaking of gatherings, don’t forget to check out some of my easy bread recipes to serve alongside your dessert!
Storage and Make Ahead Lemon Pie Instructions
When you’re getting ready for a big spring brunch or just want dessert ready early, planning ahead is key. For this meringue-topped beauty, you can definitely do some prep work in advance, but you have to be smart about what you tackle first.
The crust is your best friend for making ahead! You can bake that shell completely a day before you plan to assemble the dessert. Just let it cool completely, wrap it loosely, and keep it on the counter. That stops you from dealing with a soggy bottom later on.
The lemon filling itself is also a great candidate for advancing. You can cook the filling—stopping right before you add the butter and zest—and store it covered in the fridge overnight. When you’re ready to bake, warm that filling *just* until it’s soft enough to pour, then whisk in the lemon and butter. You’ll still have a hot base ready for the meringue, which means you can still get a good seal against weeping. Check out my dedicated guide on make ahead lemon pie plans for more detailed timeline ideas!
Now, once the whole thing is baked and cooled—and I mean *completely* cooled—it needs refrigeration. Any dessert with a creamy custard base and meringue topping needs to chill for at least four hours, or preferably overnight, to set up perfectly. This ensures clean slices and keeps that gorgeous filling stable. Just keep it loosely covered in the fridge until serving time.
Frequently Asked Questions About Making Lemon Pie
I always get so many wonderful questions after people try making this, and that’s fantastic! It shows how much love there is out there for a truly bright, tangy dessert. Here are some of the most common things I hear when folks are perfecting their classic **lemon pie**!
Can I make this an easy lemon pie no bake version?
That’s a super popular request, especially when the weather starts warming up! While this recipe requires baking—mainly for the custard to set and the meringue to brown—you can absolutely pivot to an easy lemon pie no bake style. For that shortcut, you skip the whole cooking/tempering process. Instead, you typically combine sweetened condensed milk with lemon juice until it thickens up, maybe folding in a tub of cool whip for that super light, **creamy lemon pie** texture. Pour that into a pre-made graham cracker crust, chill overnight, and you have a winner!
What makes this the best lemon pie for spring gatherings?
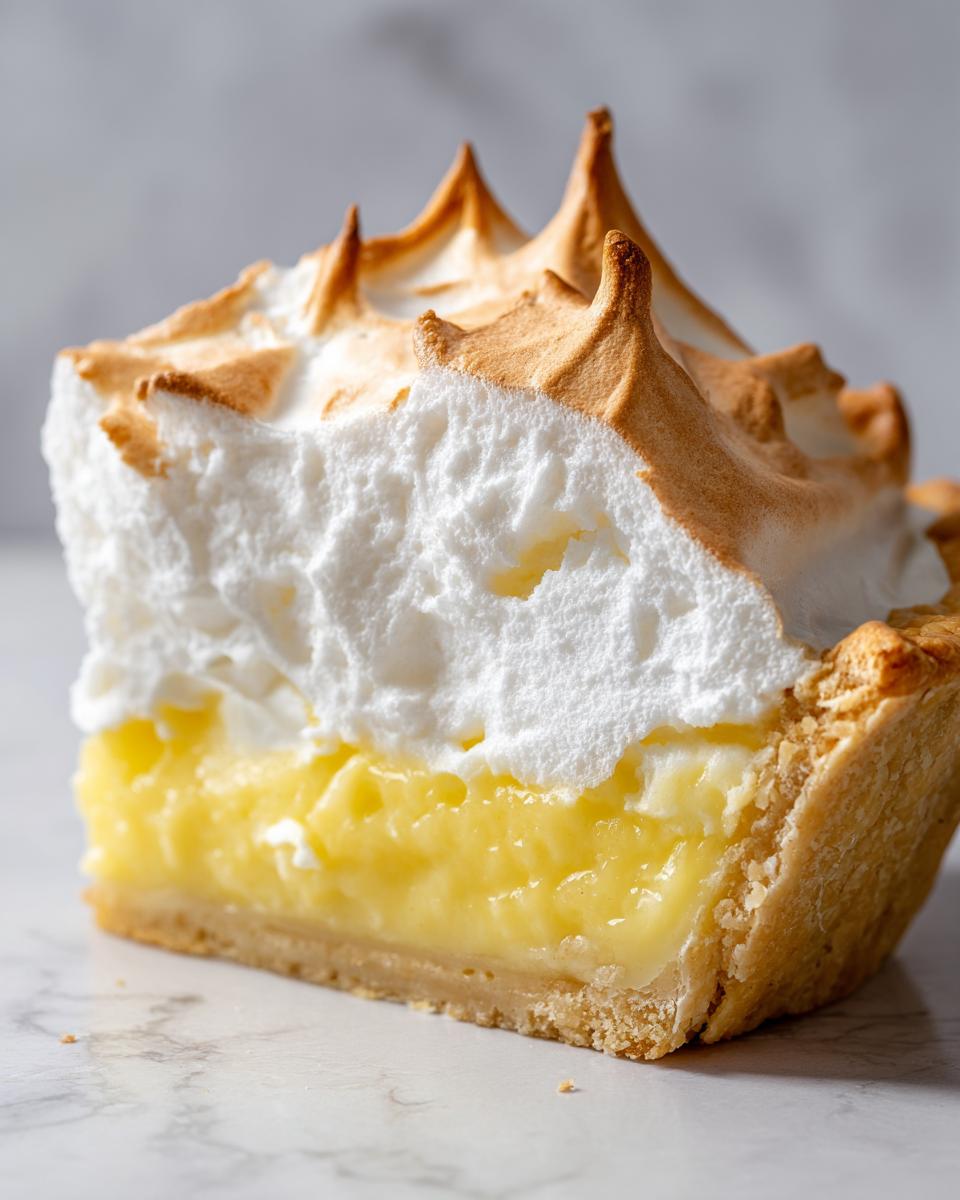
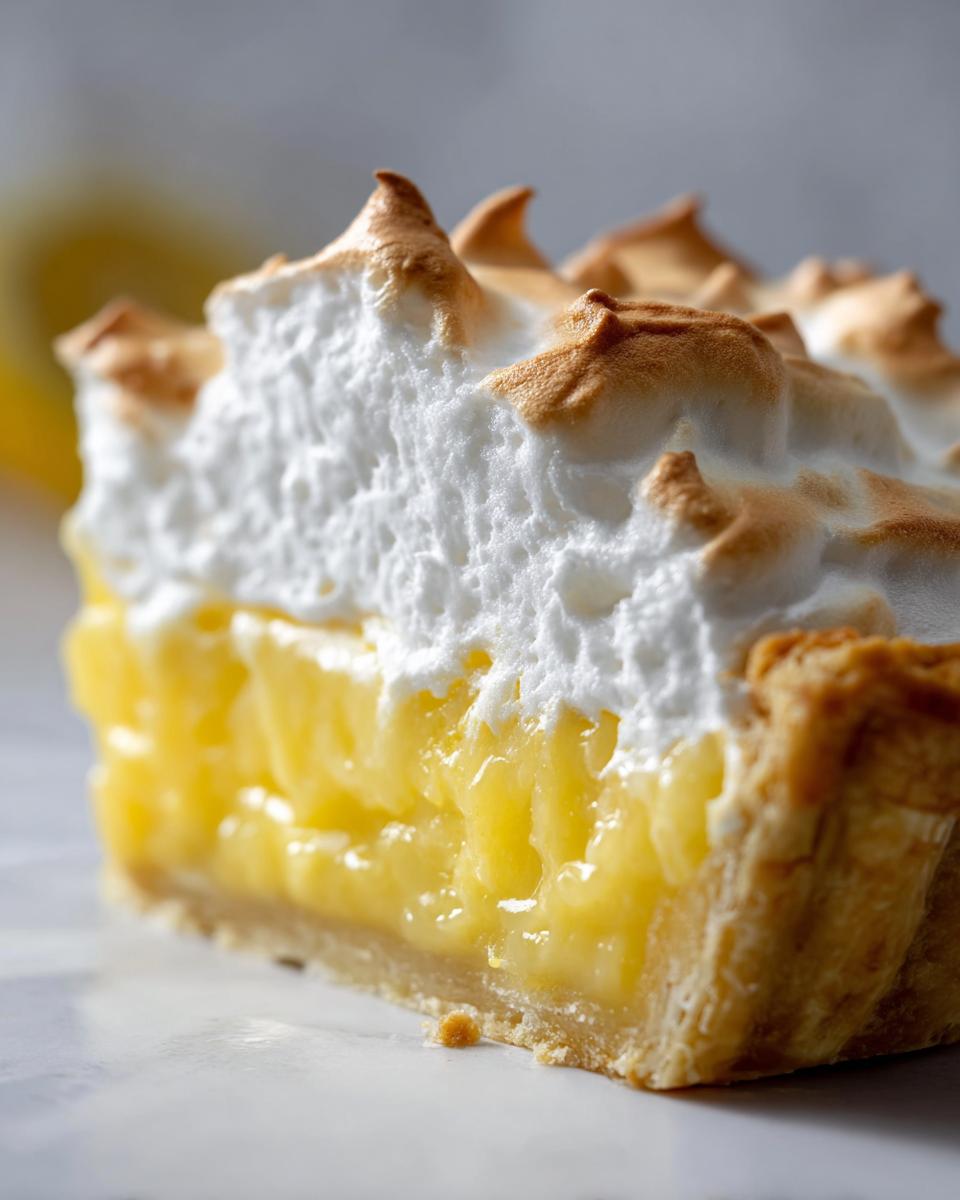
For me, it’s all about the balance. A truly **refreshing citrus dessert** shouldn’t taste like candy; it should taste like fresh lemons! This recipe delivers that sharp, vibrant zing that just cuts through heavier spring meals or sits beautifully next to light summer fare. Plus, honestly, the look of that snow-white meringue piling high over the brilliant yellow filling just screams celebration. It genuinely lights up the table, which is why many people look for the **best lemon pie for spring** events!
How do I keep my meringue from shrinking on my lemon pie?
Shrinking, cracking, and weeping meringue drive me crazy, but I’ve learned the tricks! The absolute number one rule for preventing separation is sealing it to the crust. When you spread that freshly whipped meringue onto the filling, you have to make sure the edge of the meringue makes firm contact with the inside edge of the baked pie crust all the way around the perimeter. When the meringue sticks to the crust and the filling, it cools as one unit and doesn’t pull away while baking or chilling. Also, don’t over-beat those egg whites past the stiff peak stage; too much air expands too fast and then collapses!
Keep experimenting, and please let me know how things turn out! If you’re looking for other simple inspiration, make sure to browse all the dessert recipes on the site.
PrintClassic Lemon Meringue Pie: A Zesty and Refreshing Dessert

Make this classic lemon meringue pie for a bright, tangy dessert. This recipe focuses on a silky lemon filling and a perfectly browned meringue topping.
- Prep Time: 25 min
- Cook Time: 30 min
- Total Time: 215 min
- Yield: 8 servings 1x
- Category: Dessert
- Method: Baking
- Cuisine: American
- Diet: Vegetarian
Ingredients
- 1 pre-made 9-inch pie crust (or homemade buttery pie crust)
- 1 1/2 cups granulated sugar
- 1/4 cup cornstarch
- 1/4 teaspoon salt
- 1 1/2 cups cold water
- 3 large egg yolks, lightly beaten
- 1/2 cup fresh lemon juice (for that zesty flavor)
- 1 tablespoon lemon zest
- 2 tablespoons butter
- 3 large egg whites, at room temperature
- 1/4 teaspoon cream of tartar
- 6 tablespoons granulated sugar (for meringue)
Instructions
- Preheat your oven to 350°F (175°C). Bake your pie crust according to package directions or your preferred recipe until lightly golden. Let it cool completely.
- In a medium saucepan, whisk together the 1 1/2 cups sugar, cornstarch, and salt. Gradually whisk in the cold water until smooth.
- Cook the mixture over medium heat, stirring constantly, until it thickens and bubbles. Reduce heat and cook for 1 minute more.
- Remove the saucepan from the heat. In a separate small bowl, lightly beat the egg yolks. Slowly temper the yolks by whisking about 1 cup of the hot sugar mixture into the yolks.
- Pour the tempered yolk mixture back into the saucepan with the remaining hot mixture. Cook over medium-low heat, stirring constantly, until the filling thickens again. Do not boil.
- Remove from heat. Stir in the lemon juice, lemon zest, and butter until the butter melts completely. This creates your homemade lemon curd pie base.
- Pour the hot lemon filling into the cooled pie crust.
- In a clean, grease-free bowl, beat the egg whites with an electric mixer until soft peaks form. Gradually add the 6 tablespoons of sugar and the cream of tartar, beating until stiff, glossy peaks form for your meringue topping.
- Spread the meringue evenly over the hot filling, making sure the meringue touches the inside edge of the crust all around to prevent shrinking.
- Bake for 12 to 15 minutes, or until the meringue is lightly golden brown.
- Cool the pie completely on a wire rack for at least 3 hours before slicing. This helps the filling set properly.
Notes
- For a truly zesty lemon pie, use fresh lemon juice and zest from bright, ripe lemons.
- If you prefer a no bake lemon pie, substitute the filling with a simple mixture of sweetened condensed milk and lemon juice over a graham cracker crust.
- To prevent weeping in the meringue, make sure your egg whites are at room temperature before whipping.
Nutrition
- Serving Size: 1 slice
- Calories: 380
- Sugar: 45g
- Sodium: 180mg
- Fat: 18g
- Saturated Fat: 8g
- Unsaturated Fat: 10g
- Trans Fat: 0g
- Carbohydrates: 52g
- Fiber: 1g
- Protein: 6g
- Cholesterol: 110mg