
Oh, the party panic! You know the feeling, right? The invitations are out, the calendar is marked, and suddenly you look at your to-do list and realize you have zero impressive appetizers ready to go. We’ve all been there. That’s why, when I’m feeling that familiar holiday stress or gearing up for a big game day spread, I turn immediately to my ultimate fall-back: this incredible, classic cheese ball recipe. It’s honest, it’s pure comfort food, and honestly, it never fails to make everyone gather around the snack table. This isn’t a fussy recipe, my friend. It’s designed for real life, which is why this Easy Cheese Ball Recipe is requested constantly. It’s all about that simple connection we make over food, without needing to spend hours in the kitchen. You can find some of my other go-to simple appetizer ideas, but today, we’re making the king of the cheese board.
- Why This Classic Cheese Ball Recipe Works Every Time
- Ingredients for Your Best Crowd Pleaser Appetizers Cheese Ball Recipe
- How to Prepare the Easiest Cheese Ball Recipe Step-by-Step
- Tips for Success with Your Classic Appetizer Ideas Cheese Ball Recipe
- Serving Suggestions for Your Game Day Food Spreads Cheese Ball Recipe
- Storage and Reheating Instructions for Make Ahead Party Food
- Frequently Asked Questions About This Cheese Ball Recipe
- Estimated Nutritional Data for the Classic Cheese Ball Recipe
- Share Your Simple Holiday Snacks Experience
Why This Classic Cheese Ball Recipe Works Every Time
I promise you, if you need something that screams, “I’m fancy and prepared!” but only took you about fifteen minutes to slap together, this is it. This recipe is consistently ranked among the best crowd pleaser appetizers for a reason. It relies on the powerhouse duo of softened cream cheese and sharp cheddar, and trust me, that combination is foolproof. The fat content in both cheeses creates a spread that is incredibly rich but firm enough to hold its shape beautifully once chilled. This reliability is why I turn to it even when planning my weeknight dinner ideas get complicated!
The best part? It’s the definition of make ahead party food. When I’m hosting, I want to enjoy my guests, not run around fussing with last-minute dips. This cheese ball is designed specifically to take the pressure off your entertaining schedule.
Quick Prep for Your Easy Cheese Ball Recipe
Seriously, the active time here is minimal. We’re talking about 15 minutes, max, to get everything combined. As long as your cream cheese is actually soft—and I mean soft—you can mix this up faster than you can scroll through reruns on TV. It’s the perfect quick finger food when unexpected guests pop over.
The Make Ahead Party Food Advantage
This is where the magic truly happens, and it’s all about chilling. Once you roll the ball and get it coated, wrapping it up tight allows all those savory little seasonings—the Worcestershire, the garlic powder—to really soak into the cheeses. This melding process is essential; it takes the flavor from good to absolutely fantastic. Plus, it firms up so nicely that handling and serving it later is a breeze. No sloppy dips here!
Ingredients for Your Best Crowd Pleaser Appetizers Cheese Ball Recipe
Okay, let’s talk about what goes into this powerhouse. I love that this cheese ball recipe sticks to the basics. When the ingredients are this good—mostly sharp cheddar and luxurious cream cheese—you don’t need twenty secret additions. Getting the prep right is key for E-E-A-T here, so remember: your 8 ounces of cream cheese absolutely must be softened to room temperature. I mean gooey, spreadable soft! Same goes for shredding your 8 ounces of cheddar; getting these two creamy bases combined smoothly is half the battle. We mix in just a touch of savory seasoning—Worcestershire sauce is my secret weapon here—to really wake up the flavor of the cheesy spreads for crackers. These ingredients ensure we get that fantastic texture you’re looking for in a cream cheese appetizer.
Coating Options for Your Cheese Ball Recipe
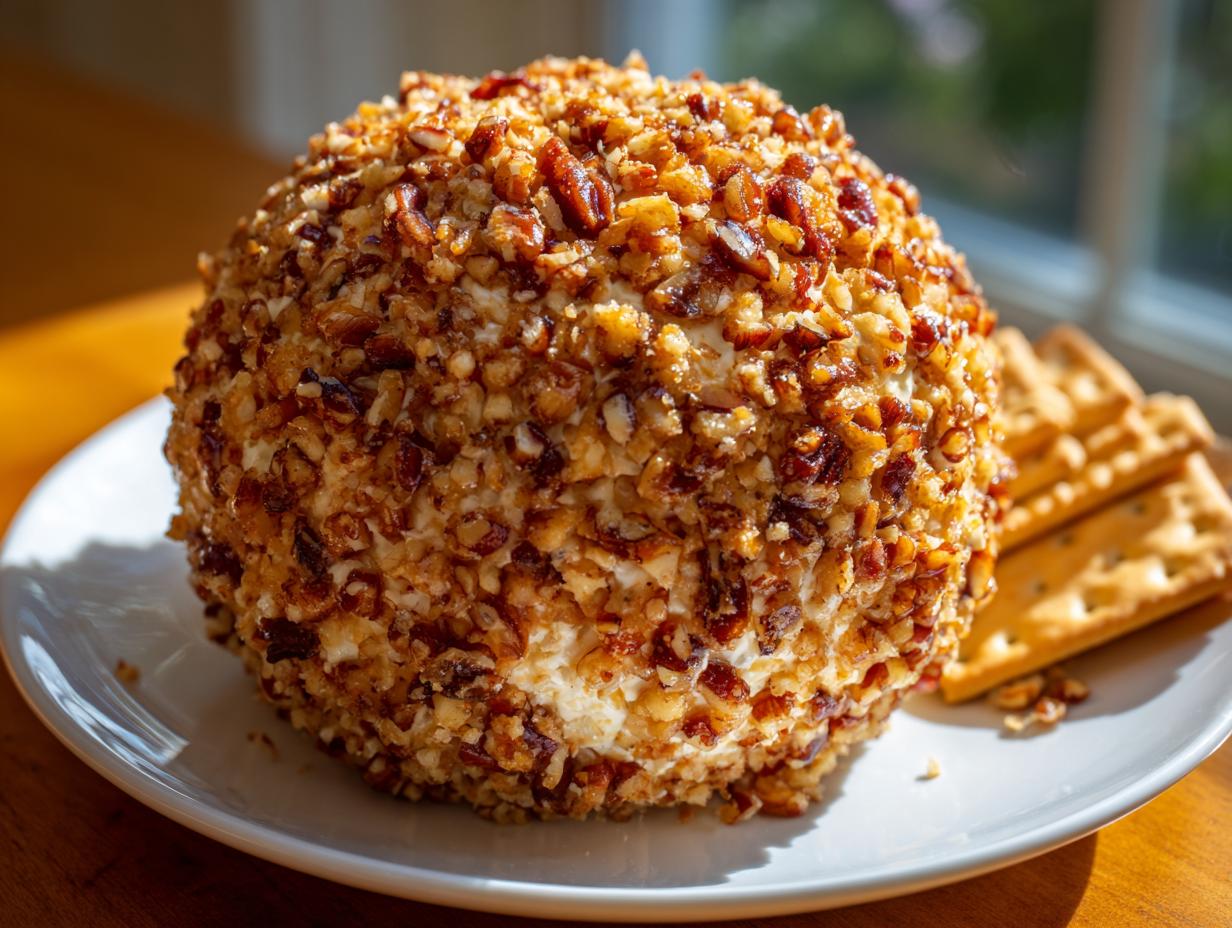
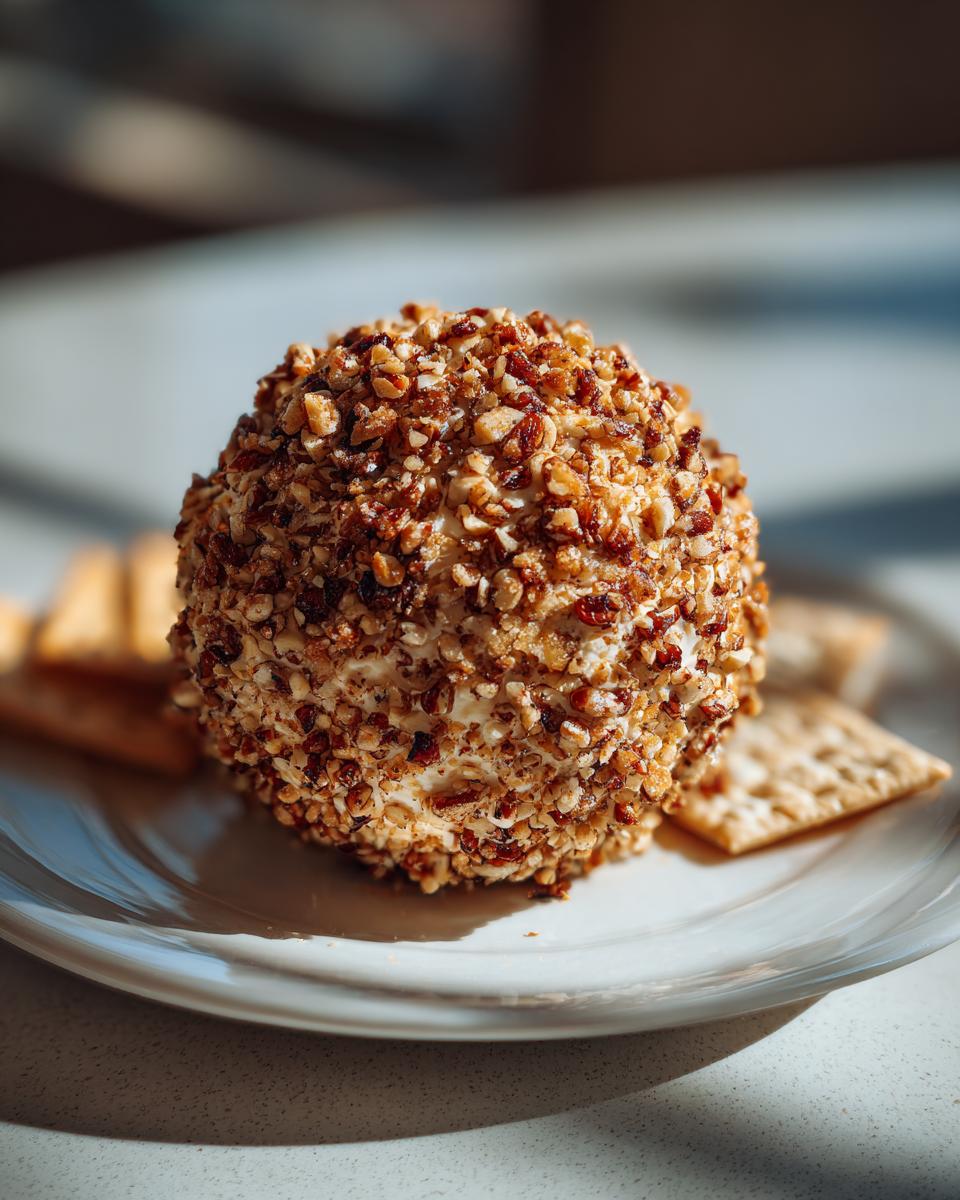
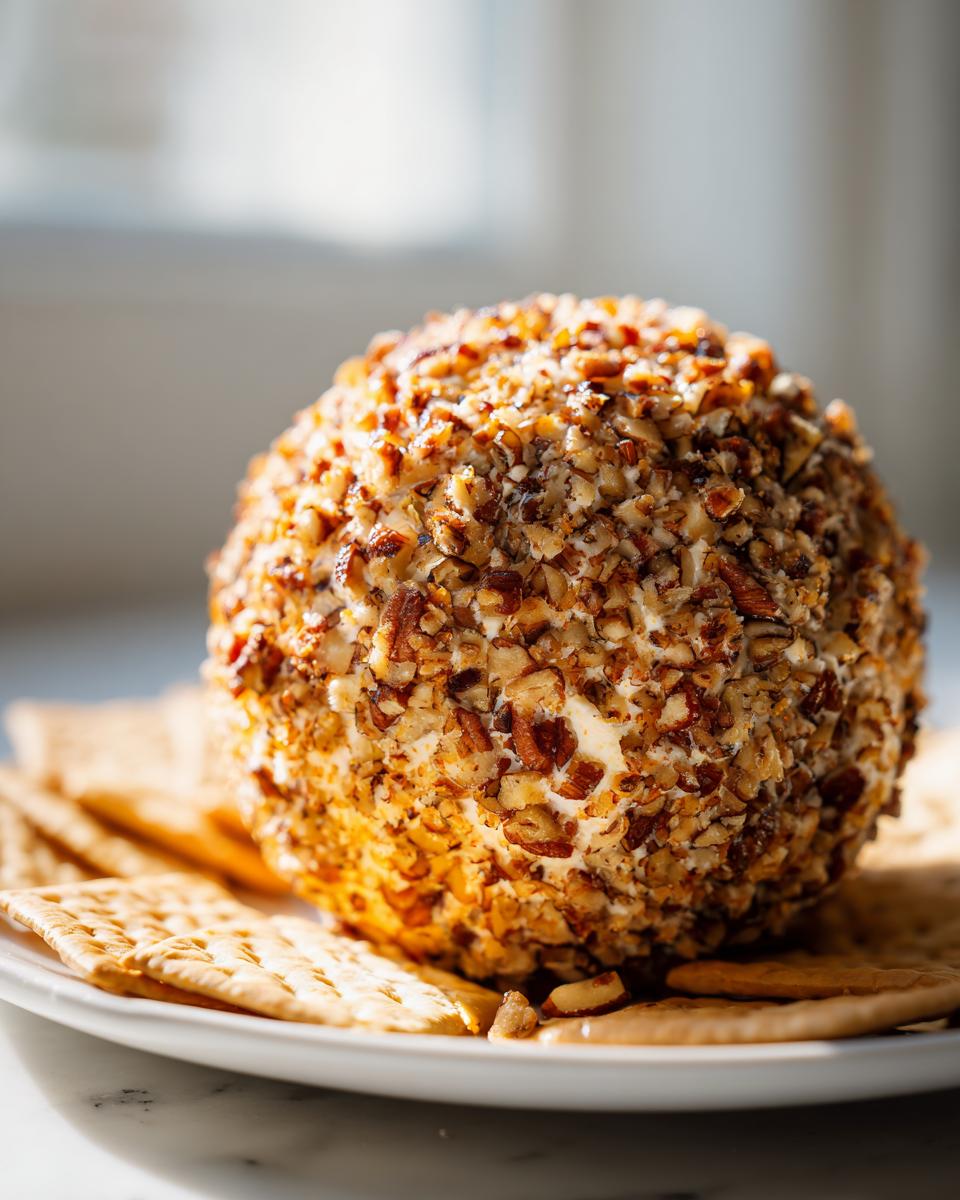
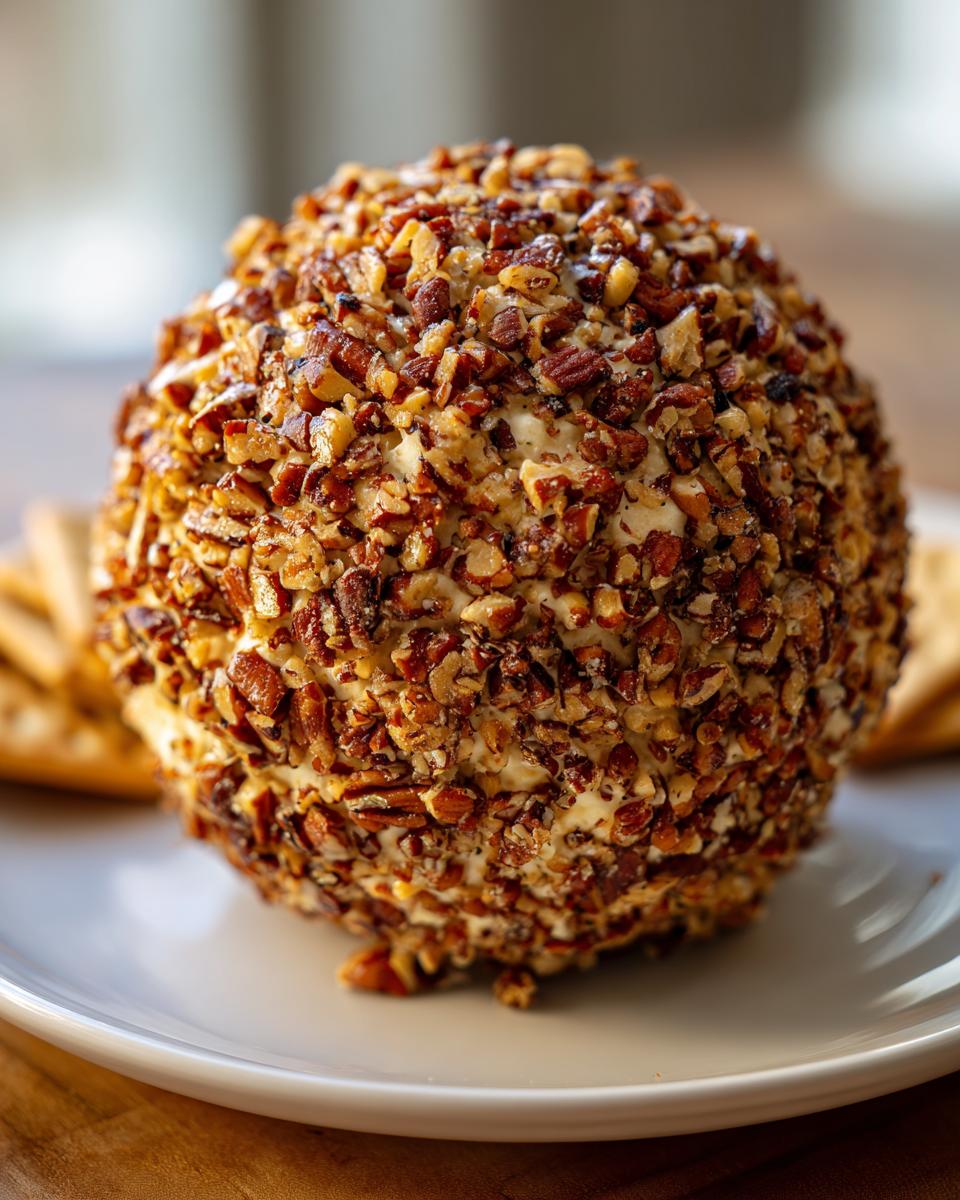
You can’t have a cheese ball without the crunch, that’s just the rule! The coating is what gives it that beautiful, textured presentation and provides that wonderful textural contrast to the creamy insides. I almost always go with finely chopped pecans, but walnuts work just as well if that’s what you have on hand. Make sure you chop them small so they adhere nicely and don’t create an uneven ball. This crunch is what makes it one of the most satisfying savory party nibbles you can serve.
How to Prepare the Easiest Cheese Ball Recipe Step-by-Step
Don’t let the simplicity fool you; even in a recipe this easy, technique matters! My goal here is to prevent any sneaky lumps of unmixed cream cheese from showing up in your beautiful spread. Remember, we are aiming for pure, smooth decadence. Since there is no baking involved, the success of this appetizer relies entirely on how well we incorporate the flavors before that necessary chilling time. If you need quick tips on other simple bakes, check out my guide on quick, easy, 3-ingredient no-yeast beer bread.
Mixing the Cream Cheese Appetizer Base
This starts with getting all those room-temperature ingredients into one spot. Use a sturdy bowl! You want to beat that softened cream cheese first until it’s looking light and fluffy—this is crucial for a smooth finish. Then, you slowly add in your shredded cheddar and all those seasonings—the Worcestershire, the garlic, the onion powder. Don’t rush this part. You need to mix until everything is homogenous; I mean, you shouldn’t see any streaks of white cream cheese or hear any grit from the spices. Scrape down the sides of the bowl a couple of times, too. We don’t want any unmixed pockets hiding down there!
Shaping and Coating Your Cheese Ball Recipe
Once it’s perfectly blended, it’s time to shape it. Use a spatula to gently form the mixture into a rough ball shape right there in the bowl. If your hands are sticking terribly—and sometimes they do, especially if your kitchen is warm—don’t worry! Here’s my little trick: lay out a large sheet of plastic wrap, put the cheese mound on it, and use the wrap itself to help you tuck the edges in and mold it into a tighter, cleaner ball shape. Then, pour your finely chopped pecans or almonds onto a wide, shallow plate. Now, gently roll that log or ball through the nuts until it is completely crusted over on all sides. Don’t press too hard, or you squeeze the cheese out!
The Essential Chill Time for the Cheese Ball Recipe
This is the non-negotiable step, honestly. You MUST chill this cheese ball recipe. If you serve it right away, it’s too soft and gloppy to handle—it will just melt into a puddle when people try to scoop it up. Chilling lets the structure firm up so you can serve it elegantly, and it allows those savory spices to truly infuse that creamy base. I usually aim for at least 2 hours, but if I’m being really organized, I’ll wrap it tightly and leave it in the fridge for up to three days. It only gets better the longer it sits!
Tips for Success with Your Classic Appetizer Ideas Cheese Ball Recipe
You’ve made the base, you’ve wrapped it in nuts—amazing! Now, let’s talk about how to take this *cheese ball recipe* from a simple snack to the absolute centerpiece of your spread. Whenever I’m planning out my savory party nibbles, I always keep a few expert tricks in my back pocket. Don’t be afraid to customize a little bit; that’s what makes your home cooking uniquely yours! If you’re looking to pair this with something sturdy, check out my guide for the best homemade bread bowls—perfect for dipping!
Ingredient Swaps for a Unique Cheese Ball Recipe
While this classic cheddar and cream cheese blend is truly fantastic, you have some fun options if you want to change things up for different gatherings. For instance, if you want a smokier profile, try swapping out half of that sharp cheddar for smoked Gouda. Wow, does that add a nice dimension, especially if you’re serving it during the holidays!
Another suggestion that comes right off my personal note cards? Toss in some fresh herbs. Two tablespoons of finely chopped fresh chives added right into the cheese mixture gives it a lovely pop of color and freshness that cuts through the richness beautifully. And if you’re making this for a serious game day spread and already have bacon cooked up for something else? Go ahead and crumble in two slices of cooked, smoky bacon! It adds a salty, irresistible bite. Just make sure the bacon is completely cooled before you fold it in, or it can mess with the texture.
Serving Suggestions for Your Game Day Food Spreads Cheese Ball Recipe
So, you’ve got your perfectly chilled, beautifully crusted cheese ball—now what do you pin it with? This is where we elevate it from a snack to a real centerpiece, especially when we are putting together game day food spreads. You want variety so everyone finds something they love!
For sturdy dipping, you absolutely need sturdy vehicles. Think chunky rye crackers, thick pretzel crisps, or even toasted baguette slices. If you’re hosting a bigger holiday gathering, load up a platter with colorful slices of bell peppers (red and yellow look gorgeous!), carrots, and celery sticks. This adds brightness and gives folks something that isn’t quite so heavy.
The best part is you can theme the dippers! For the holidays, maybe add some rosemary-dusted crackers. For the game, load up on those salty pretzels. Whatever you choose, just make sure you have plenty, because this creamy spread disappears fast! If you want more inspiration for your big screens days, I have a whole post on game day food spreads that might help you round out the menu.
Storage and Reheating Instructions for Make Ahead Party Food
I talk a lot about making this cheese ball ahead of time, and that’s because it’s the secret weapon against party-day chaos! Once you’ve rolled it in those delicious nuts, the next step is the tight wrap. Use two layers of plastic wrap—one snug layer right against the coating, and another looser layer around that. This prevents freezer burn if you ever decide to freeze it, and it keeps the nuts from absorbing weird fridge smells.
You can absolutely keep this beauty stashed away in the refrigerator for up to three full days. Honestly, I think the flavors mingle even better on day two! That’s a huge relief when you’re planning a big event, isn’t it? Knowing this make ahead party food is waiting patiently for you in the cold.
But here’s the critical tip—and this is super important if you want that perfect texture back: you can’t serve it straight out of the fridge. It’ll be rock hard! About 15 to 20 minutes before you set it out for your guests, unwrap it and let it sit on the counter. This allows it to soften just enough so it’s easily spreadable. It transitions back to that wonderful, creamy texture just in time for people to start grabbing crackers!
If you’re storing it longer, perhaps you made this after enjoying my easy no-bake butterfinger pie recipe and need to save leftovers, you *can* freeze it. Wrap it incredibly well, and thaw it slowly in the fridge overnight before following the room temperature step. It usually holds up fine, but know that the texture might be just a tiny bit looser than when it was first made. This is an excellent option if you’re planning way ahead for the holidays!
Frequently Asked Questions About This Cheese Ball Recipe
I know when you find a fantastic cheese ball recipe, you want to make sure you’ve covered all your bases before the party starts. It’s always better to ask now than to have a little hitch right when guests arrive! I’ve pulled together a few common questions I get emailed about this specific Cream Cheese Appetizer so we can smooth out any concerns. If you’re ever looking for something zesty to serve alongside this, remember my Quick Creamy Cajun Crab Pasta is also a huge crowd-pleaser!
Can I freeze this Easy Cheese Ball Recipe?
You absolutely can, which is fantastic for major holiday prep! If you’re freezing your Easy Cheese Ball Recipe, wrap it super tightly in plastic wrap—two layers minimum—to stop any freezer burn. It freezes well for about a month, easily. The only thing you need to remember is that texture changes slightly after thawing. It might seem a little softer than when you first made it, so you must give it plenty of time to chill back down in the fridge overnight after thawing. Then, pull it out about 20 minutes before serving so it softens up just enough to spread onto those crackers.
What crackers pair best with a Cream Cheese Appetizer?
Since this ball is so richly flavored and slightly dense, you need dippers that can stand up to it! I find that thin, fragile crackers tend to break right when you try to scoop a nice, hearty amount. Stick with sturdy options. I adore serving this with thick pretzel crisps—the saltiness is amazing against the cheddar. Simple water crackers or those really firm, plain table crackers are wonderful because they let the cheese flavor shine. If you prefer vegetables, robust celery sticks or thick-cut pepper slices are perfect carriers for this delicious spread.

Estimated Nutritional Data for the Classic Cheese Ball Recipe
Even when we’re creating something so indulgent and wonderful for a party, I always like to have a general idea of what we’re eating! Since this cheese ball recipe is all about cream cheese and cheddar, it’s certainly rich, but remember, we’re talking about appetizers, not our main meal. These values are just estimates, of course, because the brand of cheddar you use or exactly how much nut coating sticks to the outside can always change things slightly. Think of this as a helpful guideline for a standard serving size, which is about 2 ounces.
We’re looking at around 150 calories per serving, which is totally reasonable for a party situation, especially when you consider the pure joy this brings to the table! It has a good amount of fat, which is expected from that gorgeous cream cheese and cheddar base, but it also packs a solid punch of protein to keep everyone happy while they mingle. You can serve this confidently knowing that you’re providing something satisfying for your guests.
If you’re ever experimenting with lighter ingredients for a healthier take, perhaps you’re already looking at recipes like my chia seed pudding high-protein vanilla recipe, just know that switching to low-fat cream cheese here can sometimes make the ball too soft to hold its shape unless you add extra stabilizers—but for this classic version, full fat is how we get that perfect texture!
| Nutrient | Amount (Estimate) |
|---|---|
| Calories | 150 |
| Total Fat | 13g |
| Saturated Fat | 7g |
| Sodium | 250mg |
| Total Carbohydrates | 2g |
| Protein | 7g |
A little disclaimer here, because I need to be clear: these numbers are based on the standard mixture and serving size. If you go heavy on the salt or use a very rich aged cheddar, that sodium count can creep up. But truly, the most important nutrition information is the joy it brings to your party spreading!
Share Your Simple Holiday Snacks Experience
Now you have my absolute favorite, rock-solid, can’t-fail formula for creating the perfect centerpiece snack for any event. This cheese ball recipe is what I lean on when I want to serve something deeply satisfying without sacrificing my entire afternoon to the kitchen. That, right there, is the Misty Plate philosophy in action: finding the accessible joy in simple, beautiful food that connects people!
I truly hope this becomes one of your go-to Simple Holiday Snacks, or maybe just your Tuesday night surprise snack—no judging here! I’m always so thrilled when I hear how you’ve made these recipes your own. After you’ve tried this, please come back and leave a rating; it helps other home cooks know this recipe is dependable. And seriously, I want to hear about it!
Did you try adding those chives? Did you use almonds instead of pecans? Or maybe you dressed it up with a fun garnish? Drop your favorite pairing suggestions in the comments below! I’m always looking for new ways to serve this creamy classic, and I love seeing what dippers you choose for your party food spreads. If you’re looking for more inspiration on classic appetizers, you can always check out what others are pinning, like this popular classic cheese ball recipe over there for comparison!
Happy snacking, everyone. Go make something simple and delicious today!
PrintThe Best Classic Cheese Ball Recipe

Make this easy cheese ball recipe for your next gathering. It uses simple ingredients like cream cheese and cheddar, and you can prepare it ahead of time.
- Prep Time: 15 min
- Cook Time: 0 min
- Total Time: 2 hr 15 min
- Yield: 12 servings 1x
- Category: Appetizer
- Method: Chilling
- Cuisine: American
- Diet: Vegetarian
Ingredients
- 8 ounces cream cheese, softened
- 8 ounces sharp cheddar cheese, shredded
- 1 teaspoon Worcestershire sauce
- 1/2 teaspoon onion powder
- 1/4 teaspoon garlic powder
- 1/4 teaspoon salt
- 1/4 teaspoon black pepper
- 1 cup finely chopped pecans or almonds
Instructions
- In a medium bowl, combine the softened cream cheese, shredded cheddar, Worcestershire sauce, onion powder, garlic powder, salt, and pepper. Mix until completely smooth and well combined.
- Shape the cheese mixture into a ball using your hands or a spatula.
- Place the chopped nuts on a shallow plate. Roll the cheese ball in the nuts until it is completely coated.
- Wrap the cheese ball tightly in plastic wrap. Chill in the refrigerator for at least 2 hours, or up to 3 days, to allow the flavors to meld and the ball to firm up.
- Before serving, let the cheese ball sit at room temperature for about 15 minutes. Serve with crackers, pretzels, or fresh vegetables.
Notes
- For a different flavor, substitute half the cheddar cheese with Monterey Jack or smoked Gouda.
- You can add 2 tablespoons of finely chopped fresh chives or 2 slices of cooked, crumbled bacon to the cheese mixture for extra flavor.
- This is an excellent make ahead party food option for stress-free entertaining.
Nutrition
- Serving Size: 1 serving (approx. 2 oz)
- Calories: 150
- Sugar: 1
- Sodium: 250
- Fat: 13
- Saturated Fat: 7
- Unsaturated Fat: 6
- Trans Fat: 0
- Carbohydrates: 2
- Fiber: 0
- Protein: 7
- Cholesterol: 35