
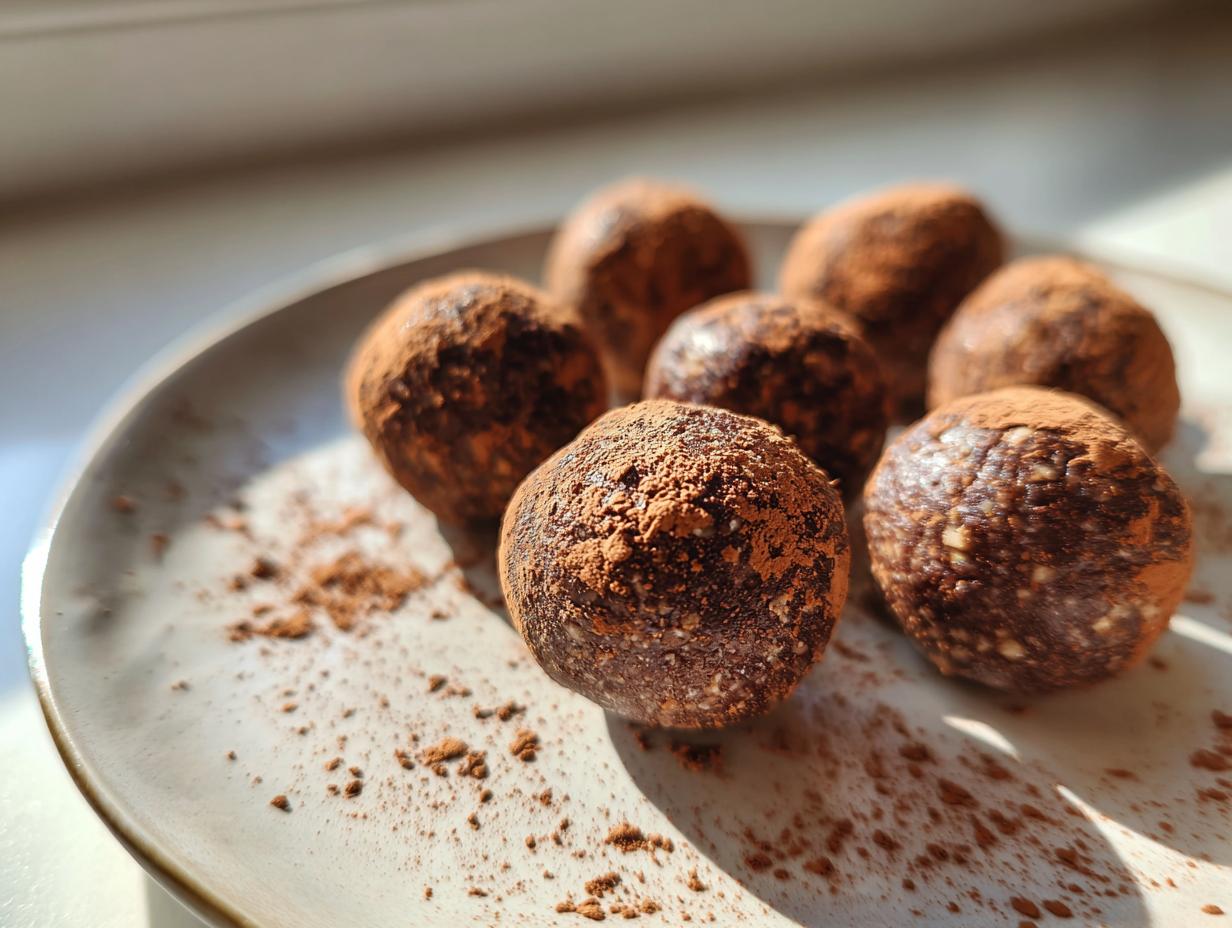
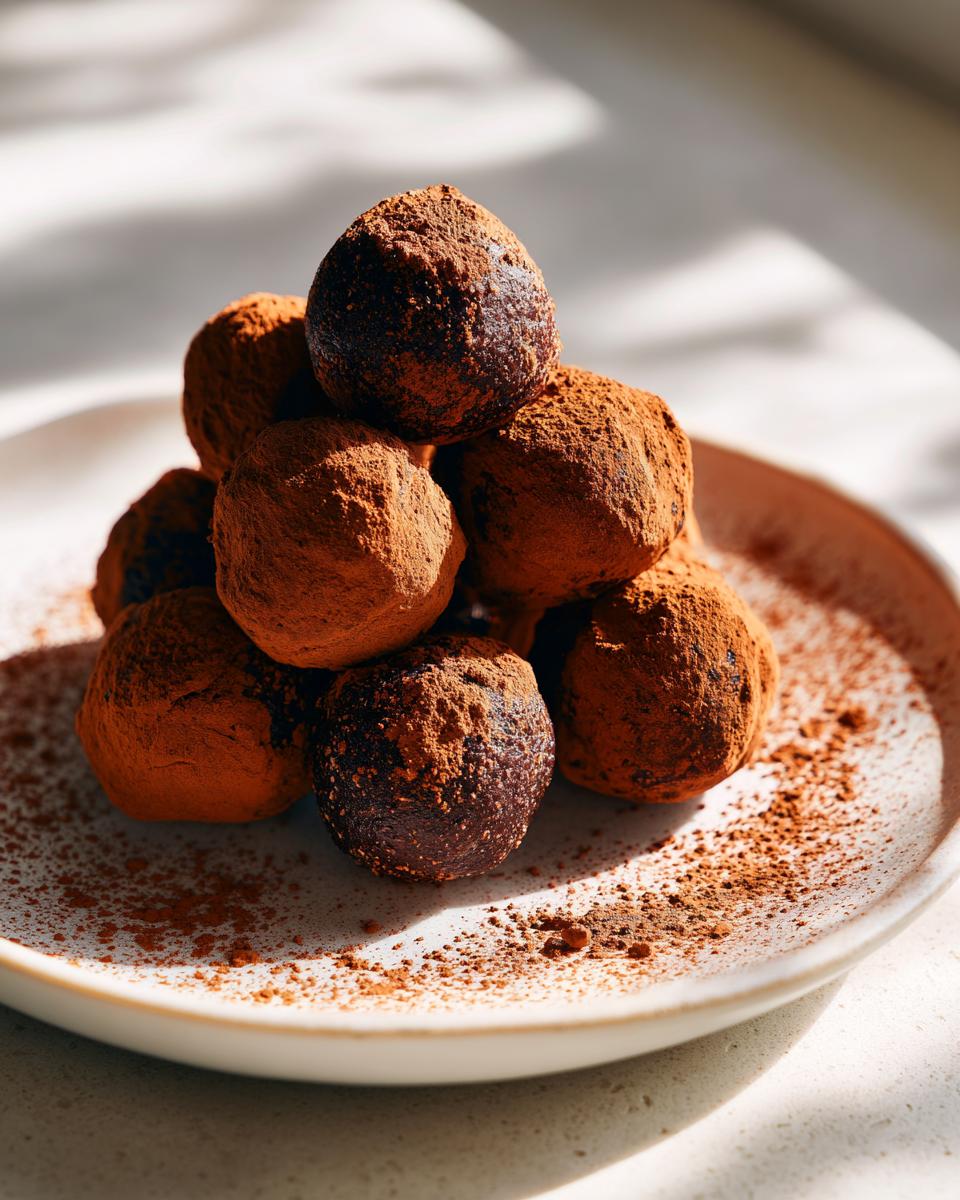
Are you tired of hitting that afternoon wall where you feel like you need serious fuel but don’t want to derail your healthy habits? I totally get it. After my marketing days, I spent so much time rushing that I forgot how good simple, honest food could taste. That feeling faded until I started bringing the kitchen back to my life. These protein balls were one of the first things I perfected because they solve that immediate need for energy. Seriously, these are the best homemade protein balls you’ll ever mix up. They come together in about ten minutes, require absolutely no oven time, and give you that powerful boost you need, whether it’s after a workout or just powering through an evening project.
- Why These No Bake Chocolate Peanut Butter Protein Balls Are Your New Go-To
- Gathering Ingredients for Your Homemade Protein Balls
- Step-by-Step Instructions to Make No Bake Protein Snacks
- Tips for Perfect Peanut Butter Protein Bites Every Time
- Storing and Keeping Your Meal Prep Snacks Fresh
- Variations for Your High Protein Dessert and Post Workout Fuel
- Serving Suggestions for Wholesome Energy Boosters
- Frequently Asked Questions About Making Protein Balls
- Nutritional Estimates for These Healthy Protein Balls
Why These No Bake Chocolate Peanut Butter Protein Balls Are Your New Go-To
When I was deep in city life, grabbing fuel fast was impossible without resorting to something full of junk. That’s why I cherish these protein balls so much—they check every single box! We’re talking ten minutes, tops, hands-on time. No oven means zero fuss, and they store beautifully, making them the ultimate quick grab and go snacks.
They are packed with genuine protein, so they truly work as fantastic easy energy bites when you feel that post-workout slump hitting hard. The chocolate and peanut butter flavor is rich, but you know exactly what’s inside. What’s not to love about a healthy, completely satisfying snack you can whip up while the kettle boils?
Gathering Ingredients for Your Homemade Protein Balls
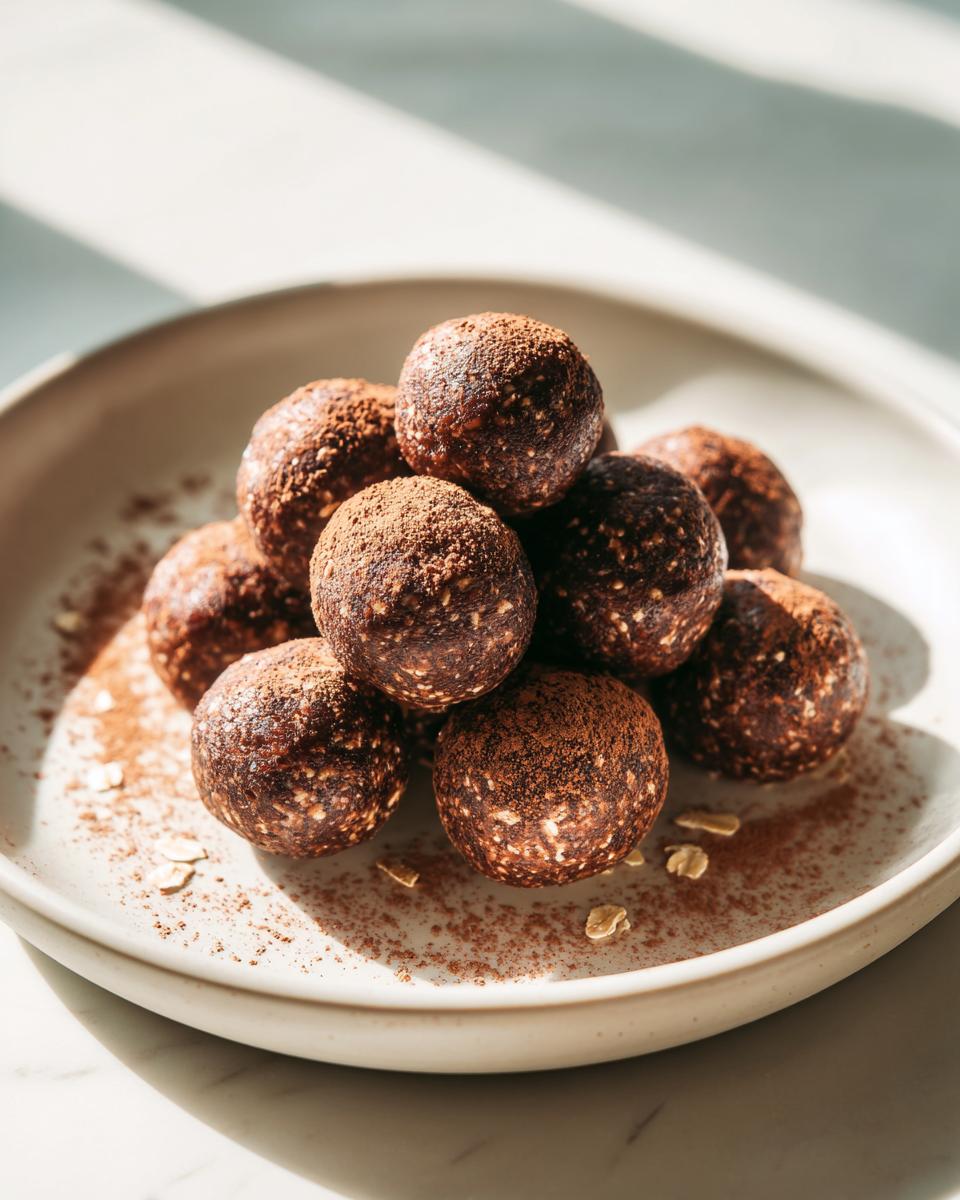
When you only have a few minutes, you need ingredients you trust—that’s my philosophy for these simple protein balls. We are keeping it super clean here. I used exactly five things to get that perfect balance of chewiness and sweetness, and honestly, running to the store shouldn’t be part of a 10-minute snack session! Because quality matters even in the simplest treats, always opt for good quality oats and your favorite protein powder.
Here’s exactly what you’ll need for about a dozen of these amazing little boosters:
- 1 cup rolled oats
- 1/2 cup peanut butter
- 1/3 cup honey or maple syrup
- 1/2 cup protein powder (vanilla or chocolate)
- 1/4 cup mini chocolate chips
Ingredient Clarity and Substitutions for Protein Balls
The one non-negotiable, in my book, is using rolled oats—quick oats tend to get too mushy once mixed. For the sticky binder, I personally love honey, but if you’re avoiding any sugars that aren’t totally whole food derived, pure maple syrup is a perfect swap. If you hate peanuts, don’t stress! Substituting that peanut butter with creamy almond butter works beautifully and keeps them just as tasty. It’s all about making these easy energy bites work for *you*!
Step-by-Step Instructions to Make No Bake Protein Snacks
Now for the fun part where everything comes together in one bowl! Since we aren’t turning on the oven, the technique here is simple mixing, but you have to pay attention to the texture developing. Remember, these are some of the fastest protein balls you will ever make, but rushing the mixing step means they might fall apart later.
- Grab your medium bowl and toss in the rolled oats, peanut butter, honey (or maple syrup!), and your protein powder. Make sure you scrape every bit of that sweetener in there!
- Get a sturdy spoon or spatula—or just use clean hands, I won’t judge! Mix everything thoroughly until you have a sticky, uniform dough.
- Oops, too dry? This sometimes happens if your protein powder is a little thirsty. If it looks crumbly, just add a sneaky teaspoon of water, or maybe some almond milk if you have it, until it starts holding together like a real dough.
- Next, fold in those mini chocolate chips. I like to stir these in gently so they don’t break apart too much.
- Line a plate or a small tray with some parchment paper—this stops any mess later. Then, start rolling the mixture into little balls, aiming for about one inch wide. Try to keep them uniform so they look nice!
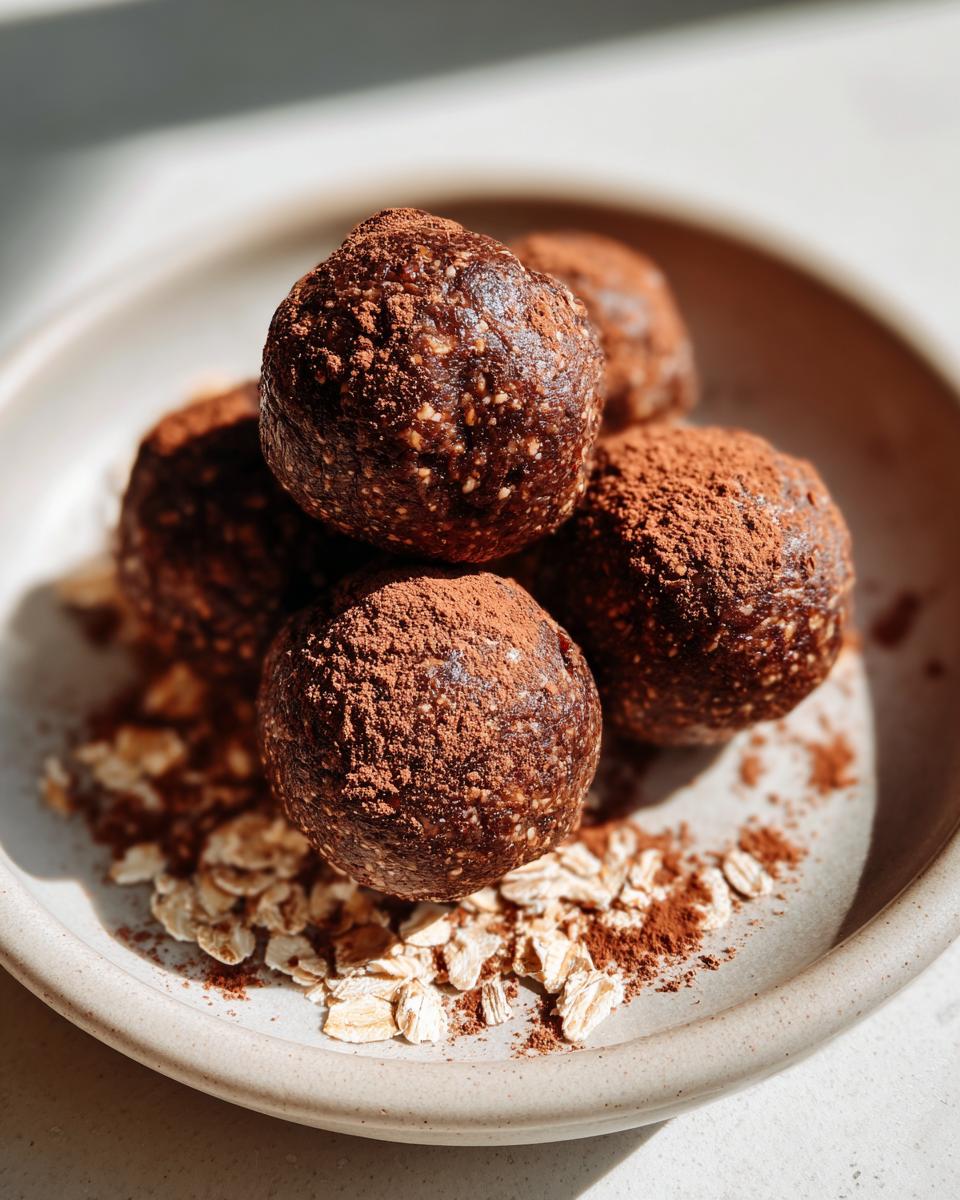
- Finally, this step is crucial for the best texture. Place the rolled protein balls in the refrigerator and let them chill for at least 30 minutes. Chilling really helps them firm up so they are perfect for grabbing on your way out the door. Get ready to enjoy your high protein dessert!
Tips for Perfect Peanut Butter Protein Bites Every Time
Even though these are called “no bake,” the forming stage is where the magic happens, and sometimes things get messy! The key to perfect little protein balls that aren’t total goo-balls is temperature control. If you find the dough sticking terribly to your hands, don’t just grab more flour! Instead, wet your hands *very* slightly with cool water before rolling. That tiny surface moisture keeps the dough from grabbing onto your skin.
For uniformity, I always use a small cookie scoop—it keeps them all close to an inch wide, which is perfect for portion control, especially when using them as post workout fuel. If your mixture feels too soft before rolling, pop the whole bowl back in the fridge for 10 minutes. Trust me, a little patience here results in the best, neatest protein balls!
Storing and Keeping Your Meal Prep Snacks Fresh
One of the things I love most about these simple treats is how well they keep. Since they aren’t baked, their shelf life depends entirely on how you store them. For the best results and firmness, these need to hang out in the refrigerator. That chill time we talked about earlier isn’t just for texture; it keeps everything fresh!
You absolutely must use an airtight container. I learned this the hard way when I left them uncovered one night, and the oats went a little stiff! When stored properly in a sealed container, these easy energy bites last beautifully in the fridge for up to one week. They are just so easy to rely on when you need those quick protein snacks!
Because they hold up so well, these are my go-to for planning ahead. Having a batch ready means I don’t have to worry about breakfast or a mid-afternoon slump when I’m racing out the door. They truly shine as effective meal prep snacks, ensuring you always have something wholesome available rather than grabbing a vending machine disaster.
Variations for Your High Protein Dessert and Post Workout Fuel
Once you nail the base recipe for these protein balls, you start looking at all the fun ways you can tweak them! That’s the beauty of simple recipes—they are incredibly adaptable. If you want to bump up the nutritional factor even more, try stirring in a tablespoon of ground flaxseed or chia seeds along with the dry ingredients. They absorb moisture really well, so keep an eye on the dough texture.
For a richer chocolate experience in your high protein dessert, swap out vanilla protein powder for chocolate, or add an extra tablespoon of unsweetened cocoa powder before you mix everything. If you are looking for a different flavor profile for your post workout fuel altogether, try swapping the vanilla powder for a peanut butter flavor, or even a birthday cake flavor if you find one you love. Adding a pinch of cinnamon also warms up the whole flavor profile nicely! We can explore other savory snacks like my favorite Southwest Chicken Salad another day, but for now, let’s focus on sweet fuel!
Don’t forget about mix-ins! A few chopped walnuts or a sprinkle of shredded coconut when you fold in the chocolate chips adds a lovely crunch. These little additions really help keep your regular rotation of protein balls exciting.
Serving Suggestions for Wholesome Energy Boosters
I always eat these little bites, but sometimes I like to turn them into a more complete snack, especially if I have a little more time in the morning. They are fantastic on their own, of course, but pairing them with something else just makes the experience feel a bit more intentional.
If you’re having these as an afternoon lift, they are heavenly alongside a hot cup of coffee or a strong cup of black tea. The bitterness of the coffee really cuts through the sweetness of the peanut butter and honey in a way that is just incredibly satisfying. It’s my little ritual when I need a moment to pause.
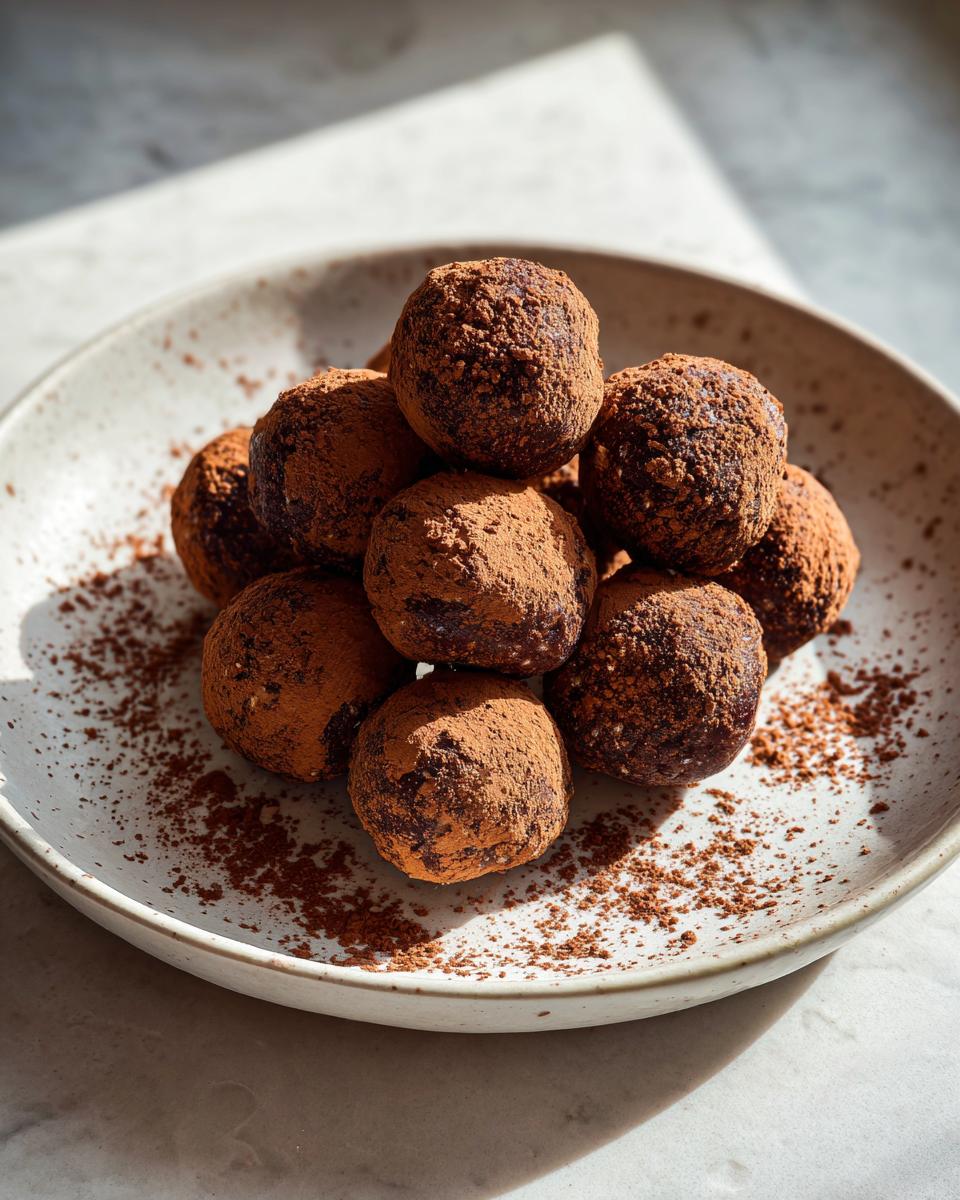
For a truly balanced snack, especially when you need sustained energy, try pairing two of these bites with some fresh fruit. A handful of bright raspberries or some crisp apple slices gives you fiber and keeps the energy steady, preventing that sugar spike. They are genuinely some of the best wholesome energy boosters around!
You can even crumble one over a bowl of Greek yogurt if you’re having a slower morning. It adds texture and a sweet, nutty flavor without having to stir in separate honey or sugar. It’s about making simple routines feel special, just like using homemade honey butter on toast!
Frequently Asked Questions About Making Protein Balls
I always get questions when people try my recipe for the first time—it’s totally normal when starting out with a new staple snack! I’ve gathered the ones I hear most often about these protein balls so you can get them perfect on your first try. Trust me, once you start making these, you won’t go back to buying those expensive pre-packaged bars.
Can I freeze these no baking required treats?
Yes, absolutely! Freezing is actually my best tip for long-term meal prepping. Once you roll your protein balls, place them on a baking sheet lined with parchment paper (this stops them from freezing into one giant brick!) and put them directly in the freezer for about an hour. Once they are solid, you can transfer them to a freezer-safe, airtight container. They keep for up to three months. I just pull out a few the night before I need them, or I eat them straight from the freezer if I need a super-firm, cold snack!
What happens if I don’t have rolled oats?
I really rely on those rolled oats for structure, but if you absolutely must substitute, you have a couple of options, though the texture will change slightly. You can swap them out 1:1 for quick oats, but as I mentioned, they get softer faster. A more interesting swap is using something like crisp rice cereal, but that will make them far less dense. For real sticking power though, traditional rolled oats are the best base for these protein balls.
How can I make these protein balls vegan?
Making them vegan is surprisingly easy! The only non-vegan ingredient in my base recipe is honey. If you swap the honey for pure maple syrup (which is often preferred anyway for a cleaner taste!), you’ve instantly made these vegan-friendly. Make sure your protein powder says it’s plant-based, too. That’s it! You’ve got wonderful vegan homemade protein balls ready to go.
Do I need the chocolate chips?
The chocolate chips are completely optional, but why would you skip them? They add that essential texture contrast! They turn this functional snack into a true high protein dessert moment. But if you’re cutting back on sugar or just hate chocolate, leave them out! The base flavor is still amazing thanks to the peanut butter and oats. Just remember to keep them chilled so they don’t get too soft without that extra firmness from the chips.
Nutritional Estimates for These Healthy Protein Balls
It’s one thing to make something that tastes incredible, but another to know exactly what you are putting into your body for fuel. Since the ingredients are so simple, tracking the nutrition is fairly straightforward. Keep in mind that nutrition always varies slightly based on the exact brand of protein powder you use or whether you pick honey versus maple syrup!
These numbers reflect the recipe exactly as written above, using standard rolled oats and one type of protein powder. These estimates are for one single ball, which is a perfect little size for a quick energy burst. Enjoy knowing you’re fueling your body with the good stuff!
- Serving Size: 1 ball
- Calories: 145
- Protein: 8g (That’s why we call them protein balls!)
- Fat: 8g
- Carbohydrates: 15g
- Sugar: 7g
- Fiber: 2g
I always check the labels on my peanut butter and protein powder first, as those make the biggest difference. For instance, if you use a lower-sugar protein powder, you can bring that sugar count down even further! These estimates are just a guide, but they show you just how powerhouse-packed these little healthy protein balls truly are.
PrintNo Bake Chocolate Peanut Butter Protein Balls
Make these simple, no bake protein balls using four main ingredients. They are perfect for quick post workout fuel or meal prep snacks.
- Prep Time: 10 min
- Cook Time: 0 min
- Total Time: 10 min
- Yield: 12 servings 1x
- Category: Snack
- Method: No Bake
- Cuisine: American
- Diet: Vegetarian
Ingredients
- 1 cup rolled oats
- 1/2 cup peanut butter
- 1/3 cup honey or maple syrup
- 1/2 cup protein powder (vanilla or chocolate)
- 1/4 cup mini chocolate chips
Instructions
- Combine the rolled oats, peanut butter, honey, and protein powder in a medium bowl.
- Mix all ingredients thoroughly until a sticky dough forms. If the mixture is too dry, add a teaspoon of water or almond milk.
- Fold in the mini chocolate chips.
- Roll the mixture into small, uniform balls, about 1 inch in diameter.
- Place the protein balls on a plate or baking sheet lined with parchment paper.
- Refrigerate for at least 30 minutes to firm up before serving.
Notes
- For a refined sugar free option, ensure you use pure maple syrup instead of honey.
- Store these easy energy bites in an airtight container in the refrigerator for up to one week.
- You can substitute peanut butter with almond butter for a different flavor profile.
Nutrition
- Serving Size: 1 ball
- Calories: 145
- Sugar: 7g
- Sodium: 65mg
- Fat: 8g
- Saturated Fat: 2g
- Unsaturated Fat: 6g
- Trans Fat: 0g
- Carbohydrates: 15g
- Fiber: 2g
- Protein: 8g
- Cholesterol: 0mg