
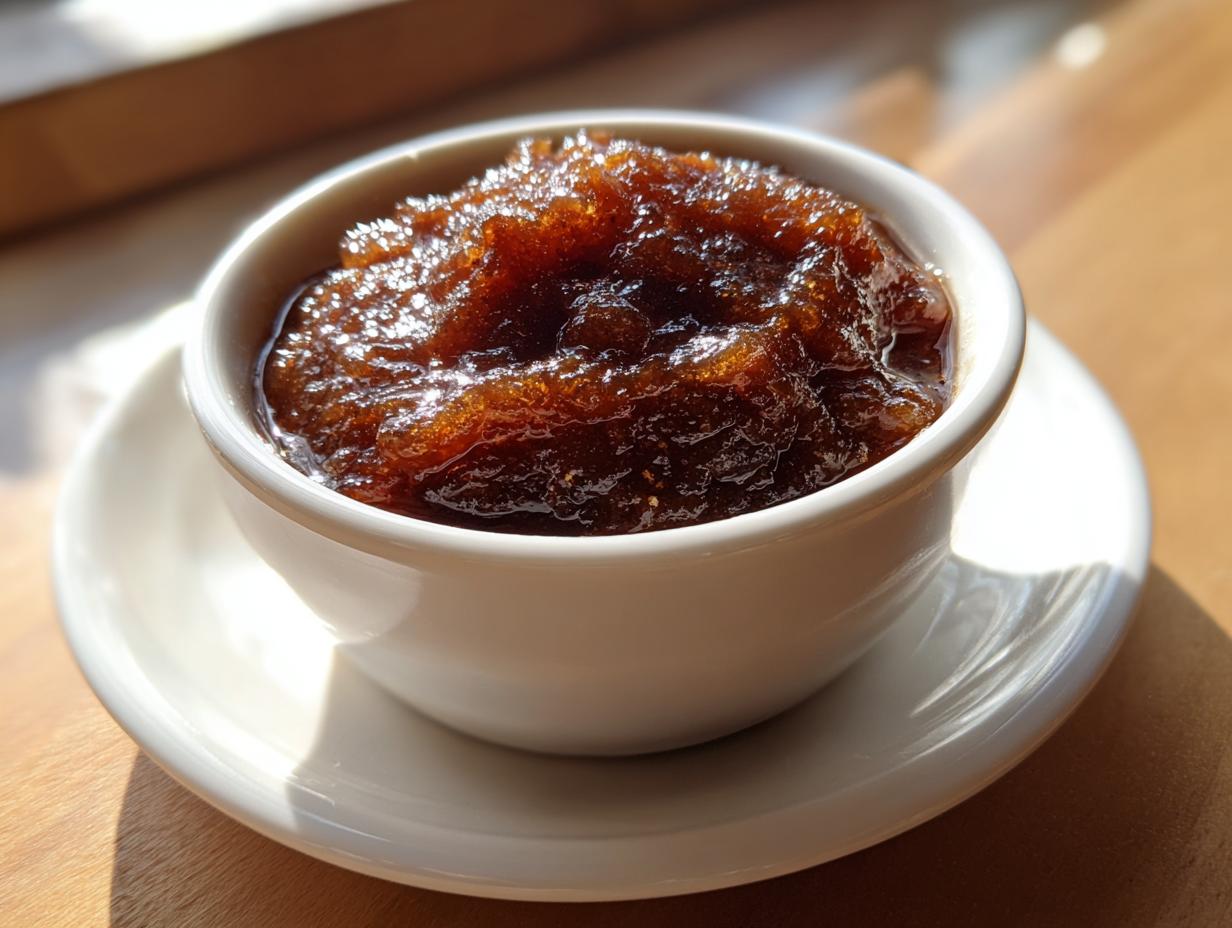
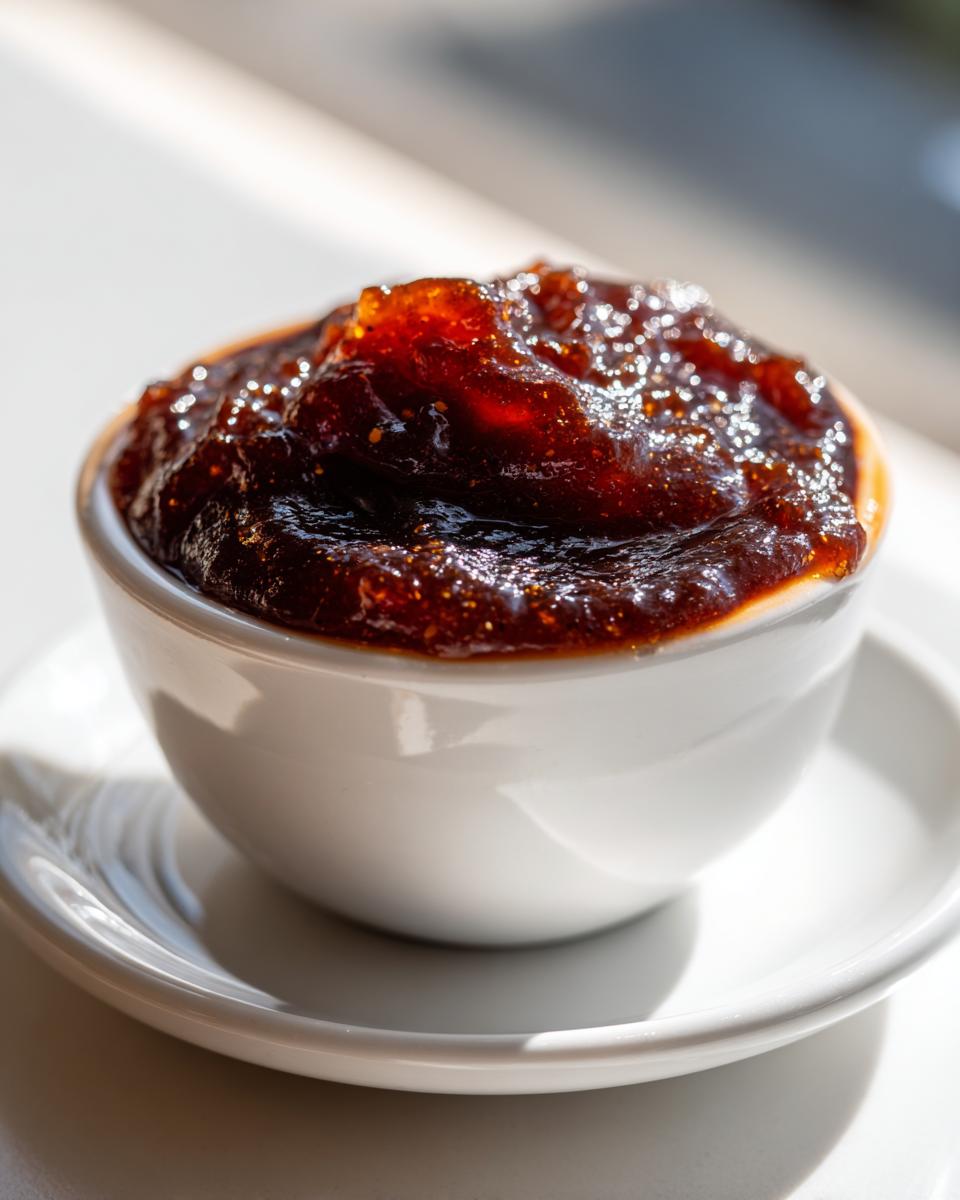
Oh, when those first crisp days of fall roll in, my heart just melts. Nothing captures that cozy feeling quite like the smell of simmering spices and sweet fruit filling the kitchen. If you’re looking for that hug-in-a-jar feeling, you absolutely need to make this ultimate homemade apple butter. It’s the simplest thing, honestly! I developed this because I wanted that deep, rich, old-fashioned flavor without spending an entire day hovering over the stove, and you can find more about my journey back to simple cooking on my About Page. So, I created a recipe that dances perfectly whether you use your stovetop or let the Crockpot handle everything. Trust me, we are making comfort food magic here.
- Why This Homemade Apple Butter Recipe Is Your New Fall Staple
- Gathering Ingredients for Your Apple Butter From Scratch
- How to Make Apple Butter Using the Slow Cooker Method
- Stovetop Apple Butter Instructions for Rich Flavor
- Achieving the Perfect Texture: Blending and Thickening Your Apple Butter
- Tips for Perfect Spiced Apple Spread Results
- Storage and Canning Apple Butter for Long-Term Preservation
- Creative Apple Butter Uses Beyond Toast
- Frequently Asked Questions About Making Apple Butter
Why This Homemade Apple Butter Recipe Is Your New Fall Staple
This isn’t just another recipe; it’s quickly become the cornerstone of my fall pantry. It’s so easy homemade, too! I put so much care into testing these methods so you get that perfect, deeply spiced apple spread every single time, whether you’re busy on a weekday or having a slow Sunday.
- Tried and tested for reliability, so you can trust the results.
- Requires basic pantry staples, making the shopping list simple!
- That incredible aroma alone is worth the effort.
Versatile Cooking Methods: Stovetop Apple Butter or Slow Cooker Apple Butter
I wanted a recipe that works no matter what kind of kitchen day you’re having. If you need to get the apples going fast, stick to the stovetop. But if you want to toss it in the slow cooker before heading out? Absolutely! Both methods create the same incredible, rich apple butter we love. They both take time, but the hands-on work is minimal for both the stovetop apple butter and the Crockpot apple butter versions.
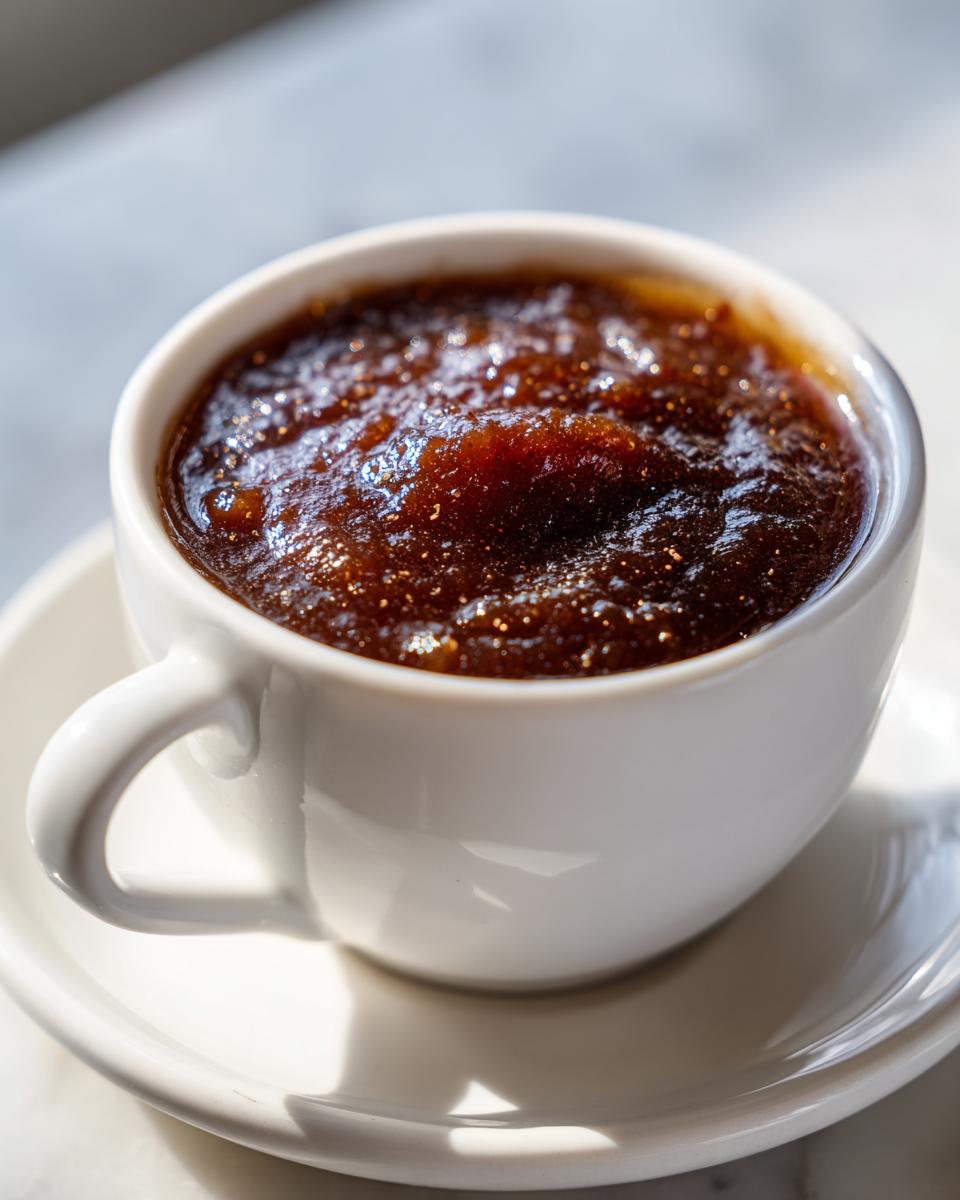
Rich, Old Fashioned Apple Butter Flavor
That deep, burnished, caramelized flavor isn’t an accident. We achieve that signature old fashioned apple butter taste by letting those sugars cook down slowly with cinnamon, cloves, and allspice. It just tastes like tradition in a jar, better than anything you can grab off the shelf. Remember to check out my ideas for quick dinners if things get hectic during the week!
Gathering Ingredients for Your Apple Butter From Scratch
Okay, let’s get our beautiful apples ready! Making this wonderful apple butter from scratch depends on quality starting ingredients, and gathering them is half the fun. Keeping the list simple means we concentrate on that deep, caramelized flavor we’re aiming for. You won’t believe how few things you actually need to make this amazing spread. If you love learning about simple ingredients, you should take a peek at my honey butter recipe too!
Here is exactly what you’ll need to pull together this cozy batch:
- 6 pounds apples (we’ll talk about the best kinds in a second!), peeled, cored, and chopped into chunks.
- 1 cup granulated sugar.
- 1 cup packed brown sugar—make sure it’s packed nicely!
- 2 tablespoons ground cinnamon (don’t skimp here!).
- 1 teaspoon ground allspice.
- 1/2 teaspoon ground cloves.
Choosing the Best Apples for Apple Butter
Choosing the right fruit is really important for getting that gorgeous, smooth apple butter texture. You want apples that break down nicely while cooking. I often use a mix, because variety brings depth! Fuji, Gala, or Honeycrisp apples are absolute superstars here because they soften beautifully and have great natural sweetness.
Granny Smiths are fantastic too if you like a slightly tarter bite, but they don’t break down quite as quickly. Since we are blending it smooth later, almost any apple will work, but using varieties known for flavor means less sugar is needed later. That’s the secret to authentic apple butter, really!
How to Make Apple Butter Using the Slow Cooker Method
If you have a busy day planned, the slow cooker is your absolute best friend for making this easy homemade apple butter. The beauty of the Crockpot is that it tenderizes those apples perfectly with zero stirring required in the first stage. It’s the definition of low-effort, high-reward comfort food!
First things first: combine all your chopped apples, both sugars, and all those lovely spices right inside the slow cooker insert. Give it a quick stir so everything is coated well. Now, you get to walk away! You can cook it on the LOW setting for about 8 to 10 hours. If you need it faster, High works too, but aim for 4 to 5 hours.
Either way, when you come back, the apples will be so soft you could mash them with a fork! Now, you’ll need to blend that mixture until it’s smooth—I usually grab my immersion blender right into the pot, which saves washing one less thing. Don’t forget to check out my tips for using just a skillet for wraps if you’re experimenting with different kitchen gadgets!
The final step is crucial for deep flavor, and the slow cooker handles it beautifully. Once blended, set the heat back to low (or switch to the Keep Warm setting if ours is too high) and leave the lid off. This allows the moisture to evaporate slowly, thickening your apple butter into that rich, spreadable consistency. Find more great Crockpot inspiration here, but stick with my spices for this classic batch!
Stovetop Apple Butter Instructions for Rich Flavor
If you don’t have a slow cooker handy, or if you simply prefer the ritual of cooking on the stove—which, let’s be honest, makes the house smell incredible—the stovetop method is wonderfully rewarding for making this classic stovetop apple butter. This way, you have a little more control, but you have to pay attention!
Start just like we did before: apples, both sugars, and all those warm spices into the biggest pot you own. Get that heat set to medium. You need the apples to cook down until they are truly mushy, which generally takes about 30 to 45 minutes. The most important thing here is stirring! You absolutely must stir often, especially as it starts to break down, to make sure nothing sticks to the bottom and scorches. Nobody wants burnt edges in their beautiful, sweet spread.
Once they’re soft—you’ll know because they collapse easily when pressed—you move on to the blending stage. Then comes the final thickening simmer, which can take another couple of hours, but truly deepens the flavor. If you’re curious about other simmering favorites, my creamy potato leek soup also benefits from a long, slow cook!
For more stovetop timing and ideas, check out this lovely recipe here, but remember to bring those cloves and allspice back when you use their method!
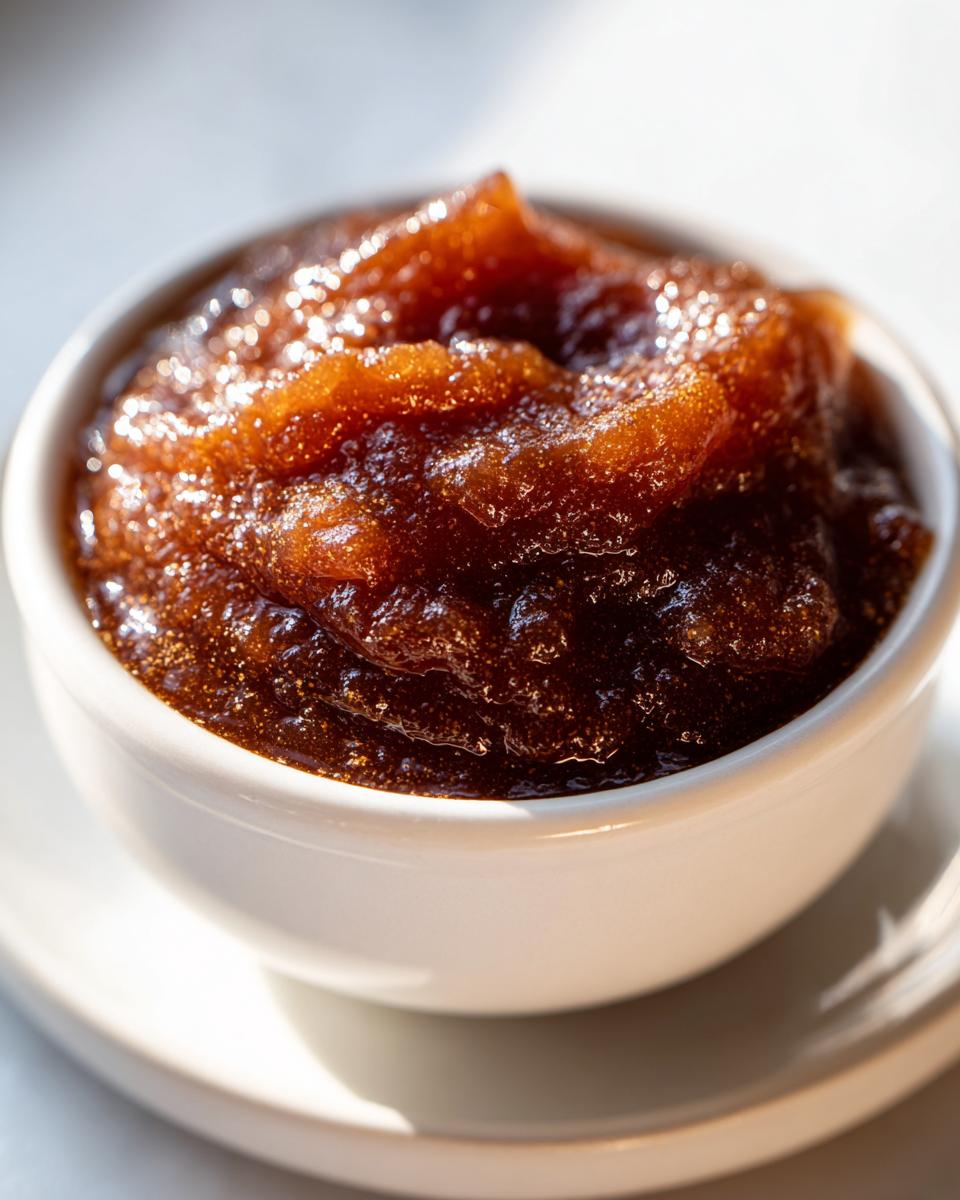
Achieving the Perfect Texture: Blending and Thickening Your Apple Butter
Okay, the apples are soft, they smell amazing, and we’ve combined them into one glorious mush—now comes the part where your applesauce turns into true, luscious apple butter! This two-part finishing process is what separates a watery fruit sauce from the thick, spreadable condiment you’re dreaming of.
First, we blend. Whether you used the slow cooker or the stovetop, you need to get that mixture completely smooth. I honestly prefer my immersion blender right in the pot, but you can carefully transfer batches to a regular blender if you need super silky results. Don’t worry if you like a little texture to your homemade apple butter recipe; you can pulse it instead of blending it until it’s perfectly uniform.
Next, the magic happens: the simmer! You must return that blended mixture back to the pot or the slow cooker insert, but here is the key to learning how to make apple butter thicker: you cook it uncovered over very low heat. We need that water to evaporate slowly. This is where the flavor really caramelizes and deepens. You’ll need to simmer for anywhere from 2 to 4 hours, stirring every 15 or 20 minutes. Seriously, don’t leave the kitchen for too long during this step, or it might catch!
How do you know when it’s done? This is my favorite old-school trick. Take your spoon and draw a line right through the apple butter on the bottom of the pot. If that line stays clear for a few seconds before the butter slowly oozes back together to fill the gap, you’ve won! That trail left by the spoon is the sign that your spiced apple spread is thick enough to seal up beautifully. If you’re looking for other quick cooking tricks while you wait, check out my cheesy rice recipe!
Tips for Perfect Spiced Apple Spread Results
Even the best recipes sometimes need a little nudge, right? I’ve learned a few things over the years of making pots of this stuff—enough to guarantee you get the absolute richest, silkiest spiced apple spread possible. These little tweaks really take it from good to *wow* in the final moments of simmering.
For example, if you’re worried about that final thickness we talked about—where the spoon leaves a trail—just keep going! Seriously, keep that heat ridiculously low and stir patiently. If your apple butter coats the back of a spoon heavily and barely moves when you scrape it, it’s perfect. We want it thick enough to handle jarring! If you want to see a recipe that nails intense flavor with ease, check out this amazing spread inspiration over here.
Cranberry Apple Butter Variation for Added Tang
Now, if you really want to wow people, try shaking things up with a little tartness! This is one of my favorite additions, especially around the holidays, because it cuts through the sweetness of the sugar so nicely. It’s a super simple substitution, too.
For this cranberry apple butter variation, you just need to swap out about one pound of your apples—say, ditch one Fuji—and substitute it with one full cup of either fresh or frozen cranberries. Toss those tart little jewels right in with the rest of the apples during the initial cook. They break down beautifully during the first simmer, infusing the whole batch with this gorgeous, tangy brightness. It’s a fantastic way to keep things interesting!
If you love adding unexpected flavor boosts to your fruit bakes, you have to grab the recipe for my moist banana zucchini bread next; it uses a similar trick with citrus zest to brighten things up!
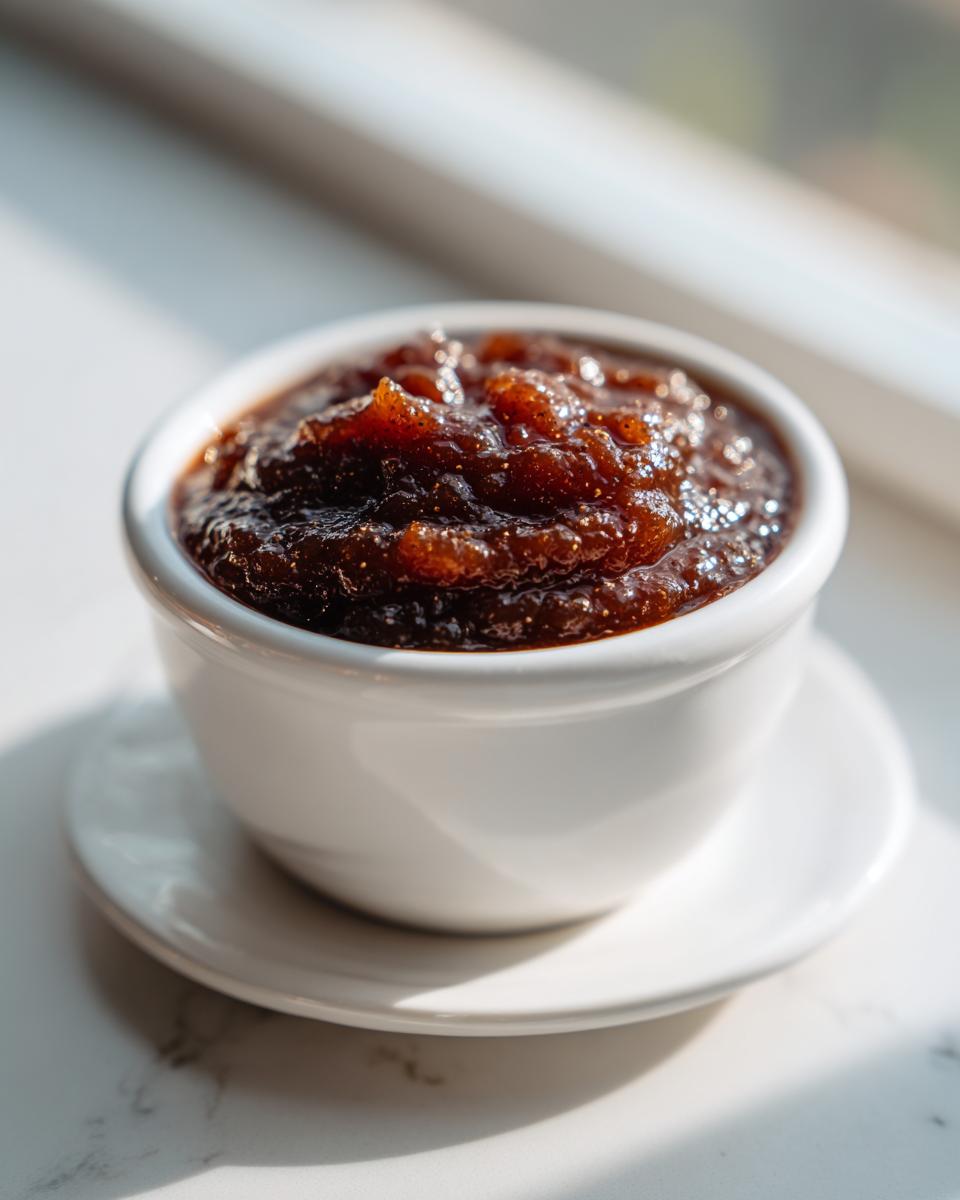
Storage and Canning Apple Butter for Long-Term Preservation
Once you’ve reached that glorious, thick stage, you need to know how to keep this homemade goodness safe! Since we’ve reduced the water content so much, this apple butter lasts quite a while in the fridge, but if you make a huge batch—which I always do because it disappears fast—canning is the way to go. These are my favorite fall preserving recipes because they make such wonderful gifts, too.
For simple storage, just let the apple butter cool down completely. Then, transfer it into clean, airtight jars. It should easily last about three weeks tucked away in the refrigerator. That’s usually enough time for the immediate family to devour half of it!
If you are serious about making enough to last all year long—or if you want to gift some of this incredible stuff—you need to look into proper canning procedures. This ensures your sealed jars of apple butter are safe on the shelf long-term. If you’re new to sealing jars, you might want to look up a guide first, but this recipe base works wonderfully for it! For a different kind of shelf-stable condiment, you should absolutely check out my easy homemade teriyaki sauce recipe.
If you need a deep dive into using your Crockpot specifically for canning batches, this resource has some great tips on processing the jars after they come out of the cooker. It’s such a satisfying feeling knowing you have jars of pure fall flavor ready for winter breakfasts!
Creative Apple Butter Uses Beyond Toast
Now that you have this luscious, thick apple butter, the question isn’t if you’ll eat it on toast—because you totally will!—it’s what else we can do with it! This rich spread is actually an amazing secret weapon in the kitchen. It adds moisture and that wonderful spiced complexity to baked goods without adding a ton of liquid.
I love swirling a spoonful into my morning oatmeal, or using it to glaze a ham for a holiday dinner. But honestly, my favorite way to use up a batch is in baking! It works perfectly as a natural sweetener and binding agent in muffins, quick breads, or even to replace some of the fat content in things like cookies. If you’re looking for a fantastic, effortless treat, you have to check out my no-bake pie sometime—a little apple butter swirl in the crust would be divine!
Frequently Asked Questions About Making Apple Butter
I know when you’re whipping up a new recipe, especially something meant for preserving, you always have a few little questions bubbling up. That’s totally normal! I gathered the most common ones I hear about making this truly easy apple butter right here so you can feel super confident when you start your batch.
Can I skip peeling the apples when making apple butter?
Oh, this is a classic question! For the smoothest, silkiest homemade apple butter recipe, Grandma always insisted on peeling. The skins don’t break down as well as the flesh, and they can sometimes give you a slightly gritty texture, even after blending. However, if you are using a very high-powered blender or something like a Vitamix, you *can* often get away with leaving the skins on—just know you might have to blend it longer!
How long does this easy apple butter last in the fridge?
Since this recipe involves such long cooking which drives out a lot of moisture, it keeps really well, even without canning. Once your apple butter has cooled completely, pop it into well-sealed jars and keep it in the fridge. Usually, this lovely spread will remain fresh and delicious for up to three weeks in refrigeration. If you want it longer, though, you absolutely must look into the proper water bath canning steps!
Can I use less sugar in this homemade apple butter recipe?
You certainly can try adjusting the sugar, but I’d advise tasting as you go during that final thickening simmer. Sugar isn’t just for sweetness in preserves; it plays a vital role in texture and preservation. Cutting back too much might result in a thinner final product that doesn’t store as well, even in the fridge. If you are going to reduce it, only cut back by about 1/4 cup initially and see how the flavor develops toward the end of the cook time!
If you’re looking for more great ways to use up fall flavors but need a quick meal idea instead of a spread, check out my easy breakfast recipes collection!
PrintUltimate Homemade Apple Butter: Stovetop AND Slow Cooker Recipe
Make rich, spiced apple butter from scratch using simple ingredients. This recipe works perfectly on the stovetop or in a slow cooker for an easy homemade spread ideal for toast or baking.
- Prep Time: 25 min
- Cook Time: 8 hours
- Total Time: 8 hours 25 min
- Yield: About 6 cups 1x
- Category: Condiment
- Method: Slow Cooking/Stovetop Simmering
- Cuisine: American
- Diet: Vegetarian
Ingredients
- 6 pounds apples (Fuji, Gala, Honeycrisp, or a mix), peeled, cored, and chopped
- 1 cup granulated sugar
- 1 cup packed brown sugar
- 2 tablespoons ground cinnamon
- 1 teaspoon ground allspice
- 1/2 teaspoon ground cloves
Instructions
- Combine the chopped apples, granulated sugar, brown sugar, cinnamon, allspice, and cloves in a large pot for stovetop, or in a slow cooker insert.
- For Stovetop: Cook over medium heat, stirring often, until the apples break down and the mixture is very soft, about 30 to 45 minutes.
- For Slow Cooker: Cook on low for 8 to 10 hours or on high for 4 to 5 hours, until the apples are very soft.
- Transfer the cooked apple mixture to a blender or use an immersion blender. Blend until completely smooth. If you prefer a slightly textured spread, pulse briefly.
- Return the smooth mixture to the pot or slow cooker. Cook uncovered over low heat (stovetop) or on low (slow cooker) for 2 to 4 hours, stirring every 15 to 20 minutes. This step thickens the butter and deepens the caramelized flavor.
- The apple butter is ready when it is thick enough that a spoon leaves a trail on the bottom of the pot that does not immediately fill in.
- Cool completely before storing in airtight jars in the refrigerator for up to three weeks, or follow proper canning procedures for longer storage.
Notes
- For an extra thick apple butter, continue simmering the final stage until the mixture coats the back of a spoon heavily.
- If you want a cranberry apple butter variation, substitute 1 cup of fresh or frozen cranberries for 1 pound of apples.
- Cooking apples like Granny Smith hold their shape less, which speeds up the breakdown process.
- This spread freezes well for up to six months.
Nutrition
- Serving Size: 1/4 cup
- Calories: 180
- Sugar: 42g
- Sodium: 2mg
- Fat: 0.2g
- Saturated Fat: 0g
- Unsaturated Fat: 0.1g
- Trans Fat: 0g
- Carbohydrates: 47g
- Fiber: 3g
- Protein: 0.3g
- Cholesterol: 0mg