
I don’t know about you, but when I was buried in that fast-paced city life, I reached for the bottle more often than I cared to admit. Reaching for the store-bought stuff felt like giving up a little bit of control over what I was putting on my simple family treats. But coming back to the kitchen, finding that grounding connection again, meant ditching those heavily processed toppings immediately. Trust me when I say you can make the best chocolate drizzle right now, quicker than you can run to the store! This chocolate syrup recipe is my non-negotiable staple now. It comes together in under 10 minutes using just pantry basics, bringing that rich, satisfying sweetness back to our table without any fuss.
- Why This Easy Chocolate Syrup Recipe Beats Store-Bought
- Ingredients for Your From Scratch Chocolate Syrup
- Step-by-Step Instructions for Perfect Chocolate Syrup
- Tips for the Best Chocolate Drizzle Consistency
- Versatile Uses for Your Chocolate Syrup
- Storage and Shelf Life for Homemade Chocolate Syrup
- Dietary Variations: Sugar Free Chocolate Sauce and Vegan Options
- Frequently Asked Questions About Making Chocolate Syrup
- Estimated Nutritional Information for Chocolate Syrup
- Share Your Homemade Chocolate Syrup Creations
Why This Easy Chocolate Syrup Recipe Beats Store-Bought
Honestly, once you make this no store bought syrup version, you won’t look back. The depth of flavor you get from just cocoa powder and sugar is miles ahead of those shelf-stable bottles. Giving up the processed stuff means gaining control over the quality, and that makes it a superior rich dessert topping every single time.
Speed and Simplicity: Your Quick Cocoa Syrup Fix
The biggest win here is the time! This truly is an easy chocolate syrup recipe that goes from pantry to stovetop to cooling rack in about ten minutes flat. It’s my go-to when the kids suddenly need hot fudge for ice cream, or I need a last-minute drizzle for something I’m prepping for guests. It’s the definition of a quick cocoa syrup rescue.
Achieving Silky Chocolate Topping Texture
The commercial stuff relies on corn syrup to keep it thin and pourable, but we don’t need that artificial boost here. We achieve that incredible, silky chocolate topping just by following the simmering time and, most importantly, letting it cool down completely. It sounds simple, but patience during cooling is what transforms that watery liquid into a thick, decadent sauce you’ll want to spoon straight from the jar!
Ingredients for Your From Scratch Chocolate Syrup
The beauty of this recipe is that it leans almost entirely on basic ingredients I always have on hand, making it a true pantry staple chocolate syrup. Forget hunting down specialty items; we’re keeping this cozy and simple in my kitchen.
- 1 cup granulated sugar
- 1 cup unsweetened cocoa powder
- 1 cup water
- 1 teaspoon vanilla extract
Now, a quick word from my experience: the better your cocoa powder is, the richer your final sauce will be. Since cocoa is the main flavor driver here, don’t skimp! I always reach for a good quality, unsweetened Dutch-process cocoa—it really deepens that chocolate punch we are aiming for.
Step-by-Step Instructions for Perfect Chocolate Syrup
Making this chocolate syrup is genuinely foolproof, but you need to pay attention during the heating phase. This isn’t a ‘set it and forget it’ situation on the stovetop, trust me! A little bit of constant motion ensures you get that smooth, rich texture we talked about. If you nailed the ingredient ratios, the next step is just technique, and I promise, it’s quick. You’ll be done in ten minutes total!
Combining and Heating the Chocolate Syrup Base
First, grab a small saucepan—nothing fancy required. Toss in your sugar, the cocoa powder, and the water. Make sure everything is added before you turn on the heat! Place it over medium heat and whisk continuously until you can see that all the sugar is completely dissolved. You are looking for the mixture to just barely start simmering. If it starts boiling vigorously, pull it back immediately! It’s similar to getting a sauce going without scorching, which is why I rely on simple stovetop methods, much like when I make my amazing teriyaki sauce.
Simmering and Finishing Your Homemade Chocolate Sauce
Once you hit that gentle simmer, drop the heat down low. We only need to cook this homemade chocolate sauce for about 5 minutes, stirring occasionally. That low, slow heat is what lets those flavors meld beautifully. When the time is up, pull the saucepan right off the burner—this is important! Stir in your vanilla extract off the heat. Then, the hardest part: you have to let it cool completely on the counter. It will thicken up so much as it chills, turning into that perfect drizzle. Don’t try to use it hot, or you’ll be disappointed—the cooling process handles the magic!
Tips for the Best Chocolate Drizzle Consistency
Getting that perfect thickness is where the difference between a good syrup and a *great* one lies. Remember, this pantry staple chocolate syrup is going to thicken up quite a bit once it hits the fridge. When it’s hot off the stove, it seems a little thin, and that trips people up! Don’t panic and reach for more cocoa right away.
If you find your syrup is still looking a little watery even after it has cooled completely to room temperature, don’t worry. You can always fix it! Just give it another quick trip back to the stove over low heat—and I mean low—add just one more tablespoon of water, whisk it for 30 seconds, and then let it cool again. Adding liquid helps redistribute things and often smooths it out if it seems slightly gloppy.
Now, let’s talk about graininess, because nobody wants crunchy syrup. If you ended up with a gritty texture, it almost always means the sugar didn’t fully dissolve when you first heated it up. My tip, similar to keeping my garlic sauce incredibly smooth, is that constant whisking during the initial heating phase is non-negotiable. If you see any little sugar crystals lingering on the bottom or sides of the pan while you’re heating, just stop, scrape the sides down with your wet whisk, and keep stirring until it looks unified before you let it simmer.
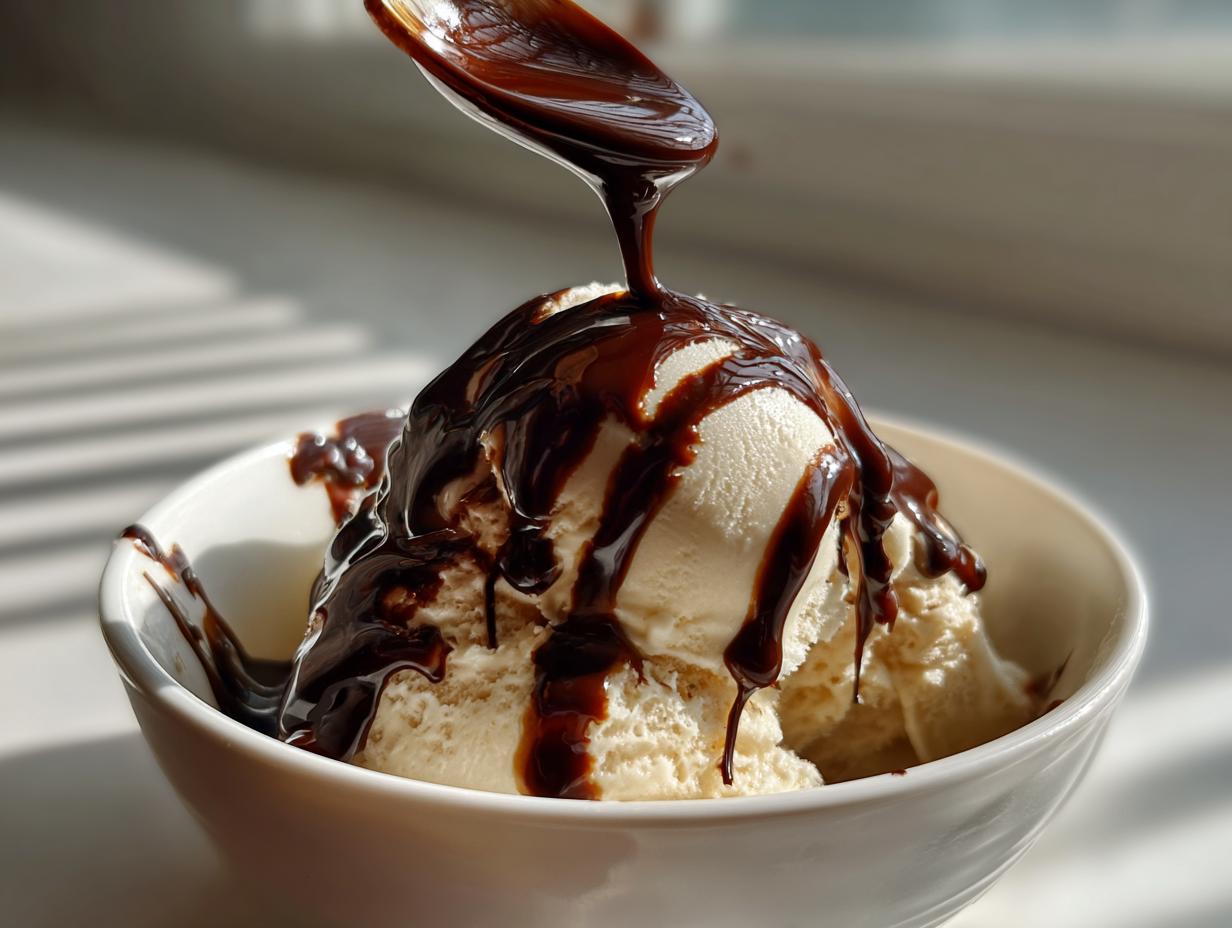
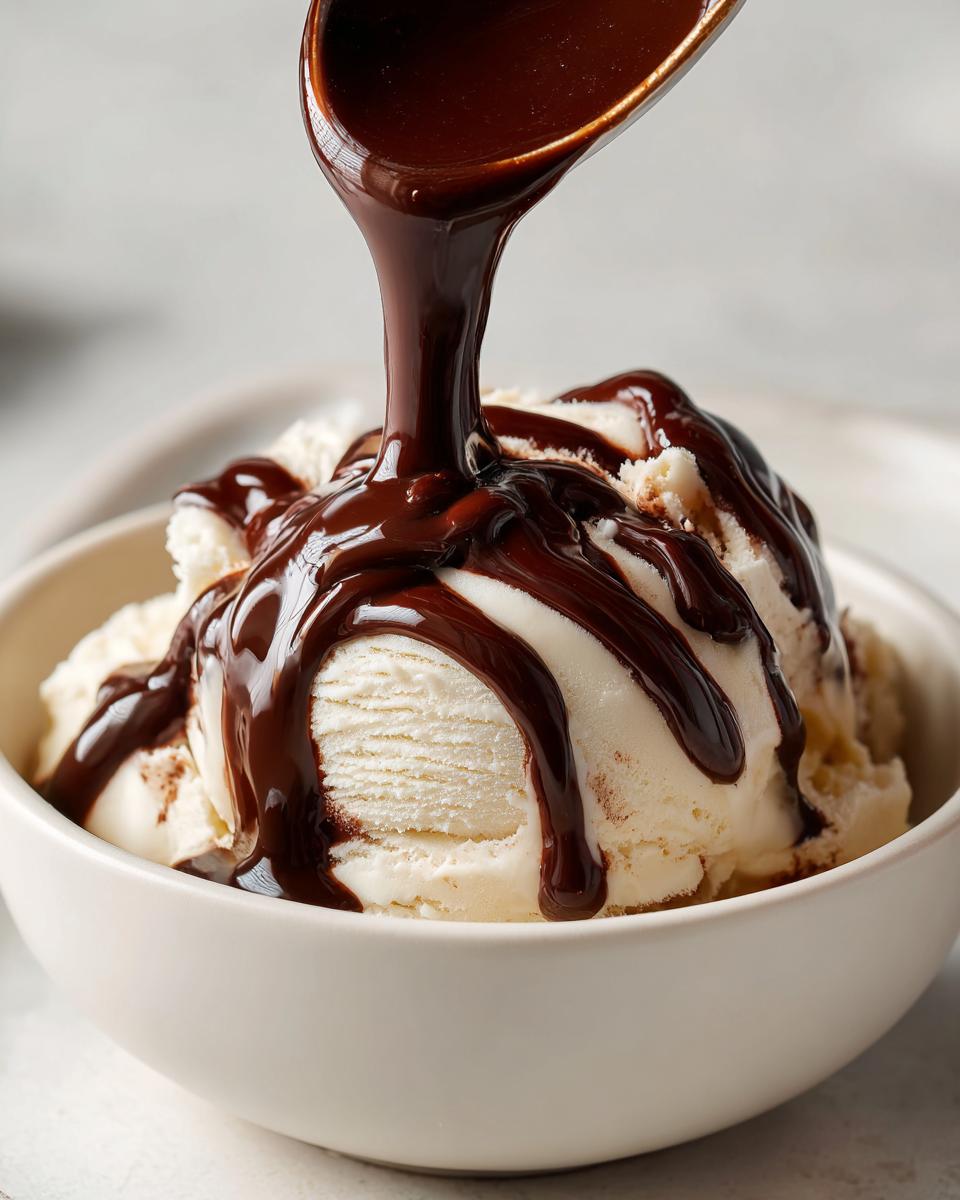
The key takeaway here is patience while cooling. This simple cocoa mixture is designed to set up into a beautiful, velvety delight when chilled. You want something thick enough to coat a spoon but fluid enough to drizzle nicely over a scoop of vanilla ice cream.
Versatile Uses for Your Chocolate Syrup
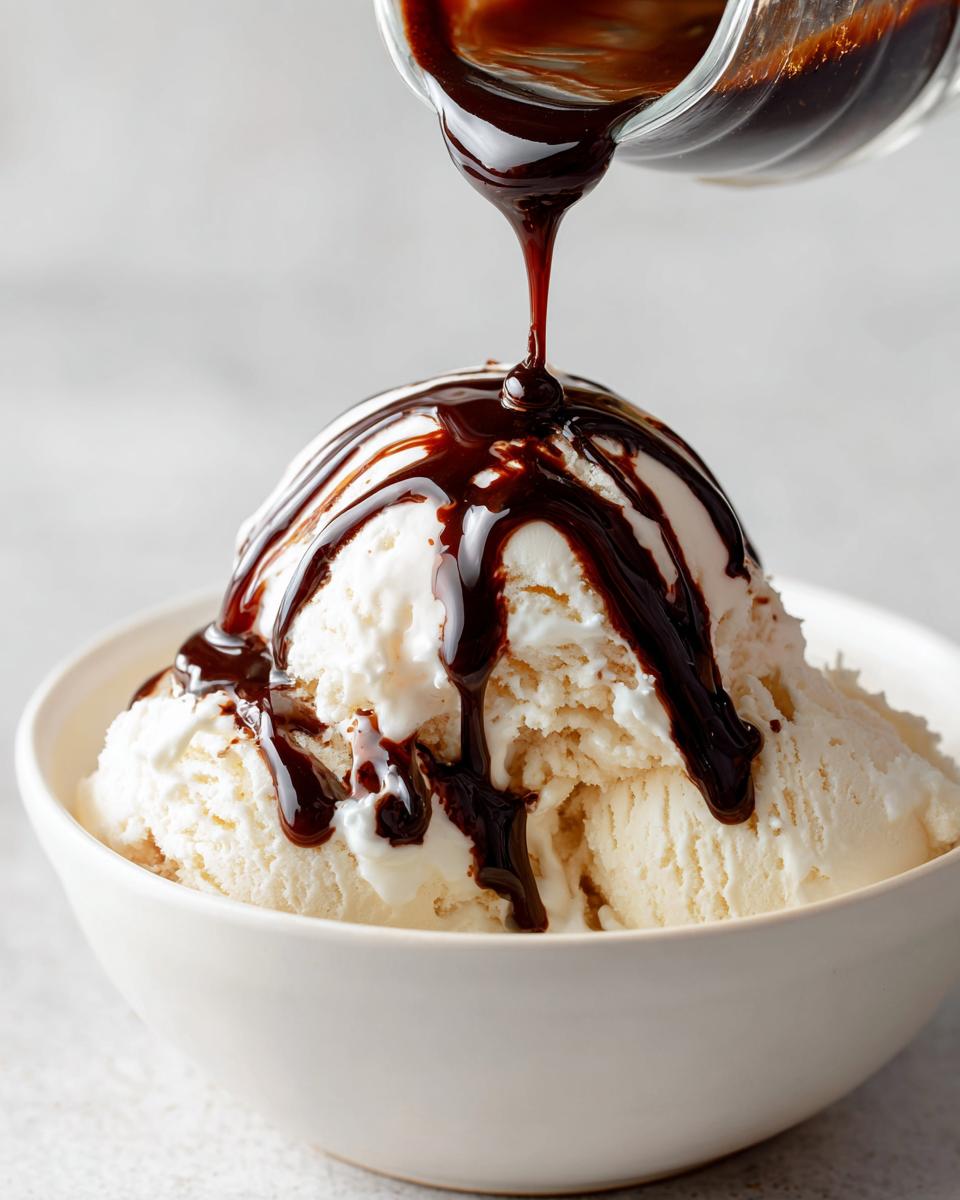
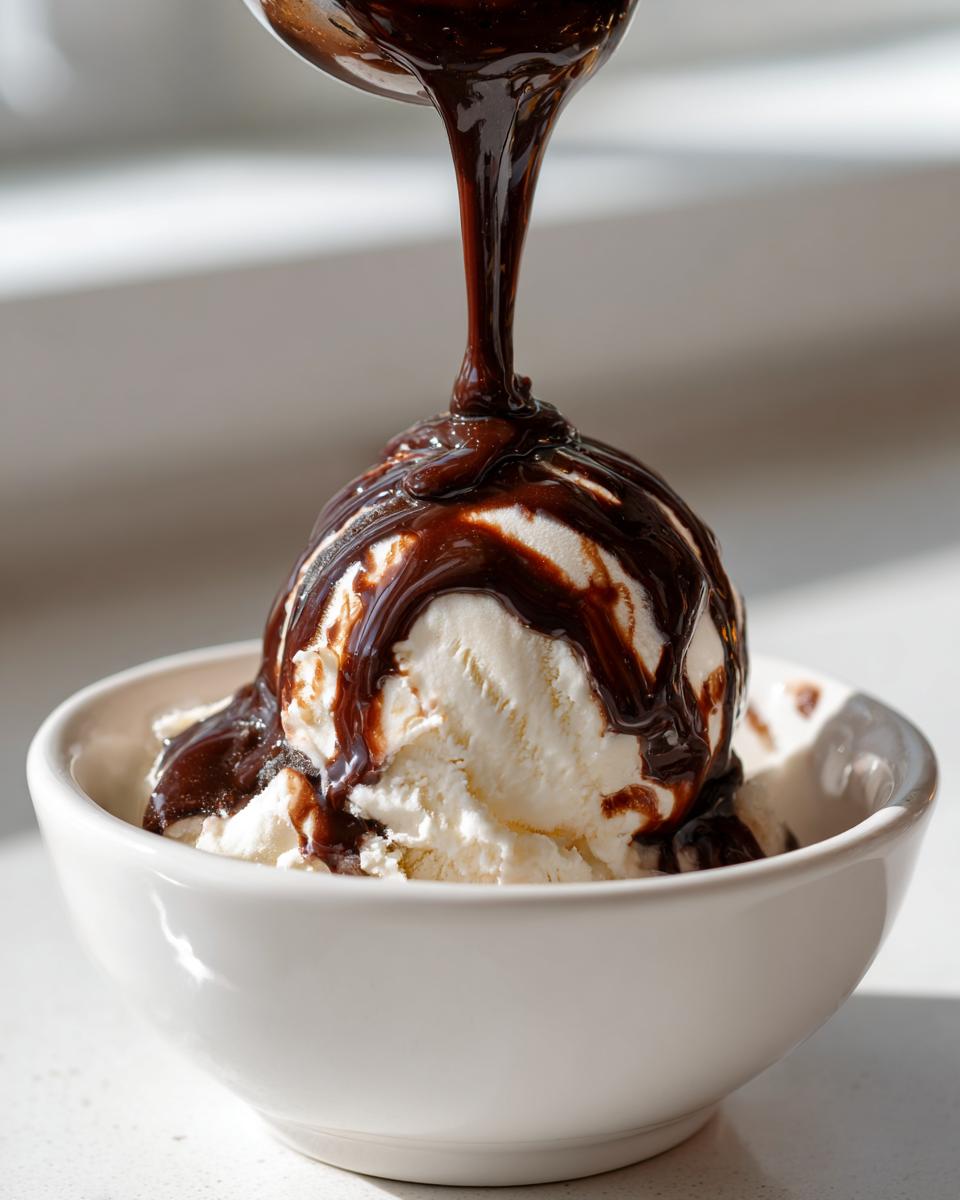
This is the part I love most—seeing this rich, velvety chocolate sauce transform everything! Since this is an outstanding homemade ice cream topping, you’ll use it up fast, but don’t stop there. It’s fantastic warmed up just slightly for dripping over my chocolate zucchini muffins, or drizzled heavily over pancakes.
For the pure comfort food pleasure, use this as your chocolate milk base recipe. We just stir a big spoonful into cold milk, and voilà! It’s an instant upgrade. I even use it when I make my afternoon mocha—a little bit of this fresh syrup in the espresso just tastes so much cleaner than the stuff from the coffee shop chains. It truly elevates simple pleasures, just like my homemade apple butter does during the fall.
Creating a Decadent Chocolate Gift Idea
Because this recipe is so fast and tastes so luxurious, I always double the batch around the holidays. This becomes the perfect decadent chocolate gift idea! Just pour the cooled syrup into small, clean glass bottles—the kind with swing tops look the prettiest. Tie a simple ribbon around the neck. Honestly, who wouldn’t love receiving a homemade, high-quality topping instead of just another box of cookies? They make wonderful host gifts, too!
Storage and Shelf Life for Homemade Chocolate Syrup
Now that you’ve made this incredible, rich topping, the big question is storage! I always make sure I have a few extra clean jars lying around because this recipe scales up beautifully for easy stocking. The most important thing you need to remember is that because we skipped all those weird stabilizers and preservatives, this syrup needs to chill out in the fridge.
You absolutely must pour the finished, cooled chocolate syrup into an airtight container before storing it. If you leave it out on the counter, it just won’t last, and frankly, you risk grainy crystallization if it gets warm. I usually use 16-ounce mason jars—they seal up perfectly, and I love seeing that dark, glossy sauce sitting in the fridge waiting for me.
When kept sealed and refrigerated, this pantry staple chocolate syrup stays fantastic for about two full weeks. Sometimes, I swear it lasts a few days longer, but I always stick to that two-week mark just to guarantee the best, freshest quality. If you notice it seems a little stiff after a few days—which happens because it’s real sugar stiffening up—just pull the jar out 15 minutes before you plan to use it, or microwave it gently for about 10 seconds to soften it right up. It comes back to perfect pouring consistency every time!
Dietary Variations: Sugar Free Chocolate Sauce and Vegan Options
One of the great things about working from scratch is tailoring things exactly to your needs! When I first started experimenting with recipes to suit different folks at family dinners, I realized how easy it is to tweak this basic sauce without losing that rich flavor. Lots of you ask about making a sugar free chocolate sauce, and while this four-ingredient base uses granulated sugar, there are so many fantastic sub-ins now, like erythritol or monk fruit blends. You’d just substitute the sugar 1:1 when you’re in the saucepan, but definitely check the package to see if your chosen sweetener needs slightly less liquid—some substitutes break down differently.
Also, I can happily confirm that this core recipe is naturally vegetarian, and for most people, it qualifies as a vegan chocolate syrup right out of the gate! Since we’re using water, sugar, cocoa, and vanilla, there are no dairy or egg products involved. Just double-check if you happen to use a less common branded vanilla extract that might contain hidden dairy derivatives, though that’s rare.
If you’re exploring the sugar-free route, you might find this helpful as you experiment with sweeteners you already keep on hand, or you can check out specialized guides like the one over at this resource on sugar free options. When I’m looking to boost nutrition alongside reduced sugar, I sometimes look at swaps like incorporating things similar to how I make my chia pudding—though that’s more for texture than a direct sauce substitution! The main thing is, this recipe is already wonderfully adaptable for those focusing on dietary needs!
Frequently Asked Questions About Making Chocolate Syrup
I love hearing from you all when you try this recipe out! It seems like everyone has a slightly different way they plan to use their new favorite chocolate syrup, so I gathered up the questions I get asked most often to clear things up right here. Hopefully, this helps you get started on drizzling this sauce everywhere!
Can I use this chocolate syrup recipe for making chocolate mocha syrup?
Oh, absolutely yes! This is one of my favorite tricks. If you’re making your morning coffee or afternoon pick-me-up, this sauce works perfectly as a chocolate mocha syrup base. Since the flavor is so rich and pure, you don’t need much. I usually start by stirring about one generous tablespoon into the bottom of my mug. Then I pour in my freshly brewed espresso or very strong coffee and stir until it’s completely dissolved before adding steamed milk. It gives you that deep, decadent coffee house flavor without all the extra stuff!
Why did my homemade chocolate syrup turn grainy?
Don’t stress out if this happens; it’s almost always an easy fix, and it usually happens if you don’t dissolve the sugar properly, or if you let the mixture boil too hard when you first heat it up. Remember, we want a gentle simmer to dissolve the sugar crystals, not a raging boil! If you pull your cooled syrup out and it has a gritty texture, don’t dump it! Just pour that grainy batch back into the saucepan, add about two tablespoons of fresh water, and reheat it very slowly over low heat, stirring constantly until everything melts back into a smooth consistency again. You’ll be back to a perfect velvety chocolate sauce in minutes.
Is this recipe considered a Simple 5 Ingredient Syrup?
It’s even better than that! I know people are always looking for a simple 5 ingredient syrup, but this recipe actually comes together with just four core ingredients: sugar, cocoa, water, and vanilla. That’s it! It’s proof that you don’t need a long list of complicated components to make something truly outstanding and high-quality. It’s ready so fast, making it one of the best quick toppings you can keep in your arsenal. If you’re planning your meals for the week, you’ll find great inspiration for using this over on my weeknight dinner ideas page!
Estimated Nutritional Information for Chocolate Syrup
When I’m cooking for my family, I always appreciate knowing what’s going into the food we enjoy every day. Because this recipe uses such simple components—sugar, cocoa, water, and vanilla—it’s easy to track, but I still like to keep things realistic.
Below are the approximate nutritional values for a standard serving size of this rich dessert topping. Remember, these figures are based on using standard granulated sugar and do not account for any substitutions you might try, like going the low-sugar route we discussed earlier.
- Serving Size: 2 Tablespoons
- Calories: 95
- Total Fat: 1g
- Saturated Fat: 0.5g
- Sodium: 2mg
- Total Carbohydrates: 24g
- Total Sugars: 15g
- Protein: 1g
See? Not bad for something that tastes this decadent! My main point here is that these are estimates based on the standard measurements we used—they can shift slightly if you adjust your sugar or cocoa powder amounts. But overall, keeping it simple like this means you know exactly what you’re dealing with in your kitchen, which is always the goal here at Misty Plate!
Share Your Homemade Chocolate Syrup Creations
Okay, that’s it! We’ve whipped up this gorgeous, velvety chocolate sauce from scratch, and I’m so excited for you to try it. Making something this good in under ten minutes just feels like a little kitchen magic, doesn’t it? I truly hope this recipe helps you ditch that grocery store bottle for good and brings a bit more simple joy back into your desserts!
But the journey doesn’t end when the syrup cools! I absolutely love seeing what you all do with these foundational recipes. Have you used it to top your favorite weekend pancakes? Did you stir a big spoonful into your afternoon coffee? Did you try bottling it up as a sweet little homemade gift?
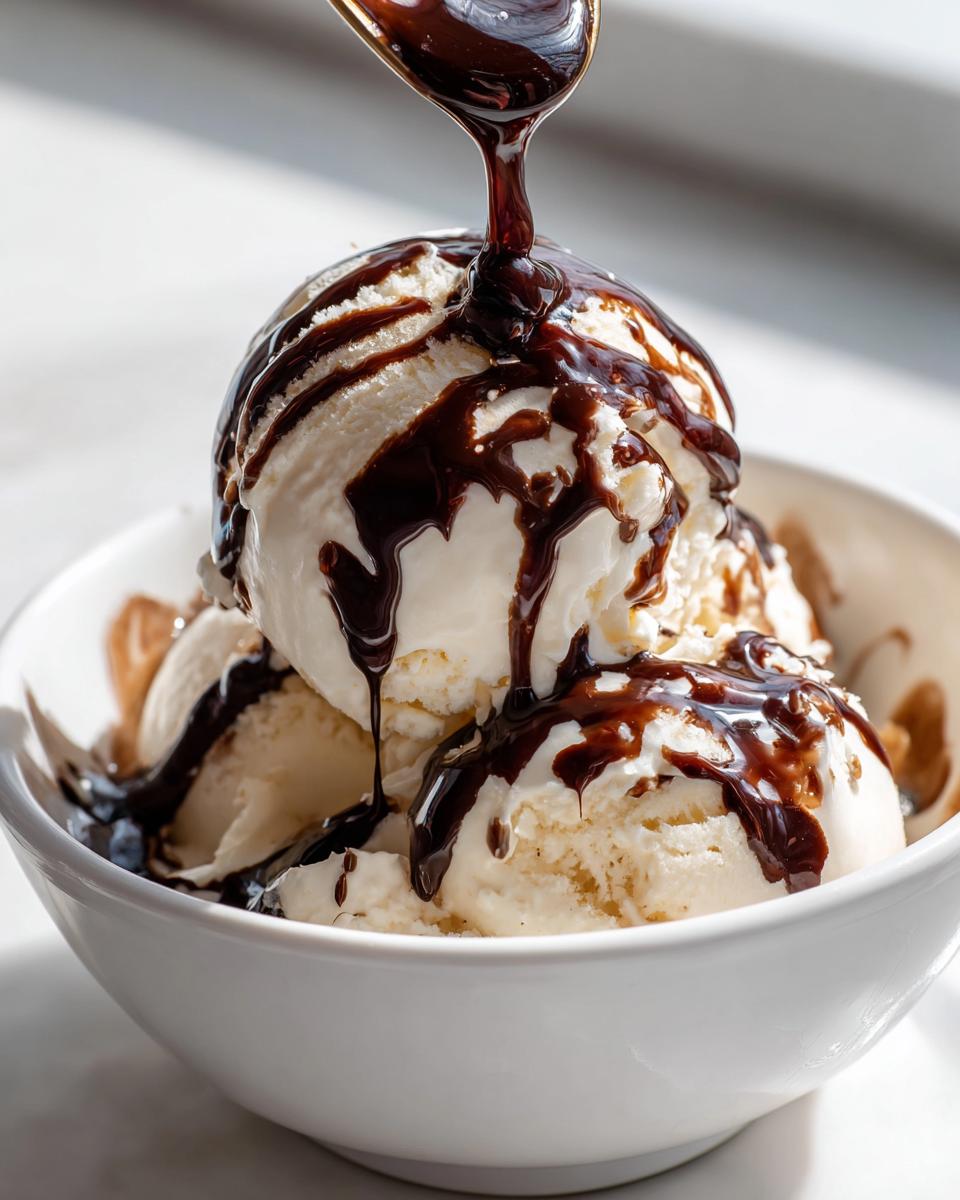
Please, if you made this easy chocolate syrup recipe, come back and leave me a star rating right below this section. It helps those who are hesitant to try something new know that this sauce is truly worth it! And if you snap a picture of your drizzled masterpiece—maybe on a bowl of ice cream or swirling through your homemade hot chocolate—tag me on social media! I always check in!
If you ever have questions about substitutions, storage, or just want to say hello, don’t hesitate to reach out through the contact page. Happy drizzling, friends!
PrintEasy Homemade Chocolate Syrup Recipe (Better Than Store-Bought)

Make rich, smooth homemade chocolate syrup in under 10 minutes using simple pantry ingredients. This quick cocoa syrup is the best dessert topping for ice cream, milk, or coffee.
- Prep Time: 5 min
- Cook Time: 5 min
- Total Time: 10 min
- Yield: About 1.5 cups 1x
- Category: Dessert Topping
- Method: Stovetop Cooking
- Cuisine: American
- Diet: Vegetarian
Ingredients
- 1 cup granulated sugar
- 1 cup unsweetened cocoa powder
- 1 cup water
- 1 teaspoon vanilla extract
Instructions
- Combine the sugar, cocoa powder, and water in a small saucepan.
- Place the saucepan over medium heat. Whisk the mixture constantly until the sugar dissolves and the mixture begins to simmer.
- Reduce the heat to low and continue to cook, stirring occasionally, for 5 minutes. Do not let it boil rapidly.
- Remove the pan from the heat and stir in the vanilla extract.
- Allow the syrup to cool completely. It will thicken as it cools.
- Pour the finished chocolate syrup into an airtight container for storage.
Notes
- This recipe makes a versatile chocolate sauce perfect for chocolate milk or mochas.
- For a thinner consistency, add a tablespoon of extra water while heating.
- Store this pantry staple chocolate syrup in the refrigerator for up to two weeks.
Nutrition
- Serving Size: 2 Tablespoons
- Calories: 95
- Sugar: 15
- Sodium: 2
- Fat: 1
- Saturated Fat: 0.5
- Unsaturated Fat: 0.5
- Trans Fat: 0
- Carbohydrates: 24
- Fiber: 1
- Protein: 1
- Cholesterol: 0